Friday, August 29, 2014

24 AUG 14: Page 15-4 steps 1-3: 9.5 hours
Clecoed all the wing ribs, spars, doublers, and aileron bracket assemblies together:
Match-drilled #30 all the holes in common between  the rear spar parts.  Final-drilled #40 the holes common between the lower rear spar web flange and the rib lower aft tab.  Countersunk the bottom row of rivet holes on the W-1007C rear spar doubler plate:
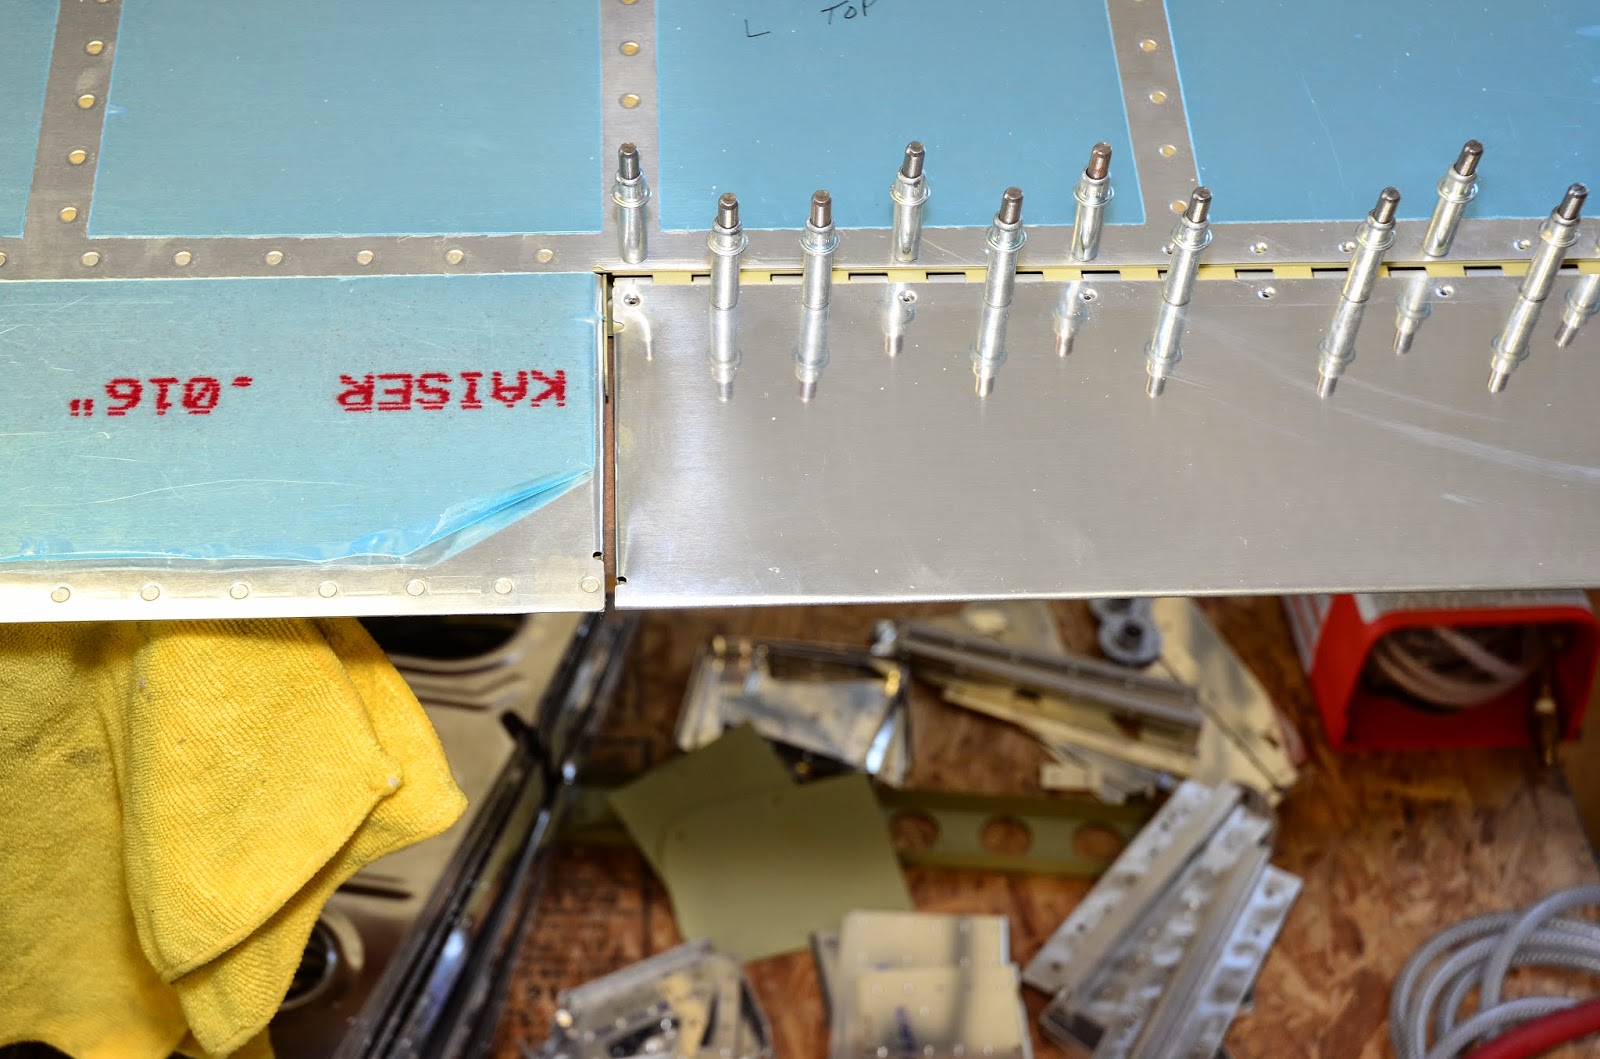
Countersunk the holes in the upper flange of the rear spar in common with the rear spar doublers.  I took the time to test fit the wing skins to check the rib alignment.  Skins clecoed on:
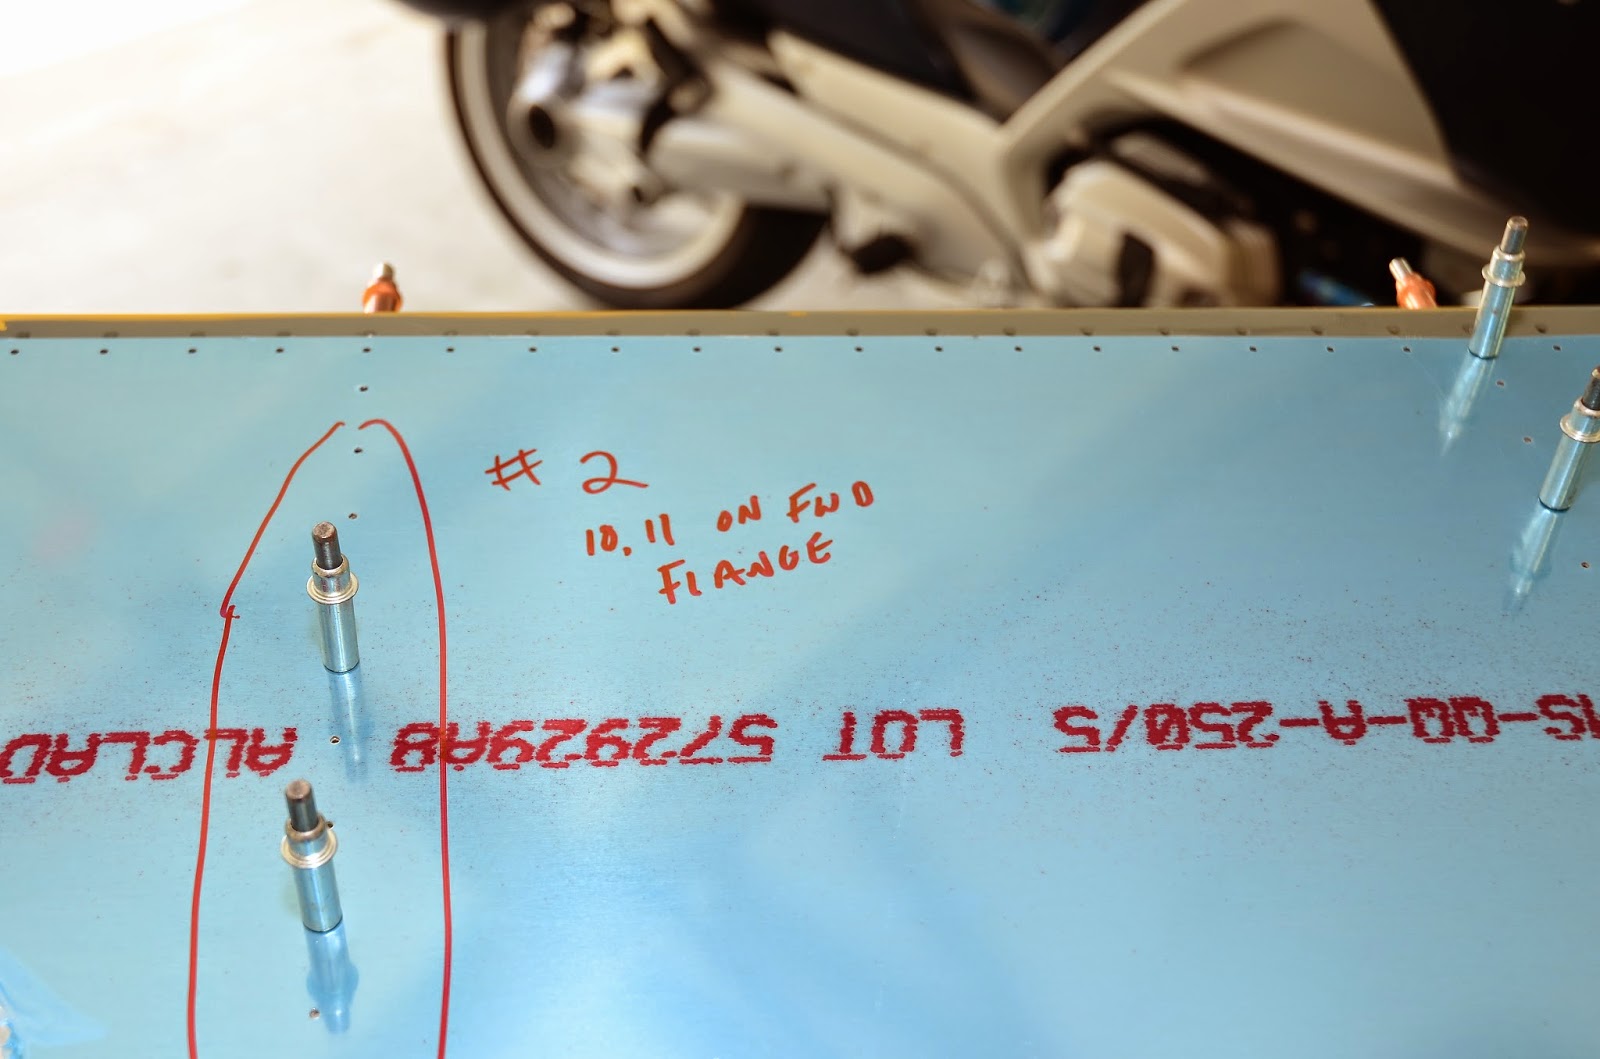
Only had two spots where the ribs needed adjustment – only a few flutes required.  One row needing adjustment:
And the other:
25 AUG 14: Deburring: .75 hours
Deburred left top skin edges – no pics.
26 AUG 14: Page 15-4 steps 1-3: 1.3 hours
Repeat of the wing/rear spar assembly on the right wing:
28 AUG 14: Page 15-4 steps 1-3: 3.3 hours
Continued the right wing/rear spar assembly – final-drilling the rib lower aft tabs to the lower rear spar web flange:
29 AUG 14: Page 15-4 step 3: 1 hour
Started to deburr the wing parts – no pics.  

Saturday, August 23, 2014

I didn't get as much work done as I wanted this week because it has been so hot!!!  Some days have been over 100' - makes it just too miserable to be in the garage!

18 AUG 14: Page 15-2 steps 1-4: 2.5 hours
Cut off the aileron stop tab from tow of the W-1013A Aileron Hinge Bracket Spacers.  Clecoed the W-1013A Aileron Hinge Bracket Spacer, W-1013B-L and W-1013C-L together.  Final drilled #30 all common holes.  Machine countersunk the aft holes on the outboard face of the W-1013C-L.  Repeat for right inboard aileron bracket assembly.
Clecoed the W-1013A trimmed Aileron Hinge Bracket Spacer, W-1013C-LX and W-1013C-R together.  Final drilled #30 all common holes.  Machine countersunk the aft holes on the inboard face of the W-1013C-R.  Repeat for right outboard aileron bracket assembly:
20 AUG 14: Page 15-3 steps 1-4: 4 hours
Match-drilled the W-1007E and W-1007D rear spar doubler plates to the rear spars:
Pilot drilled the corner radii of the aileron pushrod holes in the W-1007D outboard rear spar doublers:
Continued deburring doublers and aileron bracket assemblies.
21 AUG 14: Page 15-2 steps 1-4: 2 hours
Finished deburring the inside edges of the aileron bracket assemblies.  I also installed a 230V, 60-gallon compressor.  Quite a difference from my little 10-gallon – was tired of hearing the little one cycle on and off constantly while building.  The 60 gallon will also be much better while shooting primer with the HVLP gun:
 AUG 23: Page 9-18 steps 4-6: 2.75 hours
Clecoed the trim tab on top of the hinge.  Adjusted the tab so it’s even with the rest of the hinge and match-drilled the holes of the trim tab into the hinge.  Marked the inboard end of the trim tab.  Removed the pin from the hinge and trimmed the hinge halves. 
Outboard:
Inboard:
Left trim tab complete; turned out pretty nice:

Sunday, August 17, 2014

12 AUG 14: Page 9-14 step 12: 1.5 hours
Riveted the right elevator trailing edge – turned out great! – no pics.
13 AUG 14: Page 9-14 step 12: 1.5 hours
Riveted the left elevator trailing edge – turned out great! – no pics.
14 AUG 14: Page 9-15 step3 1-2: 3.5 hours
Finished riveting the E-1001 skins to the flanges of the outboard tip ribs.  Riveted the E-1022 shear clip to the close out tabs in the E-1001 skins.  Began to redo an elevator trim tab,  but messed it up – glad I ordered 2 replacements!
15 AUG 14: Page 9-16 steps 4-5, page 9-17 steps 1-8: 3.5 hours
Redid the left elevator trim tab.  Took quite a while, but on my 3rd try, I was happy with this one.  I wasn’t happy with the tabs on the originals, but this one turned out pretty good.  Instead of the wedges as called out in the plans, I used my back riveting plate held in my table vise to make the bends.  Much better than the wedges with pretty good results:
16 AUG 14: Prepped right elevator trim tab skin: 1.5 hours
The right is fine, but I ordered another right skin when I ordered the 2 left skins.  The tabs came out much better on the left skin, so I figure I’ll redo the right as well.
17 AUG 14: Page 9-17 steps 9-10, page 14-4 steps 1-2: 6 hours
Applied tank sealant to the mating surfaces of each foam trim tab rib and placed clamp blocks onto the trim tab.  Riveted the bent tabs on the sides of the trim tabs.  Set aside to cure for a few days:
Moved back to working on the wings.  Enlarged the forward tooling holes to 7/16 for the SB437-4 snap bushings.  Enlarged the wire run pilot holes to 3/4 for wire conduit:
Finished the session by deburring all of the W-1025A flap hinge brackets.  I used a vixen file and finished them up with the scothbrite wheel:

Monday, August 11, 2014

11 AUG 14: Page 13-4 step 5, page 14-2 steps 2-10, page 14-3 steps 1-2: 7 hours
Riveted the fuel tank and wing attach nut plates to the spar assemblies.  Forward:
Aft:
Clecoed the ribs to the spar assembly:
Match-drilled #12 the upper and lower attach points on the W-1010/1011 ribs that will be attached with bolts to the main spar assemblies.  Use a wood block to support the forward flange of the ribs:
Final drilled #30 all the remaining common attach holes in the forward flange of the ribs and web of the main spar assemblies.  Final drilled #40 all the common attach holes in the upper and lower rib tabs and the flanges of the main spar assemblies.  Both spars completed:

Sunday, August 10, 2014

04 AUG 14: Page 13-4 steps 1-4: 1.5 hours
Ran #40 drill through all 3/32 diameter fuel tank attach nut plate and wing attach nut plate rivet holes in the web of the spar assemblies.  Ran #30 drill through the three spar doubler to spar web rivet holes in the web of the spar assemblies.  Machine countersunk those holes – no pics.
05 AUG 14: Page 13-4 steps 6-9: 2.5 hours
Fabricated the W-1020 tie-down brackets.  Taping the holes for the tie-down rings:
Match-drilled the holes in the tie-down brackets using the holes in the spar web assemblies.  Match-drilled the nut plate attach rivet holes in the tie-down brackets.  Deburring the holes in the tie-down bracket:
Countersunk the aft side of the tie-down brackets for the heads of the nut plate attach rivets.  Final product ready to be primed:

07/09 AUG 14: Page 14-2 step 1: 8 hours
Deburring and fluting all ribs.  Tedious and monotonous – a few of the ribs:

10 AUG 14: Page 14-2 steps 2-10, page 14-3 steps 1-2: 7 hours
Finished priming the main spar flanges.  Cut the W-1029C angles:
Cut the W-1029D&E spacers.  Clamped the W-1029A-L torque tube support bracket, W-1029D spacer, and W-1029E spacers together with the centerlines aligned with the holes in the support bracket.  Match-drilled the spacers #30 using the support brackets as a drill guide.  Clecoed the VA-146 flange bearing between the W-1029A-L/B-L.  Clecoed the assembly to the upper and lower flanges of the W-1010-R inboard wing rib.  Clamped the W-1029C angle flush against the aft face of the W-1029B-L support bracket and inboard face of the wing rib.  Match-drilled #30 and clecoed the W-1010-R inboard wing rib to the W-1029C angle using the holes in the rib as a drill guide.  Match-drilled #30 and clecoed the W-1029A-L/B-L support brackets to the W-1029C angle at two attach points using the support brackets as a drill guide:
Match-drilled the holes common between the support brackets and the flange bearing.  Disassembled all parts and clecoed the W-1029B-L support bracket to the angle and match-drilled #30 the remaining attach holes. Clecoed the flap hinge ribs and flap hinge brackets to the inboard wing ribs:
Match-drilled #30 all common attach holes in the assemblies:
Removed the flange and flange radius from the top and bottom tabs of a single W-1011-R inboard wing ribs.  This notch removes interference between the outboard-most tank attach nut plate and the rib – essentially you’re cutting one of the holes off of a two-hole tab.  This was going well until I cut the wrong side of the tab off!! Oooops!  This is the bottom of the rib – how it should look.  This is the tab I mistakenly cut off on the top of the rib:

Thought about ordering another rib, but then decided to fabricate another tab instead.  Cut, deburred, and bent the tab in a vice:
Clecoed the rib to the spar and outlined where the tab needed to be drilled:
Top/bottom edge distance lines and centerline drawn on the tab.  Minimum pitch for two 3/32 rivets indicated by micrometer – all distances look good:
Manufactured head side:
Shop head side:
Looks good:

Saturday, August 9, 2014

Oshkosh 2014:
It has been forever since I flew at night, so the first order of business was to get night current – even though it has been about 6 months since flying a passenger at night:
Great place to be to enjoy the sunrise:
Clouds began to build as I neared the TN mountains – beautiful sight against the rising sunlight:
Beginning to cross the hills of Tennessee.  I would say mountains, but anyone from the west reading this would probably laugh.  At about 5,000 feet, and coming from an area with an elevation of 50 feet, they are mountains to me…
Pretty easy to see why they are called the Smokey Mountains:
Cloudier than I was expecting for early morning, but they dissipated once away from the hills:
Fuel stop – KHNB – Huntingburg, Indiana.  Cheap fuel - $5.12:
I remember passing these wind farms last year.  Not sure why it surprised me – just not expected to see this in this part of the country:
These towns always remind me of the computer game where you build a city.  They are in the middle of nowhere and are so self-contained.   They almost look fake – like a movie set:
I installed the Dynon ADS-B unit since last year’s Oshkosh trip.  It’s great to have on-board weather without the monthly XM fee.  I’d been watching this my entire flight north.  None of the weather was moving very fast.  I was worried I was going to have to land and wait this out as it was parked over KOSH, but by the time I got in the vicinity it had moved enough to skirt by:
The ADS-B traffic is a great addition, too.  Makes you realize how difficult planes are to spot and how much you miss with the old eyeballs! This is SW of Chicago's class B:
Approaching KOSH from Fisk.  As planned I was early, so it was just like a normal arrival – almost – except for the close in left downwind and early base turn:
Arrived safely again this year.  On the taxi to Homebuilt Camping:
The early bird gets the worm – and choice of camping spots.  Straight ahead you can see Jerry Fisher’s truck.  He is a volunteer from Georgia.  Great guy and a vet.  He runs the homebuilt camping area – and is just a heck of a nice guy to boot!  Also seen is the blue and white tent where we gather for coffee every morning.  The show is nice, but every year my favorite part is hanging in the tent every morning, meeting and getting to know all the people.  This year’s notables were John – a dentist from Arkansas, and former Marine, and Carl from Texas who works at NASA.  Every morning we solved all the country’s political problems over a few cups of java:
First stop was to the Target just outside of the airfield gate to pick up some groceries for the week.  On the way there, I stopped by Friar Tucks to get a sandwich – I hadn't eaten all day.  This is actually a fish sandwich – one huge piece of fish, for sure:
Back at the camp site, I set up my tent and unpacked the plane:
Home sweet home for the next week:
Had to snap a pic of the Airventure sign:
Then it was off to the flight line to watch the arrivals.  This is a fun part of coming early.  You get to watch during the busy arrival periods.  It’s amazing how many aircraft they land one after the other.  You get some great pics:


This woman didn't seem to be quite as interested in the activities.  Apologies if you ever stumble across the blog – one in a million chance, but apologies all the same:
The next morning looked to have a bit more sunshine:
First order of business was to get my free hat from Jeppesen.  Each year they give a free hat if you order your tickets online and bring them your printed ticket.  Amazing how many folks, myself included, will stand in line for a free hat!
Standing room only at one of the workshops.  I believe this one was on composite (fiberglass) finishing:
At some point I  headed over to an area where all the RV-10s park to look at the various planes.  It’s amazing how differently I look at the planes this year now that I’m building.  As luck would have it I happened across Geoff Combs from Aerosport Products.  Geoff makes interiors (among other items) for RV-10s.  His interiors definitely highlight a great plane and, in my opinion, give it the finishing touch it deserves.  Not too inexpensive, but when the time comes, I will definitely finish my interior with his products:

Over the course of the week, I had to stop by the Cirrus tent.  I wanted to get ideas for paint schemes.  I always like Cirrus paint – pretty simple, but really nice in my opinion.  Their aircraft are absolutely gorgeous.  If only I had an extra 750k lying around.  The -10, however, will have remarkably similar capabilities – crazy to think about that.  Gorgeous scheme.  That’s red BTW.  A bit overexposed and looks like orange:
Check out the beautiful leather:
It’s amazing to look at this panel, which looked so advanced only a few years ago, and to think how common it is to outfit homebuilt planes with the same capability:
In fact, the autopilot controller (in the lower center console with the blue button) looks identical to the Garmin non-certified unit that I will most likely put in the -10 when the time comes:
Mmmm – looks familiar.  Garmin’s non-certified, experimental version at a fraction of the certified cost:
I really like how Cirrus does the breaker panel – keeps the instrument panel clean.  I will definitely put this in the good idea file for when I start thinking about wiring the plane.  A lot of guys are going to the digital breakers – the VP-X system – but I’m not sold on it.  More than likely I’ll stick with the traditional circuit breakers and I really like the idea of putting it in this location – the side of the center console by the pilot’s foot well.  ELT switch down there, too:
Hanging out by the tent one evening, the lighting was perfect for photos.  Unfortunately, I really didn’t have much to photograph.  Love the lighting!
Some of the folks I met this year. Finishing the night at SOS.  Meeting great folks is what makes Oshkosh awesome:
Getting a pic with SOS’s giant sign – they bring it down at closing time:
Unfortunately, getting back after midnight, most of the gates to the airfield are closed.  Everyone else in the group crawled under the fence, I chose to go over - they said it was because I was 'the Army guy'.  Actually, it was because I didn't want to get stuck like this guy - it was a pretty tight squeeze to go under!  Hilarious!
My plan was to take off around 1000 Thursday morning.  Unfortunately, there was an aircraft accident at about 0930 that shut down the field.  This created a huge back log of aircraft.  It took forever just to get an escort to taxi out of homebuilt camping.  Once, out, I didn’t get to taxi very long – just up to the taxiway to get in line and shut down with the others:
Once we got rolling, it was slow going – lines of planes both coming and going.  Probably took :30-:45 to get to the departure end of runway 36:
Wanted to get out earlier so I didn’t have to dodge all the cumulus build ups:
Mmmmm – will shooting that hole maintain cloud clearance?
Interesting site to fly over.  Wonder if there’s any gold in there anymore..?
Started to get hazy once I hit the Smokies:
Once over the Smokies and closer to Atlanta, thinks started to get worse:
Eventually I was on top of a scattered layer.  Never really became a broken layer fortunately, but it was close:
I love having weather in the cockpit.  Just like the way up, weather was parked over my destination.  Not a whole lot of cells in the area, except this one RIGHT over home.  They weren’t moving either.  I watched them parked over home for a good 1 – 1.5 hours:
Fortunately the weather moved to the west in time for my arrival home – another Oshkosh in the books.  I’m already looking forward to next year!