09 JUL 14: Wing Kit Arrives!!!
I haven’t posted in a while, but the wing kit arrived!
I probably won’t get
much done the rest of this month. I’m
finishing odds and ends with some of the empennage pieces, plus I’ve been
messing with the RV-7A getting ready for Oshkosh!! I can’t wait to go. Last year was my first year and it was
awesome!! I’m leaving Friday the 25th
and staying until the following Friday.
Like last year, I’ll be camping in the Homebuilt Camping Area – mostly all
other RVers. Hope to have a good blog
post when I return. I’ve had a pretty
good build pace – been averaging 80ish hours/month. July will be much lower, but it is worth it
for a week of decompression at Oshkosh.
12 JUL 14: Page 10-23
step 2: 2 hours
My friend Larry came over this morning and helped me finish
up the tail cone riveting. Larry is a
local RV-10 builder. He is a few years
ahead of me. It’s great to have his
knowledge and experience to lean on as I progress through this journey. No pics.
14 JUL 14: Page 13-2
steps 1-2: 2.5 hours
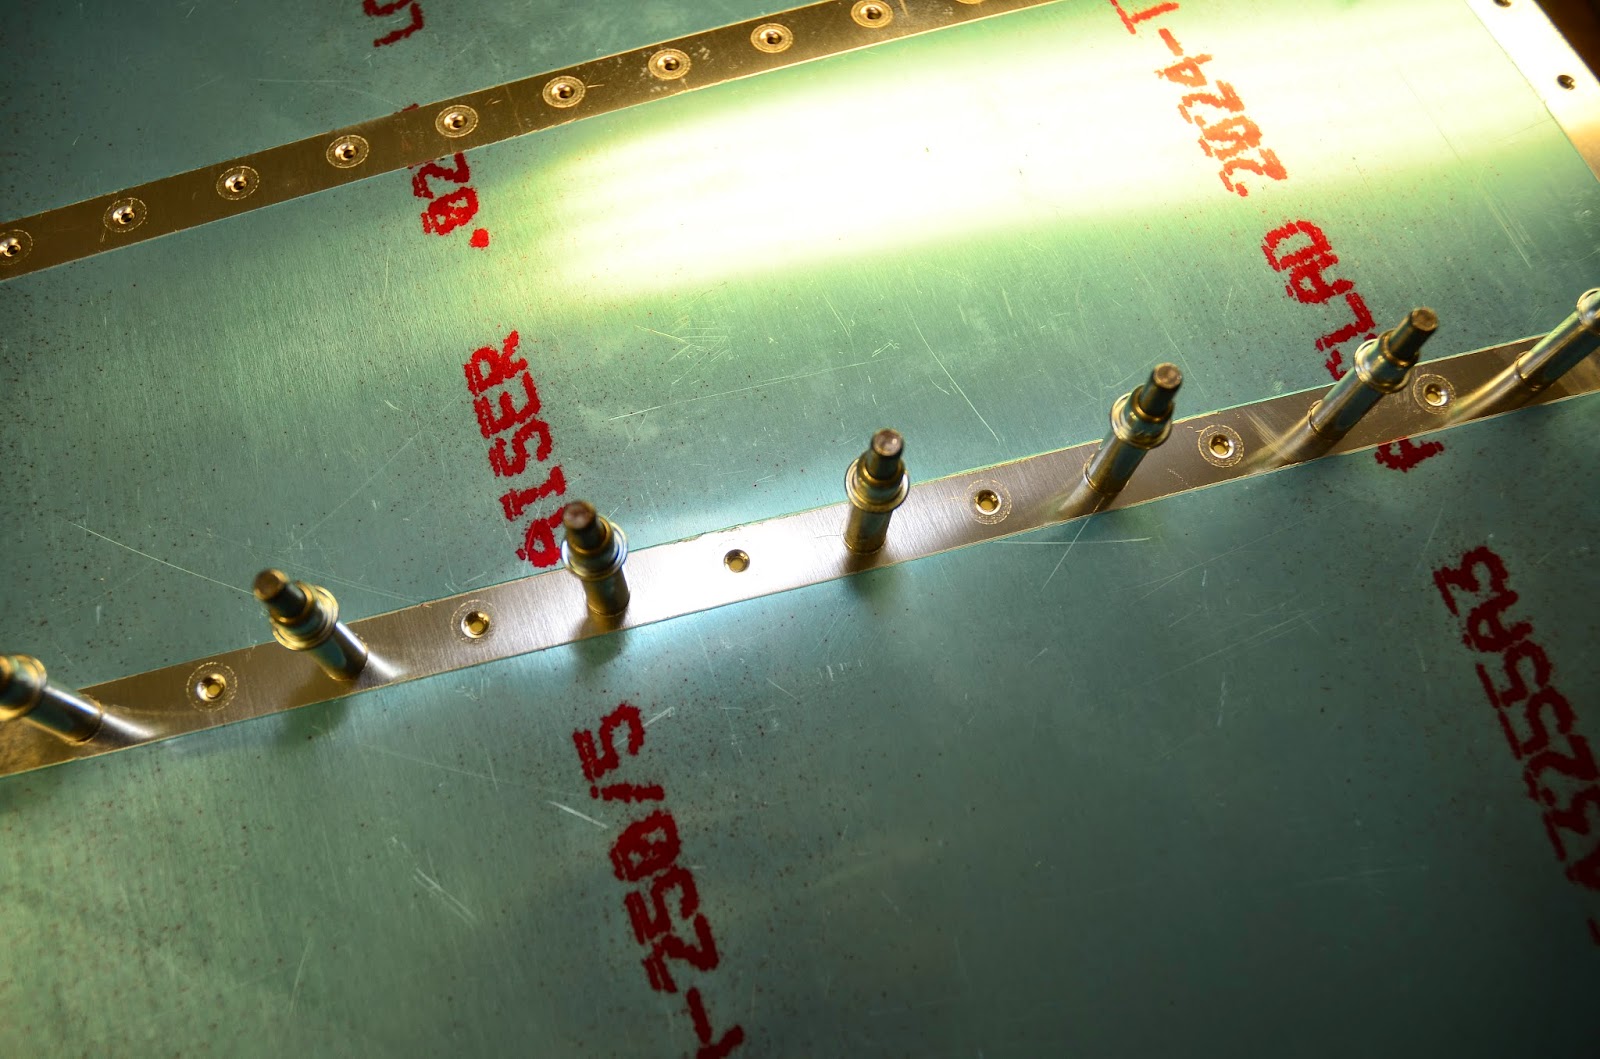
Clecoed the W-1006E-L main spar web extension to the W-SPAR
ASSY-L spar assembly using four W-1006F spar splice plates. Final drilled the spar splice plates to the
spar assembly and web extension using a #30 drill:

Marked the splice plates so as to note their orientation:

15 JUL 14: Page 9-16
step 3: 1.25 hours
Decided to redo my elevator trim tabs – one is good, the
other not so good. I’m going to redo
both to see how they turn out. Marked
the inside for pro-sealing the foam ribs and final drilled the holes – no pics.
17 JUL 14: Page 9-16
step 3: 1.25 hours
Deburred all the holes and edges of the elevator trim tabs –
no pics.
18 JUL 14: Page 13-2
step 3: 1.25 hours
Deburred and primed the W-1006F spar splice plates and the
W-1006E-L/R main spar web extensions – no pics.
19 JUL 14: Page 10-23
steps 3-5: 1.75 hours
Attached the F-635 elevator bellcrank to the two F-1037A
bellcrank angles. Bolted the two F-1037A
bellcrank angles to the F-1035 battery/bellcrank mount:

Attached the F-1035 battery/bellcrank mount to the F-1037B
& C bellcrank rib angles: