20-21 FEB 17: 45-5 (R) 10-12: 6.75 hours
Trimmed the right door to a pretty good rough fit –
off, on, off, on….
23 FEB 17: Installed repaired fuel tank, more sanding of right
door: 5 hours
Well, I’ve been dreading reinstalling the fuel tank
that I had to remove to repair the damage from it falling off the cradle while
taking it out to my hangar. My
motivation to do it was 1) I had the day off, and 2) hot weather will be here
before long. I was pretty sweaty as it
was – can’t imagine doing this in the hangar in the middle of summer! Wasn’t as bad as I was expecting, but still
sucks to spend a couple hours like this:
In the end, I was very glad to have it back on, and
it really wasn’t too terrible bad.
Definitely easier to do it in the cradle vs. if it was mounted on the
plane. Nice for the wing to be back
together!
Went home and spent a couple more hours sanding the
right door.
Top:
24 FEB 17: Sanding door, 45-6 (R) step 3, 45-7 1-5: 3.5 hours
Did some more sanding of the right door and fit the
hinges onto the cabin top and door.
Installing the hinges on the cabin top:
Nice to have the second door attached!
25 FEB 17: Riveted corner nutplates onto overhead console: 1 hour – no pics
28 FEB 17: Drilled/cut holes for door handle, epoxied door: 2
hours
1 MAR 17: Fit PlaneAround latch into door: 3.25 hours
You know, even though this went WAY quicker the
second time around, it is still a PIA to get everything in place and working
correctly. Bottom slot cut into door for
gear assembly:
2 MAR 17: 45-12 (R) 1-5: 6.5 hours
Cut and fit the PlaneAround door pin blocks for
their angled pin guides. Neat to see
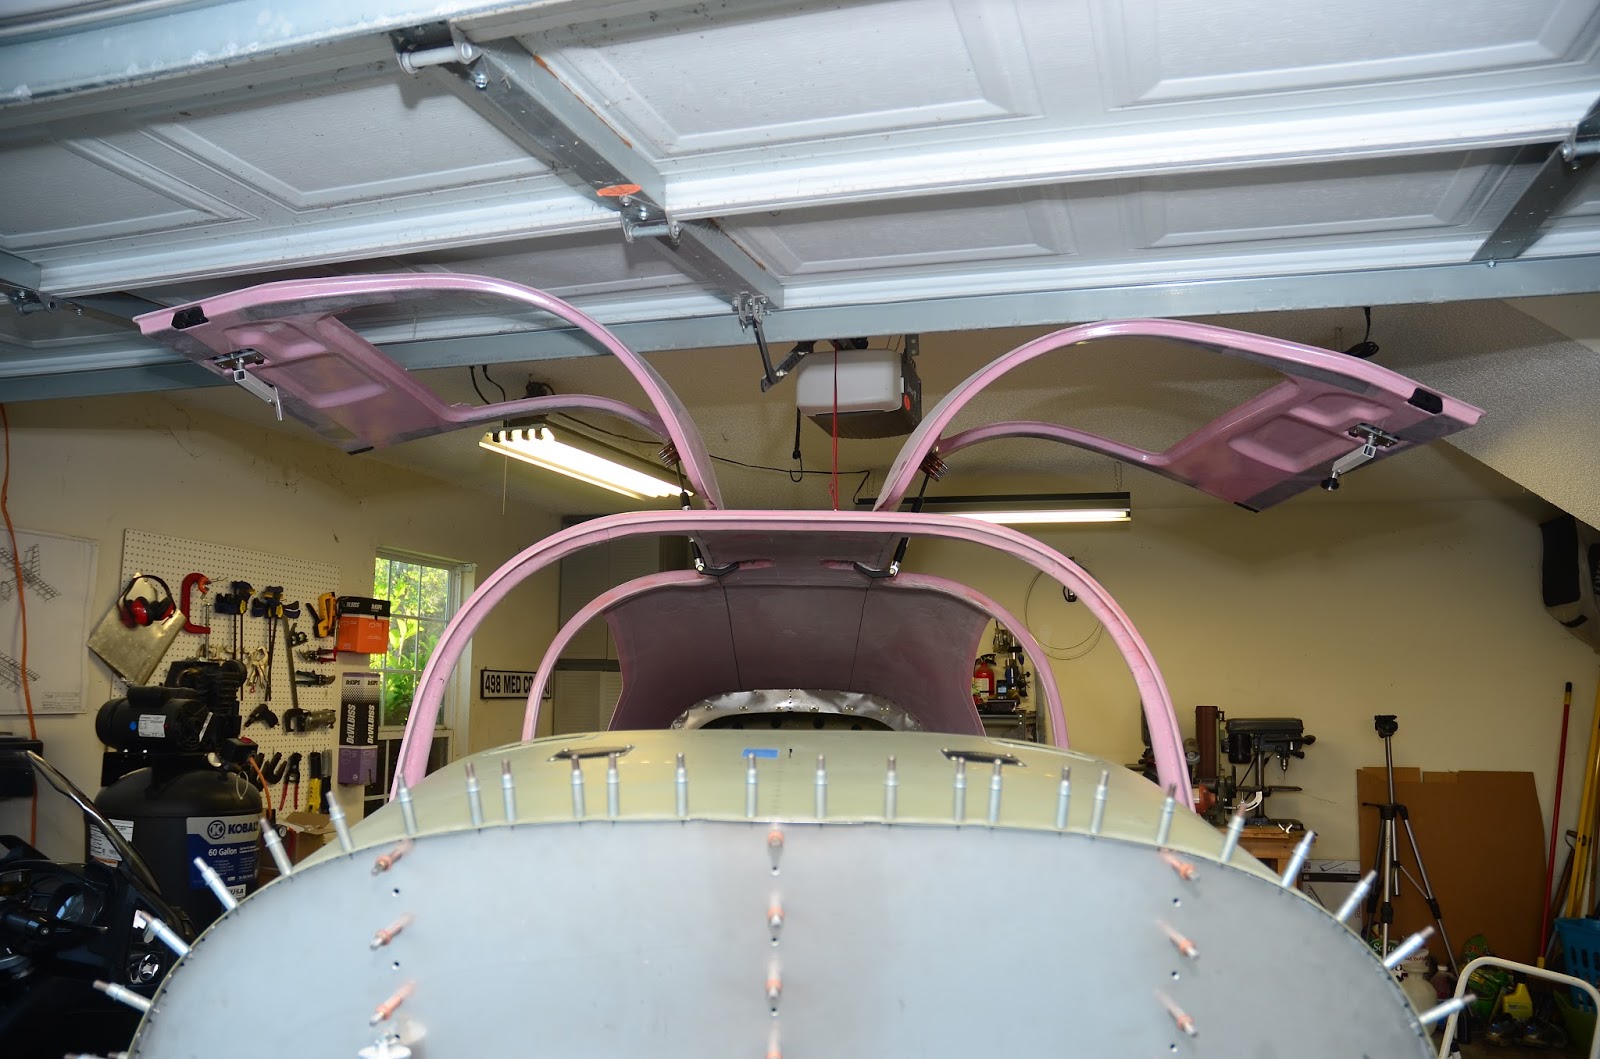
both doors on the plane!
3 MAR 17: 45-15 (R) 1-3: 6.5 hours
Drilled the holes for and mounted the cabin pin
blocks. Last thing for the night was to
mix up a bit of flox to bed in the hinge bracket, so it has a nice mounting
surface against the cabin top. Fun, fun!
4 MAR 17: 45-16 (R) 1-4: 3.25 hours
Fit the strut to the right door. Locating bar attached to the strut bracket in
order to get the correct location for mounting the door attach brackets:
I still have TONS of work to do on the doors – fine
tuning of the McMaster-Carr seal, final edge/gap constructions, final sanding
painting, etc. – but the rough work is done!
I read so many horror stories about the doors, and, even up to this
point, it was A LOT of work, so it feels really good to see both doors on the
plane – if only temporarily!
5 MAR 17: Firewall planning: 1 hour
Temporarily hung the engine mount (with a bungee
cord!) to get an idea where to place firewall pass throughs. I have 4, 3/4” pass throughs, but doubt I’ll
use all 4. I am going to try to separate
engine sensor wires from power wires, so perhaps I may use all 4…