Saturday, January 31, 2015

19 JAN 15: Redo baffle/skin rivets, Prekote parts: 9.5 hours
Well…on this tank a bunch of my baffle rivet heads were too proud for my liking – I believe this was due to using a bit more proseal on this baffle than on the left tank.  I probably drilled out ½ - ¾ of the rivets on each side of the baffle.  Took a while, but I’m glad I cleaned it up.  Finished the session by beginning the Prekote prep of all the flight control parts.  Some of the rivets drilled out:


20 JAN 15: Prekote: 1.5 hours
Continued Prekoting flight control parts – no pics.

21 JAN 15: Final sealing of the right tank: 1.75 hours
Finished prosealing the right tank.  Hopefully this tank will not leak just like the left and I’ll be done with proseal! No pics.

23 JAN 15: Page 23-2 steps 1-3, page 23-3: 1.5 hours
Cut the torque tube to bellcrank pushrods:
Drilled the ends of the pushrods for the VA-169 rod ends.  Match-drilled the rod ends using the pushrod as a drill guide:


25 JAN 15: Priming setup and priming: 3 hours
Cleaned and set up the downdraft table in prep for priming:
Vent tubes running outside through the garage window:
 First batch of parts drying:

26 JAN 15: Page 23-5 steps 1-4: 1 hour
Constructed the aileron torque tube assemblies:

28 JAN 15: Page 23-5 steps 3-4, page 23-6 steps 1-5: 1.5 hours
Match-drilled the torque tube collars to the torque tubes:


29 JAN 15: Page 20-4 steps 4-6, priming: 4.25 hours
Today marks the 1 year anniversary of the build!!!  Dimpled and riveted the skin to fairing rivets of the W-1024 flap gap fairings:
Continued priming parts for the rest of the work session.

30 JAN 15: Page 23-6 steps 1-5, priming: 1.25 hours
Clocked the torque tube assemblies using the 5/16” shim on one side of each assembly.  I measured several times before drilling, but still saw this upon final assembly:
I put out the question to VAF and Jesse Saint of Saint Aviation hinted that I should be able to remove the slight difference with push-rod bearings – makes sense; reason for the threaded rod-end bearing.  If not, it will be easy enough to create another torque tube.

31 JAN 15: Priming: 2.25 hours
Another session of priming all the remaining flight control parts and lower wing skins.  One more session, and I should be complete:
Doesn't look like much all stacked up, but it’s a lot of parts!

Sunday, January 18, 2015

18 JAN 15: Page 18-7 step 3, pg 18-8 steps 1-4: 10 hours

Completed sealing the right tank.  Final installed the IE F-385B fuel level sender.  This was the second sender as I broke the wire on the first one.  Scuffed the flanges and rib attach points of the baffle:
Proseal on the aft rib flanges before inserting the baffle:
Baffle on, all the skin to baffle holes clecoed:
Second tank complete except for the alignment holes.  Enough fun with proseal!  I’ll let this one sit for a week before the pressure test.  Hopefully this one is the same as the left tank – leak free!!

Saturday, January 17, 2015

12-17 JAN 15: Page 20-5 steps 3-8, Gretz pitot mast, Prekote: 28.75 hours
Inserted the W-1028B wing box J-stiffener and clecoe the W-1004-L bottom wing skin to the main spar, rear spar, ribs, and stiffener.  Clecoed the W-1005-L bottom outboard wing skin to the spars, ribs, stiffeners and bottom inboard wing skin:
Installed the Gretz pitot mast.  Fitting backing plate and reinforcement angle:
Cutting out mast hole in the wing skin:
Final fitting:
Now that the mast was fit, I had to go back and drill a second whole in the ribs to route the angle of attack tubing – forgot to do so when drilling the hole in the ribs for the pitot line.  Would have been much easier before the ribs were installed!  I made a jig to fit to the ribs, so the hole was in the same position for each rib:
Had to use the angle drill for the wing walk ribs:
Deburring right bottom wing skin:
Both skins drilled, deburred, and scuffed for priming – a lot of holes!
Some of the flight control parts Prekoted and ready for priming:

Sunday, January 11, 2015

1 JAN 15: Page 18-7 steps 1-3, pg 18-8 steps 1-4 (left tank): 9.5 hours
Happy 2015!!  Bent the fuel sender for the left tank.  I read how crucial the lengths of the bends are – makes sense as precise bends mean full travel for the float.  The first bend calls for 4 1/8 inch.  Got it right on:
Precise bends result in full travel of the float.  Float at the top of the tank – you can see the sender is at its full travel:
Same with the float bottomed out:
Unfortunately, I didn’t read ahead on the right-hand float.  The bottom bend of the left float wire bends toward the front of the tank to enter the sender.  I bent the right float wire the same direction – toward the front of the tank.  BUT… the right sender is a mirror image of the left, so the bottom of the float wire bends to the rear of the tank to enter the sender.  I tried re-bending, but no way is the stiff wire going to take a 180* bend in the opposite direction without breaking…  Oh well, just another order from Van’s.

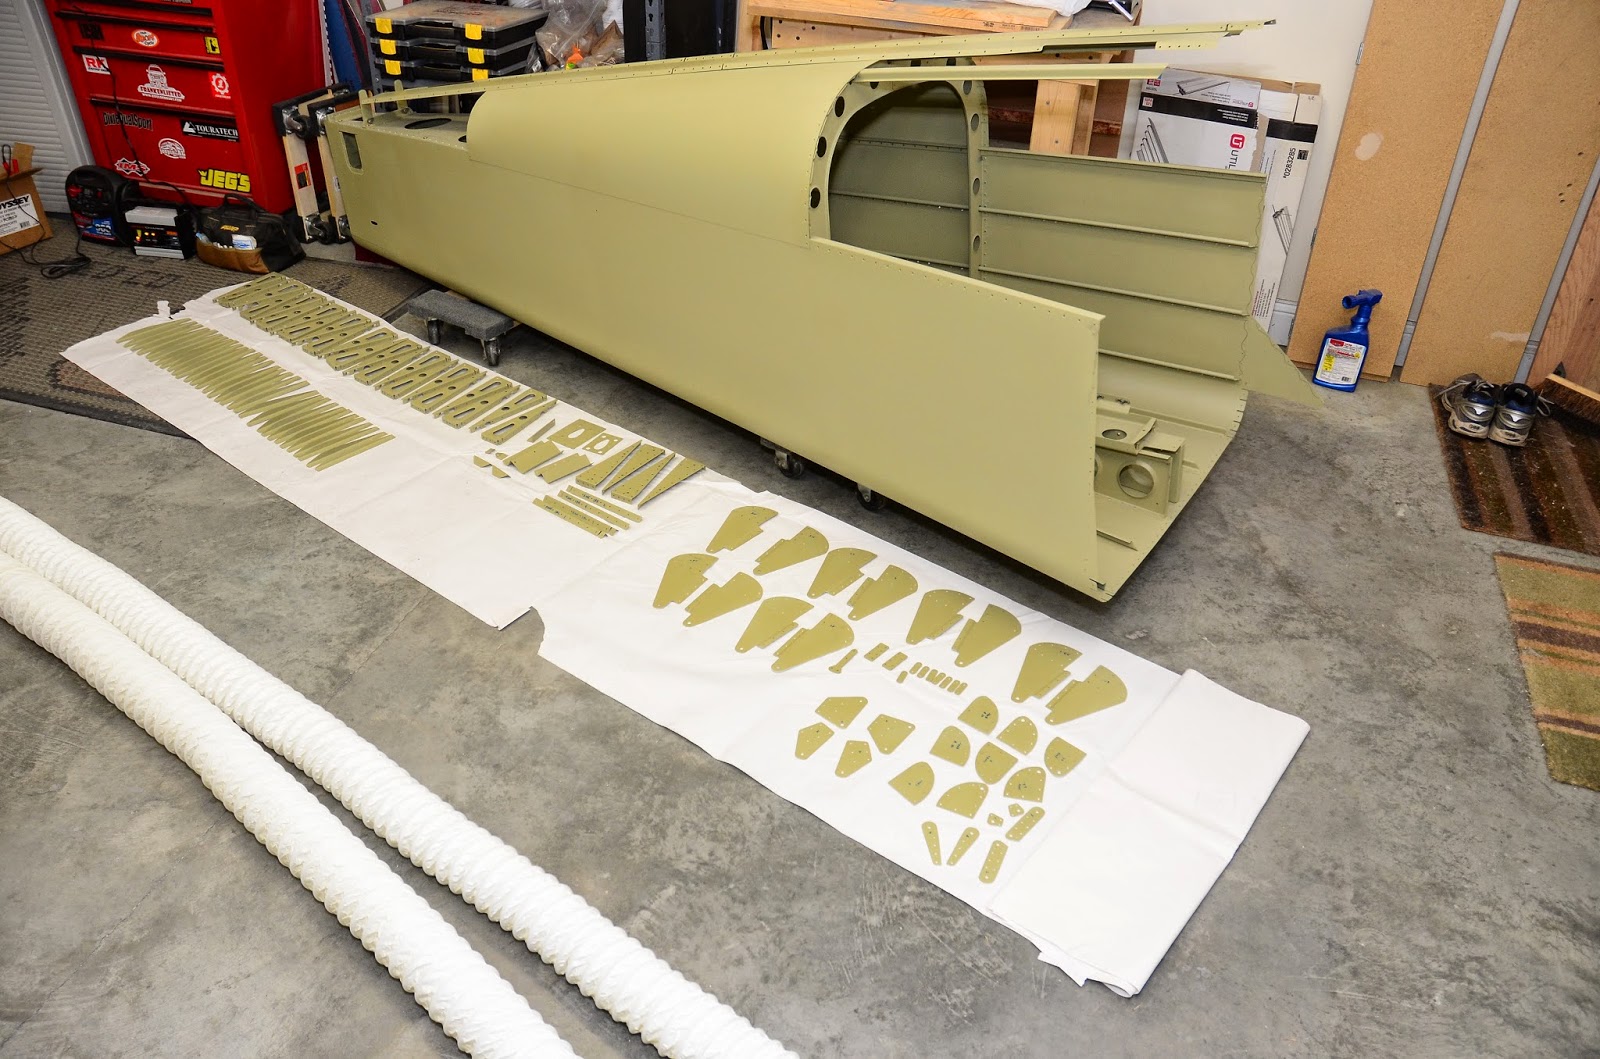
Proceeded to seal and rivet the baffle and tank attach zee brackets.  Attached the Zs to the baffle with pop rivets.  Look at all those clecoes in the baffle flange – this may take a while!
Well, I bit off a little more than I could chew starting so late in the afternoon.  Unfortunately, since I don’t want the proseal to set up, I have to complete all the riveting.  It took until midnight, but I got it all assembled.  All together except the locating holes which will be countersunk and riveted once the proseal has cured:
You know you’ve had fun when your shop bench looks like this!  This will have to wait until another time for clean up:
3 JAN 15: Page 18-8 step 4 (left tank): 1.5 hours
Countersunk and riveted the remaining positioning holes in the baffle flange – no pics.
4 JAN 15: Final sealing of the left tank, Page 22-5 step 6: 5.25 hours
Finished with the proseal on the left tank!!  Fingers and toes crossed that I have no leaks.  I’ll let it cure for a while and then do the pressure test.  All sealed up:
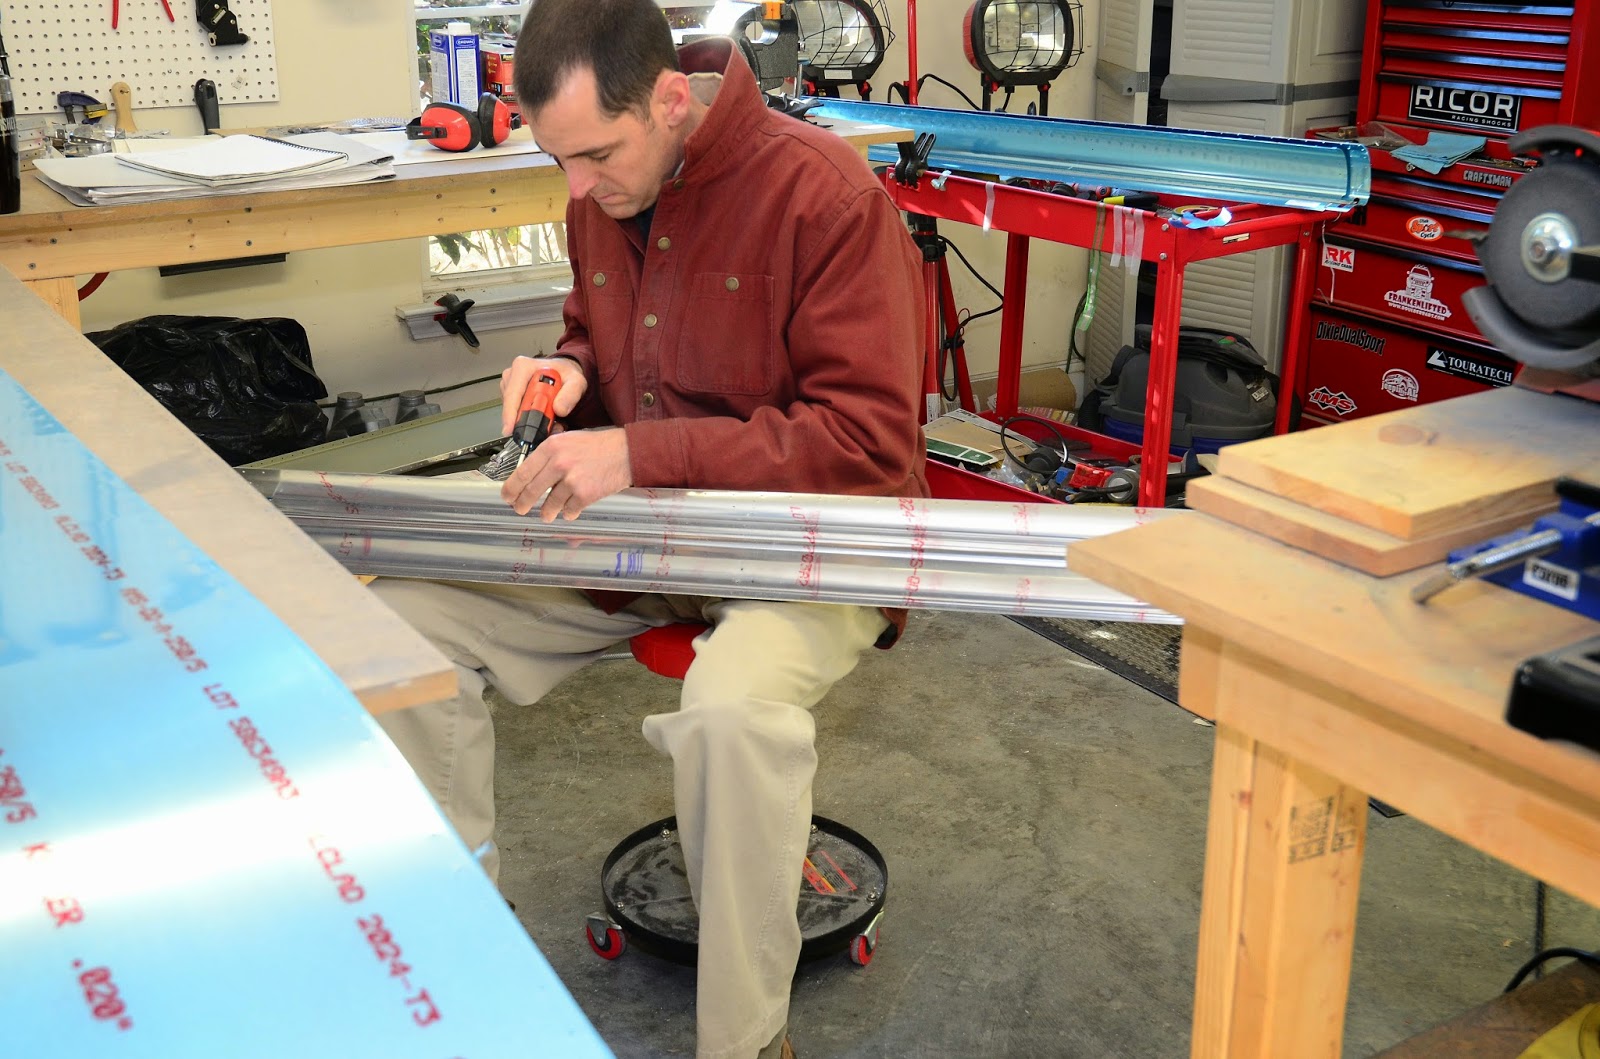
Spent the rest of this work session countersinking the FL-1009A/B trailing edge wedges; fun, fun:
5-7/9-10 JAN 15: Page 22-5 step 6: 9.25 hours
Spent several days deburring all the aileron/flap parts.  It seems like the holes are endless:
Working on flap rib sub-assembly doubler.  Knocking of the large tooling marks with the vixen file before hitting it with the Scotchbrite wheel:
10 JAN 15: Page 22-4 step 2, pg 22-5 steps 1-6 (right flap): 7.3 hours
Clecoed the right flap skeleton assembly and final-drilled #30 all the holes common to the parts and spar web.  Assembled the skins to the skeleton:
Match-drilled #40 all the skin to skeleton holes:
11 JAN 15: Pressure test left tank, page 22-5 step 6, pg 18-7 steps 1-2: 5.5 hours
The big news for the day was doing the pressure test on the left tank.  I let the proseal cure for about a week.  I filled the tank with my bike pump until the balloon inflated and sprayed the entire tank with soapy water looking for leaks.  I saw no bubbles anywhere!  Unfortunately, the balloon began to slowly deflate – my heart did the same.  I was really hoping for no leaks.  I couldn’t find where the leak was coming from.  One place I didn’t spray the soapy water was the balloon attachment itself.  Fortunately, these were the only bubbles I found!
I’m very happy to say that after attaching another balloon and properly sealing it, it remained fully inflated!!  After several hours:
I will leave the balloon for several days to make absolutely sure there are no tiny leaks.  For the remainder of the afternoon, I countersunk the FL-1009A/B trailing edge wedges for the right flap, bent the fuel sender float wire for the right tank, and continued to prep all the aileron/flap parts for priming.  Skins and spars all ready to go:
A lot of parts ready for Prekote and Akzo: