It's been a couple of weeks since I posted. Uncle Sam had me doing a field exercise from about 0600-1900 for the past 10 days straight, so I didn't have much energy at the end of the night.
30 MAR 14: Page
7-8 steps 1-3, page 7-9 step 1, page 8-2 steps 5-6, page 8-3 steps 1-2: 10
hours
Back riveted the R-1003A top rib half on the R-1001L
skin. Riveted the R-1003B top rib half
to the R-1001R skin. Riveted the R-1004
bottom rib to the R-1001R skin. Very
tough to rivet the last hole in the rib.
Used a small piece of steel plate to indirectly back rivet it:
Riveted the R-1010 shear clips to the R-1001R skin – first
pop rivets used:
Riveted the HS-906 rear spar doubler to the HS-1003 rear
spar:
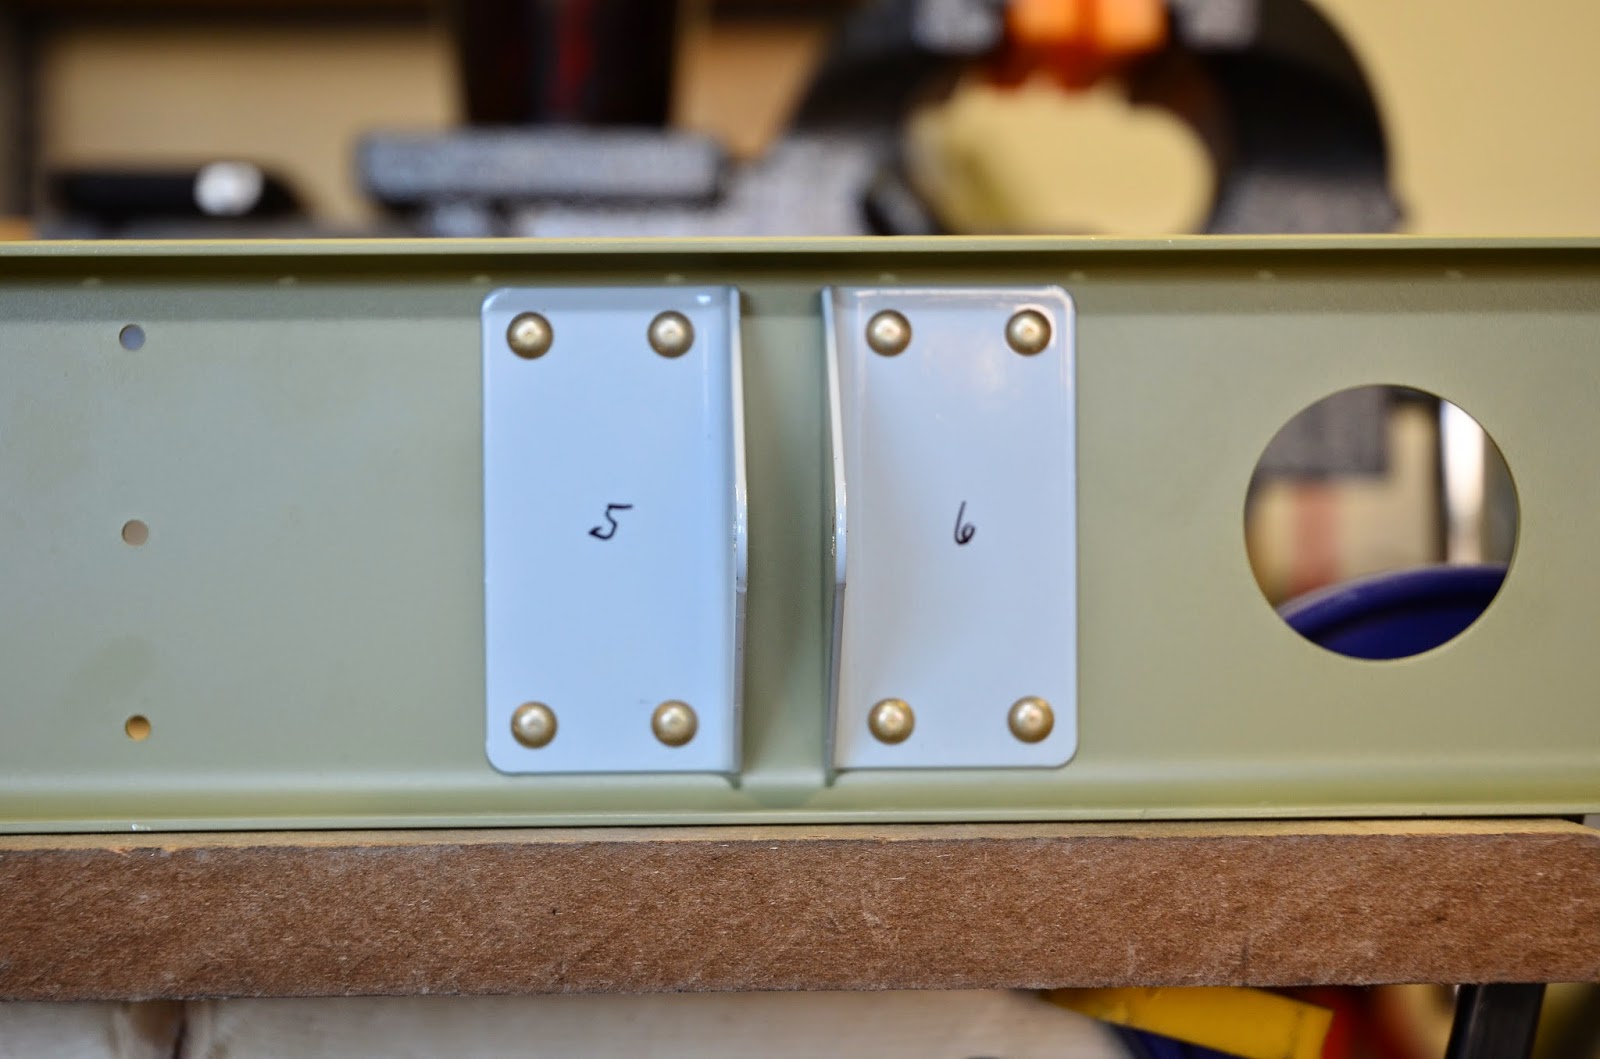
Riveted the HS-912 hinge brackets to the HS-1003 rear
spar. Remember to put manufactured heads
on the bracket:
Opposite side:
Riveted the VA-146 between the two HS-911 inboard hinge
brackets:
Bolted the inboard hinge bracket assembly to the rear spar
assembly and marked with torque seal:
31 MAR 14: Page
8-2 steps 1-2: 3.5 hours
Riveted the HS-1002 front spar, HS-1007 front spar doubler,
HS-1013 front spar caps, and the HS-1008L/R front spar attachment
brackets. Had to buck the -9 and -10
rivets as the squeezer will only handle up to -7s. Ooops…let’s try this one again:
Finished the spar by riveting the nine holes in both flanges
of the HS-1002 front spar and the HS-1013 front spar caps:
1 APR 14: Page 8-9
steps 5, 7 page 8-10 steps 1-2: 3.75 hours
Marked the empennage fairing screw holes on the skins and
inboard nose/inspar ribs. Dimpled all
the rib flanges for exterior rivets.
Began to dimple the skins.
Riveted the two inboard HS-1004 inspar ribs to the flanges of the
HS-1016 stringer web. Riveted the two
sets of HS-1014 and -1015 stringers together:
2 APR 14: Page
8-10 step 2: 3.25 hours
Finished dimpling the HS skins – took quite a while. Riveted the two sets of HS-1014 and -1015 together
and to the HS-1016 stringer web:
Could squeeze most, but had to buck these -4s:
Other side:
3 APR 14: Page
8-11 steps 1-3 page 8-12 step 1: 6 hours
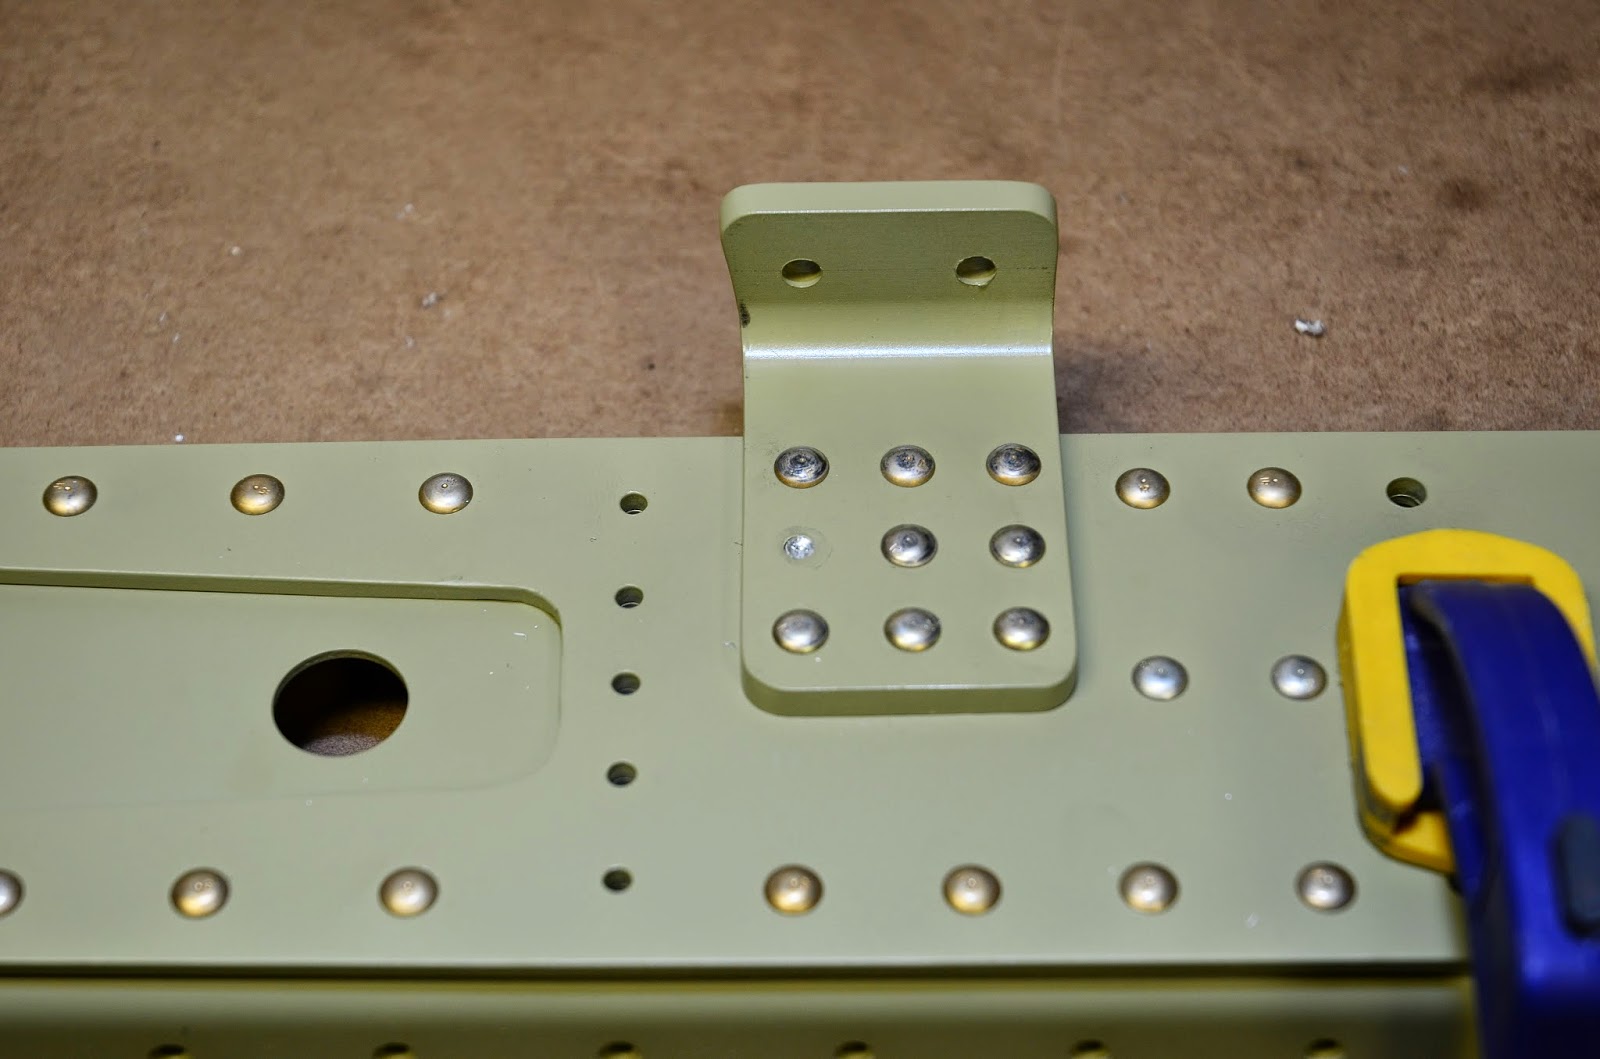
Pressed the two SB625-8 snap bushings into 5/8” holes in
front spar assembly. Riveted the inspar
ribs to the front spar assembly:
I spent the rest of the evening riveting the HS-905 nose
ribs in the HS-1001 skins. This took a
while to develop a system of controlling the bucking bar and the gun since I’m
riveting solo. Once I developed a system
it was still very slow going due to angles and curvature of the leading
edge. I’m increasing my confidence in
riveting immensely. It was a very slow
process, but I only had to drill out one rivet and I didn’t ding the skin at
all. At the end of the evening all the
nose ribs are riveted:
4 APR 14: Page
8-12 step 2, page 8-13 steps 1-3: 4 hours
Riveted the front spar/inspar rib assembly to the nose
ribs. Riveted the two end HS-904 inspar
ribs to the HS-1002 front spar web.
Riveted the HS-1001 skins to the flanges of the front spar
assembly. Riveted the skins to the
flanges of the HS-1004 inspar ribs up to the HS-1014/1015 stringers:
5 APR 14: Page
8-13 steps 2-3: 3 hours
Continued riveting the HS:
6 APR 14: Page
8-13 steps 3-5: 3.5 hours
Continued riveting the HS:
7-9, 13 APR 14:
Page 8-13 steps 4-5: 5.5 hours
Drilled out 10 rivets and finished riveting the skins of the
HS:
14 APR 14: Page 9-7
steps 5-6, step 9: 2.25 hours
Dimpled the E-616 cover plates, E-615 reinforcement plates,
and nutplates. Began dimpling E-1001A/B skins:
16 APR 14: Page 9-7
step 9, page 9-8 steps 1-4, page 9-9 step 1: 2.75 hours
Continued dimpling E-1001A/B skins, dimpled the E-1002 front
spars and E-1007 rear spars, dimpled the E-905 root ribs:
17 APR 14: Page 9-9
steps 2-5, page 9-10 steps 2-3: 5 hours
Dimpled the E-1022 shear clips, the flanges of the E-1008A/B
ribs, and the E-903 and E-904 ribs.
Riveted the common 1/8” holes of the E-903 and E-904 ribs:
Riveted the E-913 counterbalance skin to the E-903 and E-904
ribs: