Wednesday, November 26, 2014

23 NOV 14: Page 17-4 steps 4-5, page 18-2 step 5: 5 hours
Finished riveting the right leading edge to the main spar:
Riveted the ribs to the wing spars:
Began the left tank: clecoed the T-1011 tank stiffeners and the VA-112 drain flange to the tank skin:
 Final drilled to the tank skin:
24 NOV 14: Page 18-2 steps 5-6, page 18-3 step 1: 2 hours
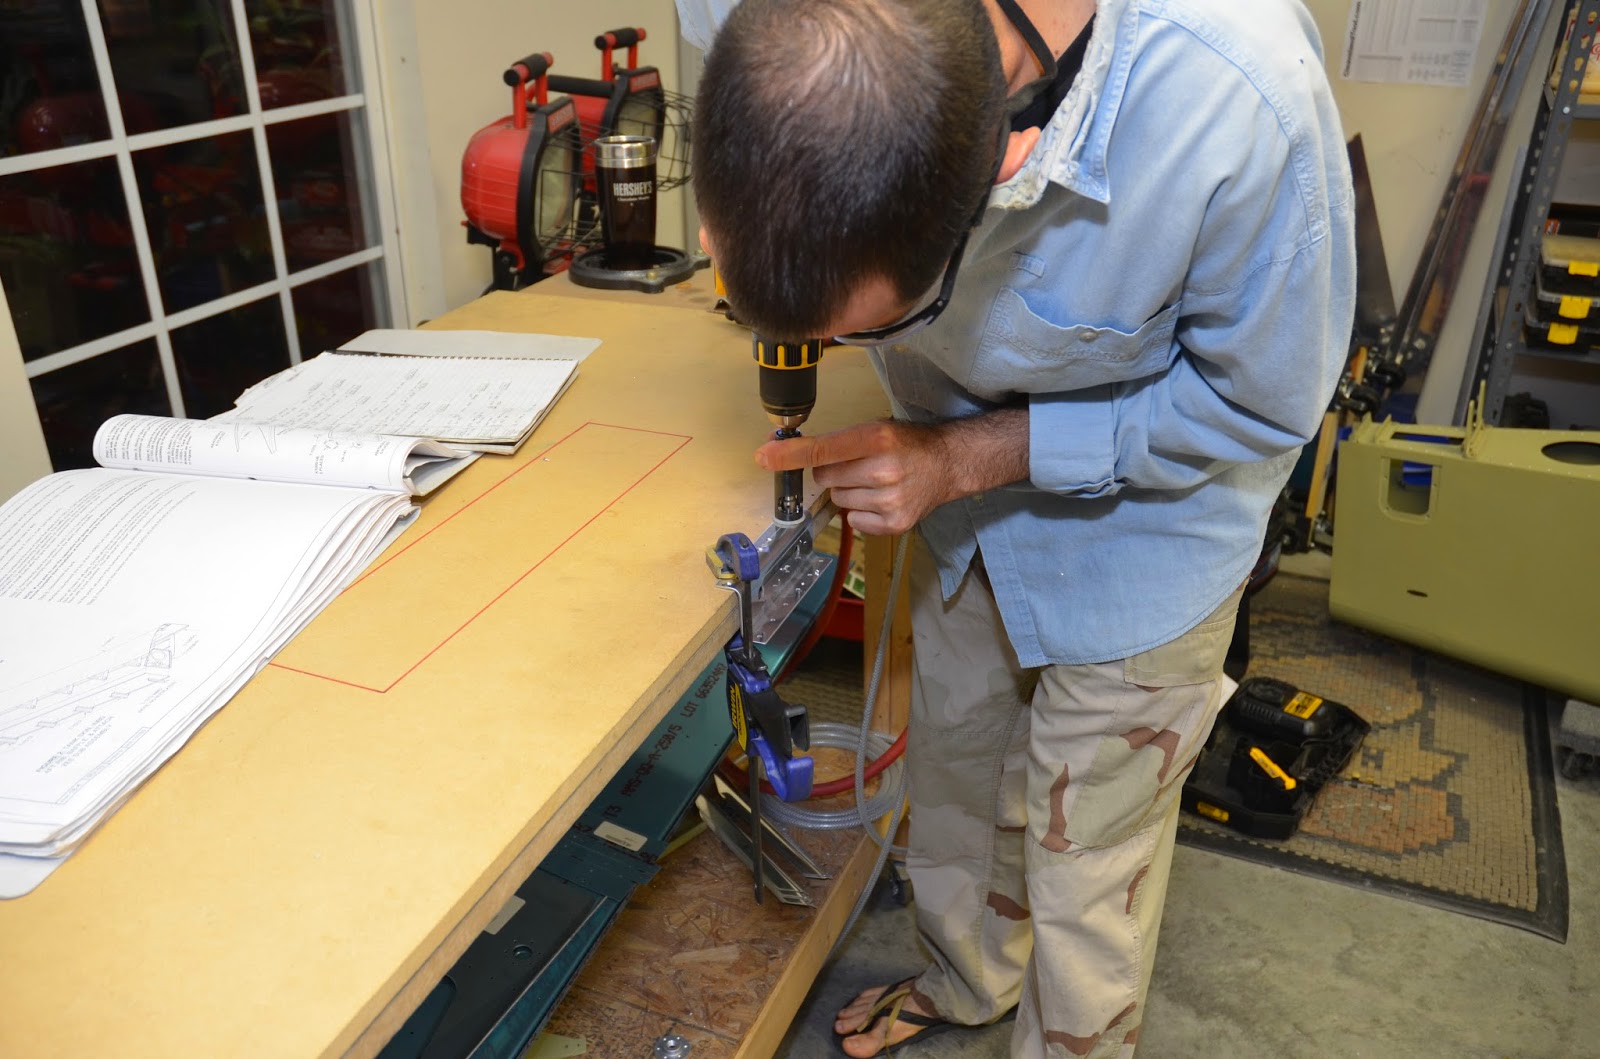
Finished final-drilling the stiffeners.  Clecoed and final-drilled the T-1003-L, T-1003C-R, and T-1004-L tank ribs to the tank skin.  Fit and match-drilled the T-1009 tank J-stiffener to the T-1001-L tank skin – no pics.
25 NOV 14: Page 18-3 step 2, page 18-4 step 1: 1.4 hours
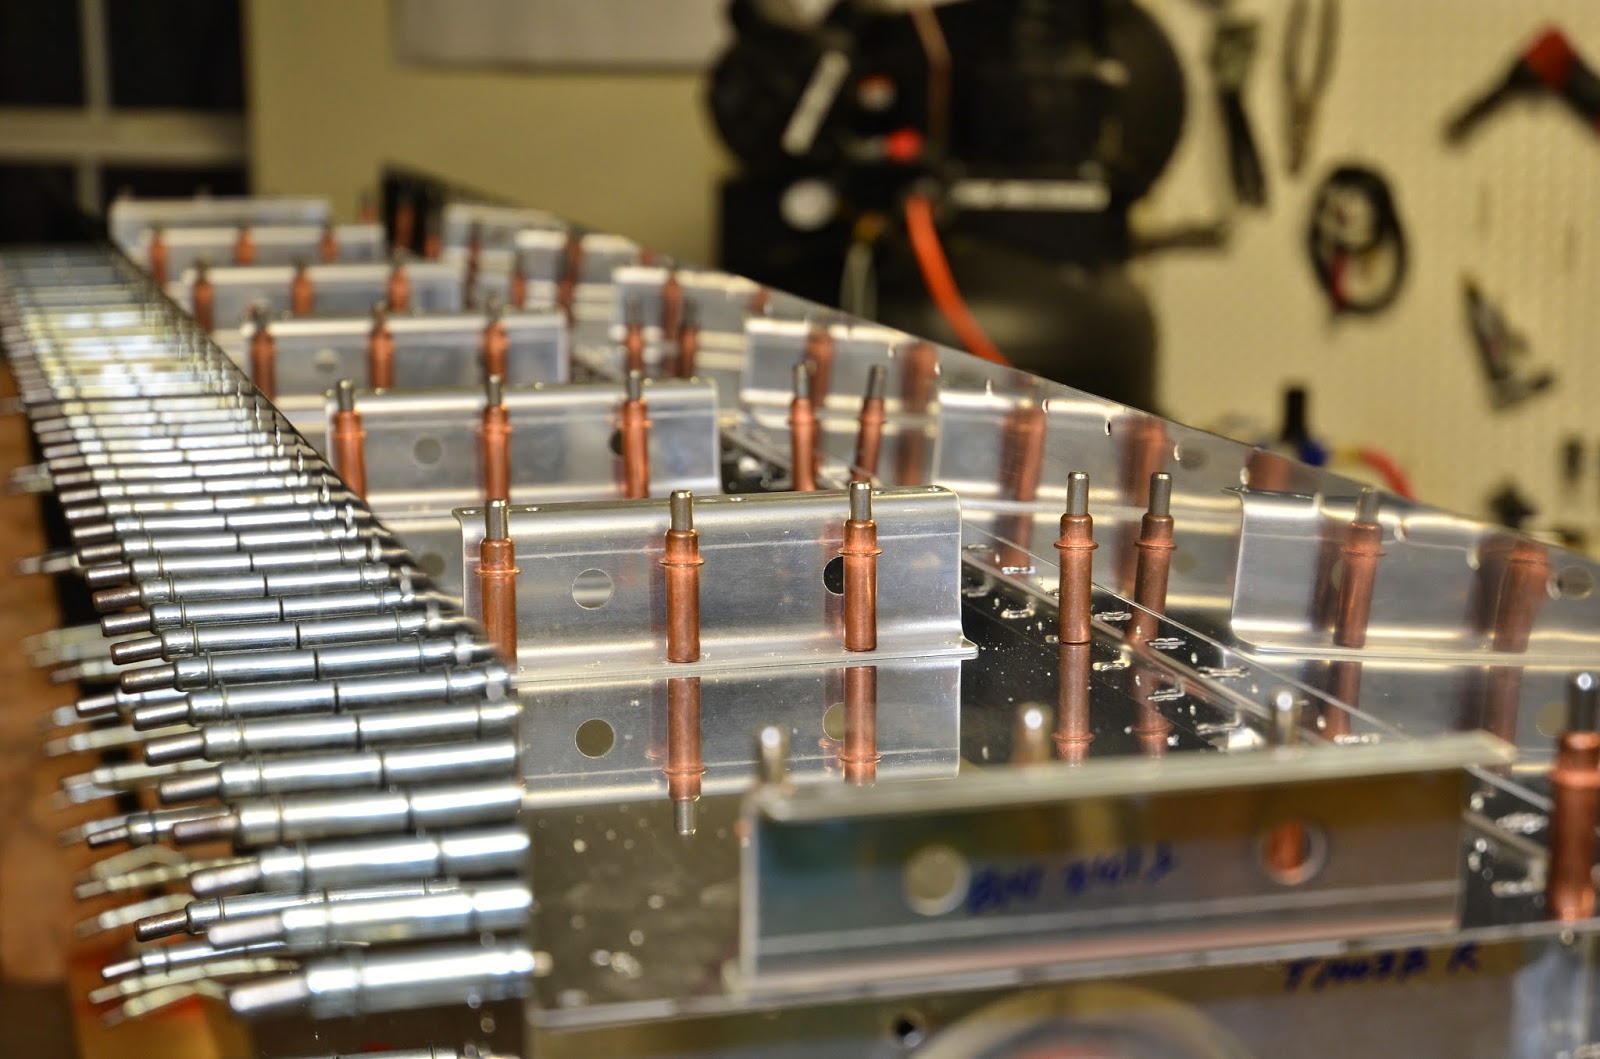
Clecoed and final-drilled the T-1005-L tank attach bracket to the T-1001-L tank skin and T-1003C-R tank inboard nose rib:
Clecoed and final-drilled nutplates to the T-1012 tank attach Zs. Countersunk the tank attach Zs for the nutplate attach rivets:
26 NOV 14: Page 18-4 steps 2-6: 3 hours
Clecoed and final-drilled the T-1003B-R tank inboard rib aft to the T-1001-L tank skin and T-1005-L attach bracket.  Clecoed and final-drilled the T-1002 tank baffle and T-1012 tank attach Zs to the tank rib aft flanges:
Clecoed and final-drilled the T-1001-L tank skin to the upper and lower flanges of the T-1002 tank baffle:
 Drilled all the screw holes in the T-1001-L tank skin to #19.  Machine countersunk the row of holes that attach the T-1001-L tank skin to the T-1002 tank baffle:

Saturday, November 22, 2014

17 NOV 14: Page 16-3 step 3 Left Wing: 1.75 hours
Continued to rivet rear spar of left wing.  Riveted my patch for my figure eighted hole – came out nice, all things considered:

18 NOV 14: Page 16-3 step 3, page 16-4 step 4 Left Wing: 4.2 hours
Finished riveting the left wing rear spar:
Riveted the outboard hinge bracket assembly to the wing assembly:

19 NOV 14: Page 16-3 step 3, page 16-4 step 4 Right Wing, page 18-2 step 4: 2.5 hours
Finished riveting the right wing rear spar. Riveted the outboard hinge bracket assembly to the wing assembly.  Both wing top skins are complete:

 20 NOV 14: Page 18-2 steps 2-4: 3.2 hours
Trimmed the T-1011 tank stiffeners and T-1008 vent line clips:

Trimmed the T-1012 tank attach Z brackets:

21 NOV 14: Page 18-2 steps 3-4: 3.25 hours
Finished cutting and deburring the T-1011 tank stiffeners, T-1008 vent line clips, T-1012 tank attach Z brackets, and T-1009 tank j-stiffeners:

 22 NOV 14: Page 17-4 step 5, built wing stand: 5.2 hours
Once again, friend and RV-14 builder Mike Hammond came over and we riveted both leading edges to the main spar assemblies.  Again, riveting goes super-fast with two people doing the job.  Both wing leading edges done:
Time to build the wing stand to get the work benches free for future work.  I decided to use this one that I found again and again online:
A couple hours later and the stand is complete.  It turned out pretty nice and it is nice to be able to easily move the wings around the shop:

Sunday, November 16, 2014

16 NOV 14: Page 16-3 step 4: 8.75 hours

Began riveting the right wing skin.  I did the left wing by back riveting and I really didn’t want to back rivet the right wing – it took way too long to back rivet.  I began bucking the rivets that I could reach.  About 1400 a local -14 builder – Mike Hammond – swung by and helped me shoot the left and right wings.  It’s amazing how fast the skins went with two people!  We finished up both wings except for a few areas on the rear spar that I’ll easily be able to finish up by myself.  Looks like I’ll be starting the tanks sooner than expected!


Saturday, November 15, 2014

11 NOV 14: Page 17-3 step 14: 2.75 hours
Finished riveting the left leading edge:
12 NOV 14: Page 16-2 step 6: .7 hours
Began dimpling the right wing skins – no pics
13 NOV 14: Page 16-2 step 6, page 17-3 step 9: 3.15 hours
Finished dimpling right wings skins and right leading edge:
14 NOV 14: Page 17-3 steps 9-14: 5.5 hours
Dimpled the screw holes in the right splice strip for #8 screws.  Riveted the nutplates onto the W-1019-R splice strip:
Reassembled the right leading edge:
Began riveting the right leading edge assembly:
15 NOV 14: Page 17-3 step 14, page 16-3 step 2: 7.5 hours
Finished the right leading edge:
Clecoed the right wing skins together in preparation for riveting.  I had to cleco the leading edge just to see it!


Sunday, November 9, 2014

9 NOV 14: Page 17-3 steps 14: 6 hours
Finished all but a few top ribs of the left leading edge.  Bottom complete!
Glad to say that all the rivets were shot without incident – nice and smooth:
I shot all the bottom skin rivets in the cradle, but the curvature of the top skin is too much to shoot the top skin in the cradle.  Had to shoot the rivets in the curve of the top leading edge with the piece laying on a workbench.  Shooting on a curve is always difficult.  The swivel flat set helps, but you still have to be very cautious about being square to the rivet as not to ding the skin – especially the top leading edge of the wing!

Looking good so far:
Only did a couple rows and stopped for the evening.  I was tired and didn’t want to push my luck with the top skin!  Should finish up this leading edge tomorrow.  Only a few ribs left to rivet.  Nice and smooth:

Saturday, November 8, 2014

3/6 NOV 14: Page 16-3 step 3: 2 hours
Finished riveting the left wing skin – at least all the parts that I can rivet without help.  Back riveting took a long time – think I’ll get a partner to shoot the right skin.  Plus to back rivet I had to use a double offset back rivet set.  I really don’t like the shop heads that set produces.  VERY hard to hit the shop head with even pressure with the double offset, and you have to turn the pressure up very high.  Just really difficult to get nice shopheads.

8 NOV 14: Page 17-3 steps 9-14: 6.5 hours
Dimpled the L LE skin:
 Dimpled the screw holes in the splice strip for a #8 screw:
 Riveted the nutplates onto the W-1019-L splice strip:
Began to rivet the left LE assembly.  It’s so nice to be bucking rivets again instead of back riveting.  The shop heads are so much nicer and it is nice to be using much lower pressure at the gun.  Honestly, the factory heads look just as nice as back riveting.  Knock on wood, my leading edges will look very nice!

Sunday, November 2, 2014

20 OCT 14: Top Wing Skin Prep: 1.75 hours
Countersunk the rear spar repair and clecoed the top skins to the L wing structure:
21 OCT 14 – 2 NOV 14: Page 16-3 step 3: 17.5 hours
Holy cow this has been a long month - I've been sick most of it.  Was down for about the first 2 weeks of October, got better for about 2 days, and have been sick again for the last week and a half - uggghhhh.  Bad timing as it just started getting cooler and it's perfect for building in the garage.
Rivets taped and ready for back riveting:
Almost finished.  Back riveting has taken a long time!