Sunday, June 29, 2014

22 JUN 14: Page 
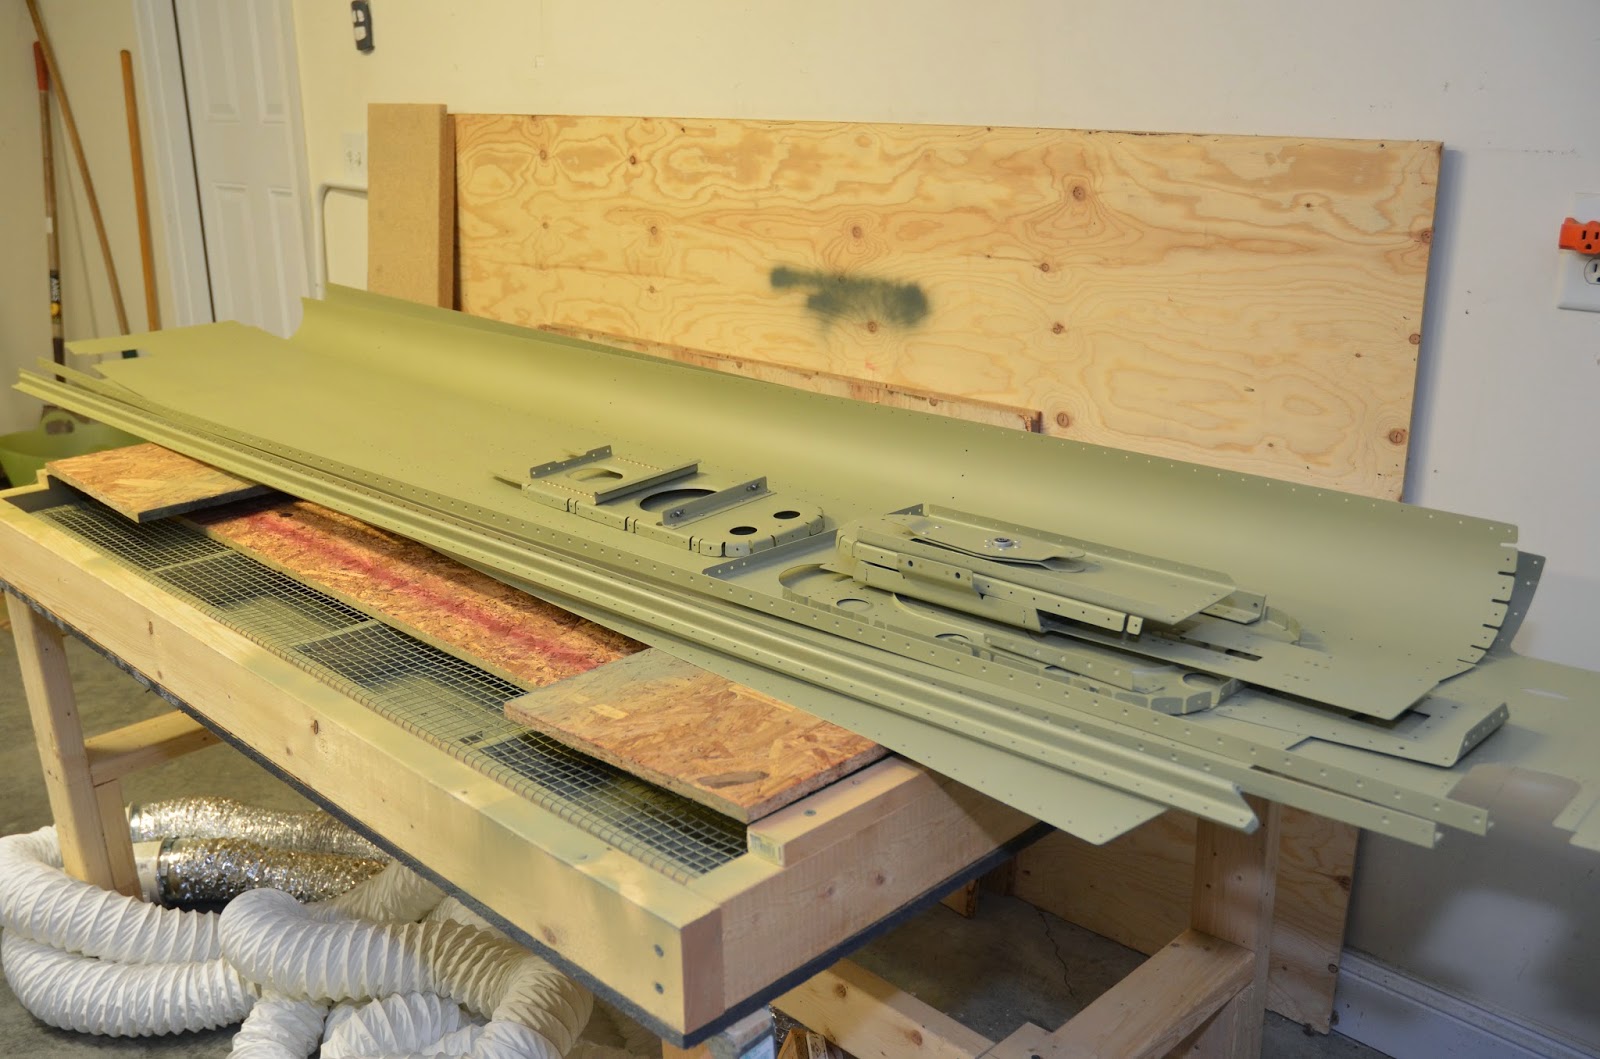
10-20 step 1: 2 hours
Clecoed together the tailcone.  I’ve decided to try to back rivet as much as possible:

24 JUN 14: Page 10-20 step 2: 1 hour
Began riveting the tail cone stiffeners.
25 JUN 14: Page 10-20 step 2: 2 hours
Continued riveting the tailcone.  Noticed my back rivet set had a nub in the middle and was also convex in the center.  I was having fits getting nice shop heads in the tail cone stiffeners.  The faulty back rivet set:

The results:

The replacement:

Much nicer:
26 JUN 14: Page 10-20 step 2: 2 hours
Continued riveting the tail cone – no pics 
27 JUN 14: Page 10-20 step 2: 7.75 hours
Continued to rivet the tail cone.  Finished up the first side.  I was able to back rivet all rivets except the ones right next to the j-channel (too close to fit the back rivet set).  I had to get a little creative to back rivet the curved part of the skins/bulk heads.  Propped the tail cone at the proper angle:
 

Centered the back rivet plate:

 Shop head side looks good:
Manufactured side looks good, too:

 Back riveting really makes for nice rivets!
This rivet was too close to the j-channel to fit the back rivet set and a bucking bar:

 I used a tight fit dimpling bar and a back rivet set – worked great:
Right side complete!

I was worried about damage the skins on the curved part of the aft skin where I had to buck and shoot solo, but I am very happy with the results:
 28 JUN 14: Page 10-20 step 2: 4.4 hours
Finished the left side riveting.  Primed the edges that the right side skin will overlap:

Clecoed the right side skin to the frame:

29 JUN 14: Page 10-20 steps 2-7: 9.5 hours
Had to get creative back riveting the curved pieces with the second skin on – used the blanket as a counter-weight to balance the tailcone:

 Worked pretty well:
Took all day to get all the rivets shot, but at the end of the day, I didn’t have any clecos in the tailcone!


Saturday, June 21, 2014

15 JUN 14: Prepping tailcone parts for priming: 5 hours
Prepped all tailcone parts for priming with Prekote and a scotchbrite pad.  Always a lot more work than it looks initially.  Still have to do the skins.  Will do scotchbrite and an acetone wipe down on the skins:

17 JUN 14: Priming tailcone parts: 4.5 hours
Started priming the tailcone parts – mixed up one batch of Akzo.  The HF gun shoots the primer really well.  Finishes the parts of very nicely:

18 JUN 14: Priming tailcone parts: 3 hours
Continued priming the tailcone parts – no pics.
19 JUN 14: Page 10-17 steps 4-6, page 10-18 steps 1-3: 5.5 hours
Riveted the F-635 elevator bellcrank assembly:
 Riveted the nutplates to the battery mount, riveting the F-1036B battery channels to the F-1035 battery/bellcrank mount:

Riveted the F-1012A & B bulkheads, the F-1056 rudder stop brace, and the F-1012E tie down bar:

Riveted the F-1011 bulkhead, the F-1011A stiffener, the F-1011C HS attachment bars, and the F-1011E rudder cable angle:
Finished priming all the tailcone parts:

20 JUN 14: Page 10-15 step 5, page 1016 steps 2, 4 page 10-19 steps 2, 3, 5: 4 hours
Dimpled the F-1006 bulkhead, the F824B cover plates, and all #40 holes in the flanges of all frames and bulkheads.  Riveted the F-1010A HS attachment angle and the F-1010C L/R bulkhead doublers to the F-1010 bulkhead:
Riveted the F-1008 and F-1007 frames:

21 JUN 14: Page 10-16 step 3, page 10-19 steps 1, 4, and 6: 6.5 hours
Dimpled all the #40 holes in the skins:
So many holes….


Finished up this work session by riveting the nutplates to both F-1073 side skins:

Saturday, June 14, 2014

8 JUN 14: Page 10-15 step 4: 6.25 hours
Finished deburring the rest of the tailcone parts – no pics.
9 JUN 14: Page 10-15 steps 6&8, page 10-16 step 1: 3 hours
Final drilled 11/16th hole for the tie down eyebolt:
Machine countersunk the four #40 holes in the F-1056 rudder stop brace and the four #30 holes in the F-1012E tie down bar.  Machine countersunk the skin holes of the F-1032 longerons:

10 JUN 14: Page 10-16 steps 1, 6-8, page 10-17 steps 1-2: 2.7 hours
Finished machine countersinking the skin holes of the F-1032 longerons.  Separated the F-1036 battery channel, final-drilled the holes of both F-1036B battery channels and deburred the edges and holes.  Final drilled the holes of the F-1035 battery/bellcrank mount, deburred and finished all edges.  Separated the F-636 bellcrank into individual parts.  Clecoed together the F-635 elevator bellcrank assembly.  Final drilled all of the holes, deburred:
11 JUN 14: Page 9-16 step 3: 1.5 hours
With all the tailcone parts ready for priming, I skipped back to the elevator trim tabs, which I have left to complete the elevators.  Masked the inside of the E-919 trim tab skin around the location for the ribs.  Scuffed with 150 grit sandpaper to prep for bonding the ribs – no pics.
12 JUN 14: Page 9-16 steps 4-5: 1.75 hours
Completed the trailing edge bend of the trip tab skin.  Bent the tabs on the end of the trim tab skin – no pics.
13 JUN 14: Page 9-17 steps 1-4: 2 hours
Match-drilled the holes of the outer tabs into the inner tabs.  Made the 15’ bend in the bottom trim tab skin.  Cut and deburred the E-917 & 918 trim tab horns.  Clecoed the trim tab horns to the trim tab skin and spar; final-drilled the holes common to the horns, skins, and spar – no pics.
14 JUN 14: Page 9-16 steps 3-5, page 9-17 steps 1-5, page 9-18 steps 1-3: 5 hours
Completed the E-1019 trim tab.  On this one I used hardwood – red oak – for the wedge and bought carpet tape as called out in the plans.  It was easier than the other tab, but honestly, I don’t think the bends turned out any better.  In fact, I didn’t have the inside part of the wedge lined up right, so the bend isn’t straight.  When lined up with the elevator, the gap is larger at the trailing edge than at the root.  Would be inexpensive to redo it, but I’ll probably live with it:

 Machine countersunk the holes in the top flanges of the E-920/1020 trim tab spars:
Cut two 35” trim tab hinges, match-drilled the holes in the elevators and hinges.  Deburred all elevator trim tab parts.


Saturday, June 7, 2014

29, 31 MAY 14, 2, 5, 7 JUN 14: Page 10-15 step 4: 10 hours
Been very busy at work since Memorial Day, so I haven't had very much time to devote to the build, or to go flying.  First order of business was to get into the air.  With the clouds rolling out, it made for a beautiful early morning flight:
 After getting home, I got a solid 5.5 hours in today - felt great.  For the past two weeks I've sporadically worked .5 - 1 hour at a time, so it felt really good to get some quality time in once again.  Not too many interesting pics, as all I'm doing is deburring all holes and edges of the tailcone parts.  Deburring what seem to be endless holes:
Filing the edges of the side skin:


One side skin down: