Saturday, February 18, 2017

1 FEB 17: Countersunk screws/installed PlaneAround gear box: 1 hour
Completed the install of the PlaneAround gear box and countersunk screws.  This took me a seriously long time to get to this point!  It was a bit confusing following 3 sets of instructions at the same time – the second door will go together much quicker!  My countersink job is a little shoddy 😯 and my cut for the gearbox cam isn’t exactly centered, but I’m going to glass over everything and then cover the door eventually, so I’m not too worried about it.

2 FEB 17: Page 45-12 steps 1-4, installed PlaneAround pin blocks: 4 hours
Installed the van’s pin blocks to get the correct screw hole placement and then fit the PlaneAround pin blocks.  You have to install the Van’s blocks first because the PlaneAround are oversized.  They use the same bolt holes, so once you have the Van’s installed, it is just a matter of sanding the PlaneAround blocks to fit the space in the door:

6 FEB 17: Finish initial install of PlaneAround latch/pins: 1.5 hours
I’ll say it again, this took WAY longer than I had imagined!!

8 FEB 17: Cut and tapped rod ends, installed PlaneAround angled pins: 2.5 hours
Cut the door rods to size to accommodate the extra length of the PlaneAround angled pins and then tapped the rods for the threaded inserts to attach the pins.  Will have to Loctite the inserts into the rods, but won’t do that until final fitting when I know everything is in its final position.  I’ll also have to epoxy the magnets inside the pins for the Van’s door latch switches:

11 FEB 17: Match drilled new deck angle, primed parts and installed O/H console nut plates: 5 hours
I received the new angle stock from Van’s and set about match drilling it.  This was a bit nerve-wracking as there are a lot of holes on each face and they all have to line up perfectly for me to reinstall the angle and, more importantly, the horizontal stabilizer, which I already drilled to the deck.  I cut the old angle in half, sanded it flat, and used it as a drill template for the new angle.  Luckily, everything fit like a glove.  The old top half of angle and the new unprimed angle installed – the AN bolts fit just like originally through the longerons:
Aft deck clecoed in place.  Very happy everything fit nicely like originally:

I then installed nutplates in the overhead console for the cover plates.  I have to order some single-sided for the corners as I didn’t have any on-hand:

I then primed the console cover plates and new aft deck angle.  Cover plates temporarily installed.  I plane to keep the overhead raw carbon fiber – will eventually clearcoat it – and paint the cover plates beige to match the interior.  I have ordered black screws as they will look nicer when the plate is eventually painted:
The new deck angle primed and ready for install.  A lot of holes on each face, and a lot of opportunities for misalignment.  I was extremely happy that everything fit back together very nicely!

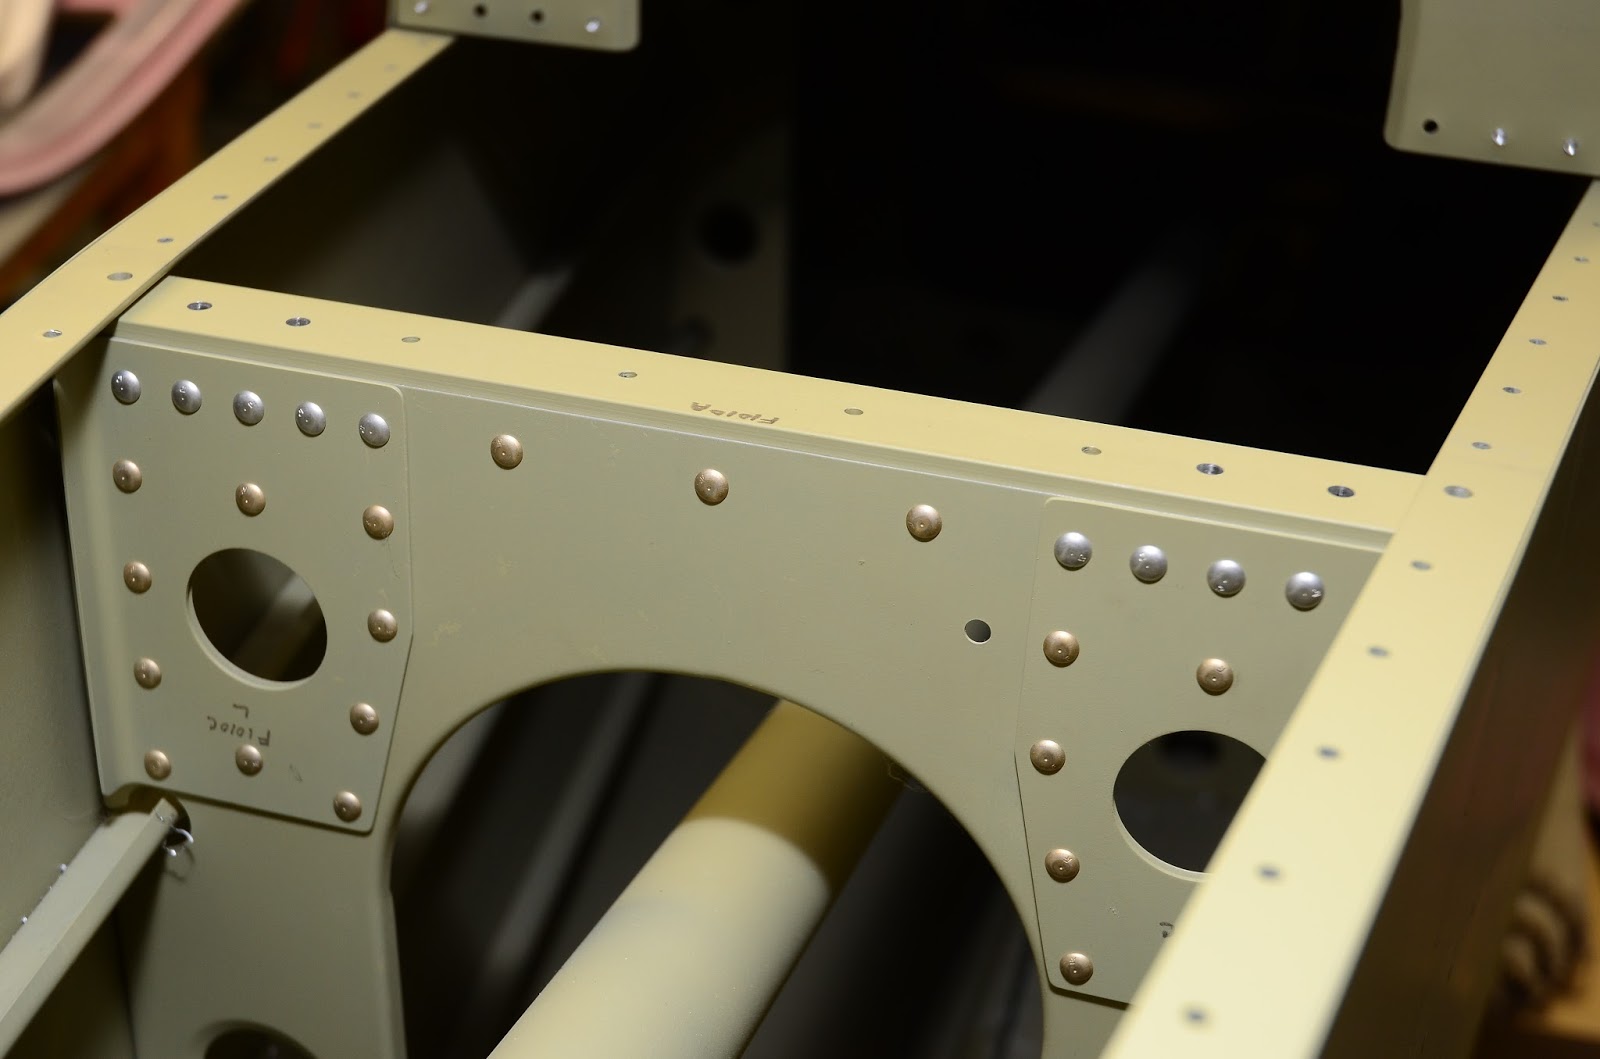
12 FEB 17: Page 45-14 step 2, page 45-15 steps 1-3: 6.75 hours
Installed the cabin pin blocks in the door jamb.  In this pic of the aft block, you can see where I trimmed the cabin top back a bit too much.  No worries, as I will eventually fill that entire area with epoxy/flox and final sand to shape:
I’m very pleased with the initial fit of the door:
I will eventually do finishing epoxy work to make sure the door and cabin frame is level and to ensure a uniform door gap, but I’m quite pleased even with the initial fit:

13 FEB 17: Epoxy door strut bracket, begin to rivet back deck back together: 4 hours
I’m using the PlaneAround strut brackets and wasn’t please with my initial fitment.  For starters the angle of the holes wasn’t quite right, which made the screws difficult to get started.  Secondly, I installed it too far inboard, which didn’t leave enough room for the door seal.  So I epoxied the holes and decided to start over.  Part of the difficulty is that the bracket is angles, but the cabin top is rounded, so I decided to set the bracket in a bed of flox to create a flat mounting surface.  First covered the bracket in packing tape:
I then mixed up some flox and bedded in the bracket – this time with a piece of door seal installed to get the proper spacing:

While that was setting up, I began to rivet the aft deck back together.  The angle that I replaced riveted back to the bulkhead:

Front side:
I then began to rivet the top of the deck back into place – got about half way done and decided to call it a night:
With the flox cured, I removed the strut bracket.  This will provide a much nicer (flat) surface to redrill the bracket to the cabin top:

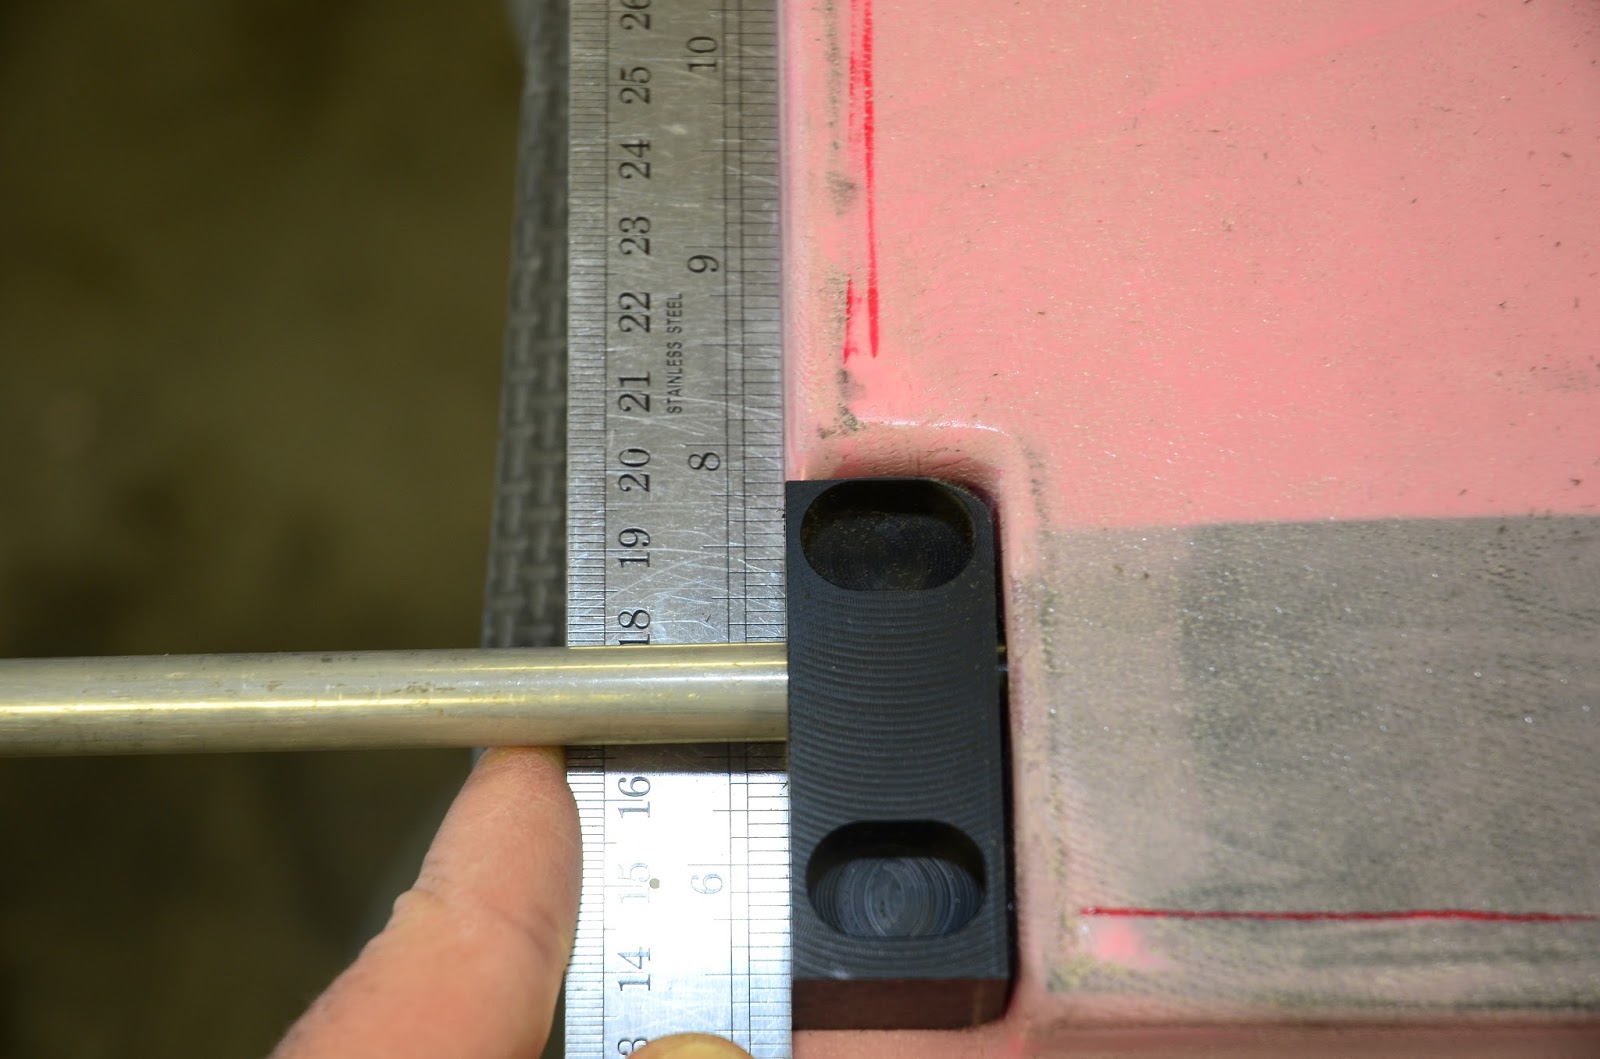
16/17 FEB 17: Redrill strut bracket, install PlaneAround cam, C/S door screws: 5.75 hrs
Much easier to install the bracket this time around with the flat mounting surface:

18 FEB 17: Finished left door rough fit, finished aft deck reassembly: 5 hours
I wasn’t happy with my initial placement of the strut brackets on the door.  It was slightly misaligned, so when the door would was almost closed, it shifted slightly aft making it difficult to shut the door.  So, more flox…  I feel like I do everything twice with the doors.  Second time around:
Second time around and the fit was right on.  Still have to do the final fitting of the McMaster-Carr door seal, and eventually do the final epoxy work on the door/cabin joint, but I’m really pleased with how it is fitting with everything together.  Bottom edge:

Forward edge:
Aft edge:
Nice to see the door all together and installed:
Finished todays work session by completing the reassembly of the back deck.  I dreaded pulling it apart, but I knew I had to replace that angle at some point.  Glad to have it repaired and back together!

Sunday, January 29, 2017

23 JAN 17: 45-13, step 2 (R), fit Aerosport door handle and lock: 4 hours
Finished the right door handle and fit the Aerosport flush door handle and lock.  These handles are going to look really nice when the plane is finished!

27 JAN 17: Remove tail section: 3.5 hours
Well the time has finally come to dig back into the tail section.  A LONG time ago I replaced a piece of angle (cut original too short) with a piece of angle from Lowes.  Even though the aluminum angle had the same inside radius as the Van’s angle, I was never comfortable with this after I did it.  I recently thought about this, so decided to pull things apart in order to replace it.  Well, my memory failed me.  I always thought the angle was a piece on the top of the back deck (easy fix), but it’s actually a piece under the back deck, which attached to the top of a bulkhead/reinforcement gussets.  This whole back deck must come off…
Removed:
The good news is that it’s pretty easy to remove rivets in the longerons.  I can drill the 1/8” rivets with a #40 bit and then drive them out with a punch, thus greatly lessening the change of enlarging the hole in the longeron:
Here is the offending piece of angle on the top of the bulkhead.  These rivets will be a bit more challenging to remove without enlarging the holes – especially the outboard ones.  It will be tough to get a straight shot – even with my angle drill:

29 JAN 17: Removed tail angle, trimmed door for PlaneAround latch, overhead : 4.5 hours
Finished removing the bad tail angle (no pic).  Everything is good to go; just waiting on the new parts to arrive from Van’s.  Continued working on the left door.  Cut the bottom of the door to fit the PlaneAround 180* latch.  Initial fit:
Finished the work session by fitting the Aerosport vents and eyeball lights in the overhead console:
Close up.  The silver will look nice against the carbon fiber once I clear coat and finish it:

Sunday, January 22, 2017

15 JAN 17: Left door seal, 45-5 step 10 (L), wet send/clear carbon fiber: 6.75 hours

Trimmed the left door window opening.  Just like the outer perimeter, a few places delaminated while trimming.  I believe this will be a regular occurrence while trimming the doors.  If I would have thought ahead a bit, I would have focused on ensuring a good amount of epoxy on the inboard side of the mating surfaces as you trim the outboard side away.  Continued to fit the door seal, however I’m done with that for now.  I’ll wait until I have the door latch installed to get the seal fit to 100%.  I shifted gears a bit and decided to play around with some of the carbon fiber pieces I received from the good folks at Aerosport.  I want to wet sand/clear coat the pieces as to be able to enjoy the beautiful carbon fiber look, but don’t have any experience shooting/sanding clear coat.  I decided to use the lower console side pieces – if I jacked those up, at least they wouldn’t be too visible!  I lightly scuffed, wiped with alcohol, tacked clothed, then shot.  Turned out pretty well.  Got a few dust spots, but that is expected as I’m shooting at the end of my garage and it is absolutely destroyed with dirt after years of building – especially now in the fiberglass phase!  Hard to get a good pic, but looks pretty good:

I’ll give that 24 hours, wet sand those marks and shoot another coat of clear.  I ended the evening by adding epoxy to a few spots of the door gutter that I will have to build up – where the gap is too large between the gutter/seal and door edge.  I was kind of intimidated by beginning the fiberglass work – had zero experience with it – but I’m enjoying it actually.  Yeah, it is dirty, stinky, and messy as hell at times, but it’s almost artistic in a way - creating the shape/look/final product that you desire.  The forgiving nature vs. metal work is also very nice!  Mess up here and sand/fill your mistake away, unlike metal work where you could have shot 200 perfect rivets and all it takes is one slip to mar your beautiful work.  I definitely miss shooting rivets, but this phase is a bit more care-free.  Mind-numbing for sure at times, but care-free ;)

16 JAN 17: Wet sand, polish carbon fiber: 4 hours
Well, we build EAB to learn, and we learn from mistakes, right?!  Not really a learning moment, as I already had the information - I just rushed/was complacent.  After wet sanding the dust spots out of my clear-coated pieces, I decided to shoot another coat of clear.  Here is where the rush/complacency comes in.  1) I didn’t clean the area properly – still had some (too much) fiberglass dust hanging around, and 2) The bigger issue of the two, I shot both pieces side by side on the table.  Well, I shot a tack coat on the first piece – no problem – but then shot the tack coat on the piece next to it.  This kicked up a bunch of dust onto the first piece I just shot.  Holy cow – it looked about 10x worse than the first round of clear.  Oh well…  Let it cure, wet sand 1000, 2000, then 2500.  I then polished and waxed using my DA buffer.  A lot of work for a few small pieces you will barely see, but I did it more for my learning of the techniques than anything.  Again, hard to get good pics, but the finished product is very nice:

I know some people do not like the look of the raw carbon fiber.  I love it.  Yes, you can have too much, but in moderation, I think it really sets off the interior.  I will keep all the Aerosport interior – overhead, panel, lower/center console raw carbon fiber.  Close up:

18 JAN 17: Started door handle/latch assembly: 5.75 hours
5.75 hours worked today and I really didn’t get anything done – ha!  Started on the infamous handles/latches today.  I’ve read a lot about doing this – how it’s fairly confusing, difficult, etc.  To add to the confusion, I’m adding the PlaneAround 180* latch and the Aerosport low-profile door handle, so I’m following 3 sets of instructions at the same time.  Fortunately, like all RV builders, I have many that have gone before me.  I review the sites of fellow -10 builders Ed Kranz (http://www.goodplaneliving.com) and Justin Twilbeck (http://buildingrv10.blogspot.com), and -10 builders and friends Mike and Sarah (http://mikeandsarahrv10.blogspot.com) more than the plans at this point!  This makes some of the more confusing parts/additions exponentially easier.  I especially appreciate Ed’s videos of the Aerosport products.  Half of today’s time in the shop was just sorting through all of the parts required.  Here are the Van’s, PlaneAround, and Aerosport parts all separated for each door latch:

Only got the holes rough cut.  Do not have the door locks yet - didn’t at the time, do as I’m writing this ;) – so this is where I will stop for now on the door latches.  Just like the outer perimeter delaminated, so did this door pocket (actually, I don’t think it was ever bonded when I glued the door halves together), so I squeezed some epoxy back in there and clamped together.  Hopefully I won’t have to do it again when I sand to final size, but I probably will!

21 JAN 17: 45-10, steps 1-4: 4.25 hours
Temporarily assembled and final-drilled the door handle assemblies:
Riveted the C-1006A handle plates and C-1006D handle face plates to each other:

Cut the WD-1022 handles and C-1007 pins according to the Aerosport low-profile handle instructions.  Installed nutplates inside the WD-1022 handles – a bit tricky as the nutplate is inside of the handle.  I taped the nutplate to a flat tip screwdriver.  Worked well:


22 JAN 17: 45-13, steps 1-2: 5.25 hours

Some days you feel like you accomplish a lot, some days, not so much…  Over five hours and not even 2 whole steps completed.  Part of it was my fault – installing the wrong pins in the wrong areas…SEVERAL times… – but generally it just took a lot of work to get everything in the handles to work nice and smoothly.  Got the left handle finished and the right handle close – just have to grind the locking pin channel for the larger Aerosport pin.

Sunday, January 15, 2017

4-5 JAN 17: Page 45-5 steps 11-12 (L): 7.75 hours
Trimmed the outside perimeter of the left door.  The plans have you keep the index tabs on the doors while trimming to fit, but like others before me, I chose to make my own index tabs, so the doors can sit in their final position while trimming.  Marked and cutout the tabs from some scrap:

The tabs did a good job of holding the door in position:

I lost count with how many times I had the door on and off.  Off, trim, on, mark, off, trim, on, mark, off…again and again and again!  Not going for perfection at this point as the door will certainly shift a bit as I add the hinges, install the door seal, etc.  Looking pretty good:

11-12 JAN 17: Page 45-6 steps 1-3 (L), page 45-7 1-3 (L): 6 hours
Cut the threads off of four AN3-21A bolts to make the pins for the door hinges.  I had read other build logs that mentioned the play in the hinges.  One of the logs suggested shifting the forward hinge all the way forward and the aft hinge all the way aft while drilling the hinges.  In this way, the slop in the hinges is removed.  I made a couple of shims to hold the hinge in position as I drilled:

These held the hinges very well while drilling to the doors and removed any and all slop from the hinge:

Left door attached to the cabin top:

Inside of the hinges:

14 JAN 17: Trimmed left door gutter and fit door seal: 5.5 hours
Trimmed and sanded the door channel to fit the McMaster Carr seal.  My garage will never be the same – fiberglass dust everywhere! Forward edge:

Aft edge:

Still have some work to do on it.  I have the lateral distance trimmed well – looks consistent the entire way around the door opening.  However, I still have to adjust the width of the gutter to get a consistent 1/4 inch gap the entire way around – have some tight spots at the moment.  More sanding!!