22 OCT 15: Page 33-4 steps 7-10, page 33-5 steps 1-2, page 38-2
step 6: 5 hours
Dimpled the holes in the F-1024 seat floors and
associated under structure. Dimpled the
holes in the baggage floors. Riveted the
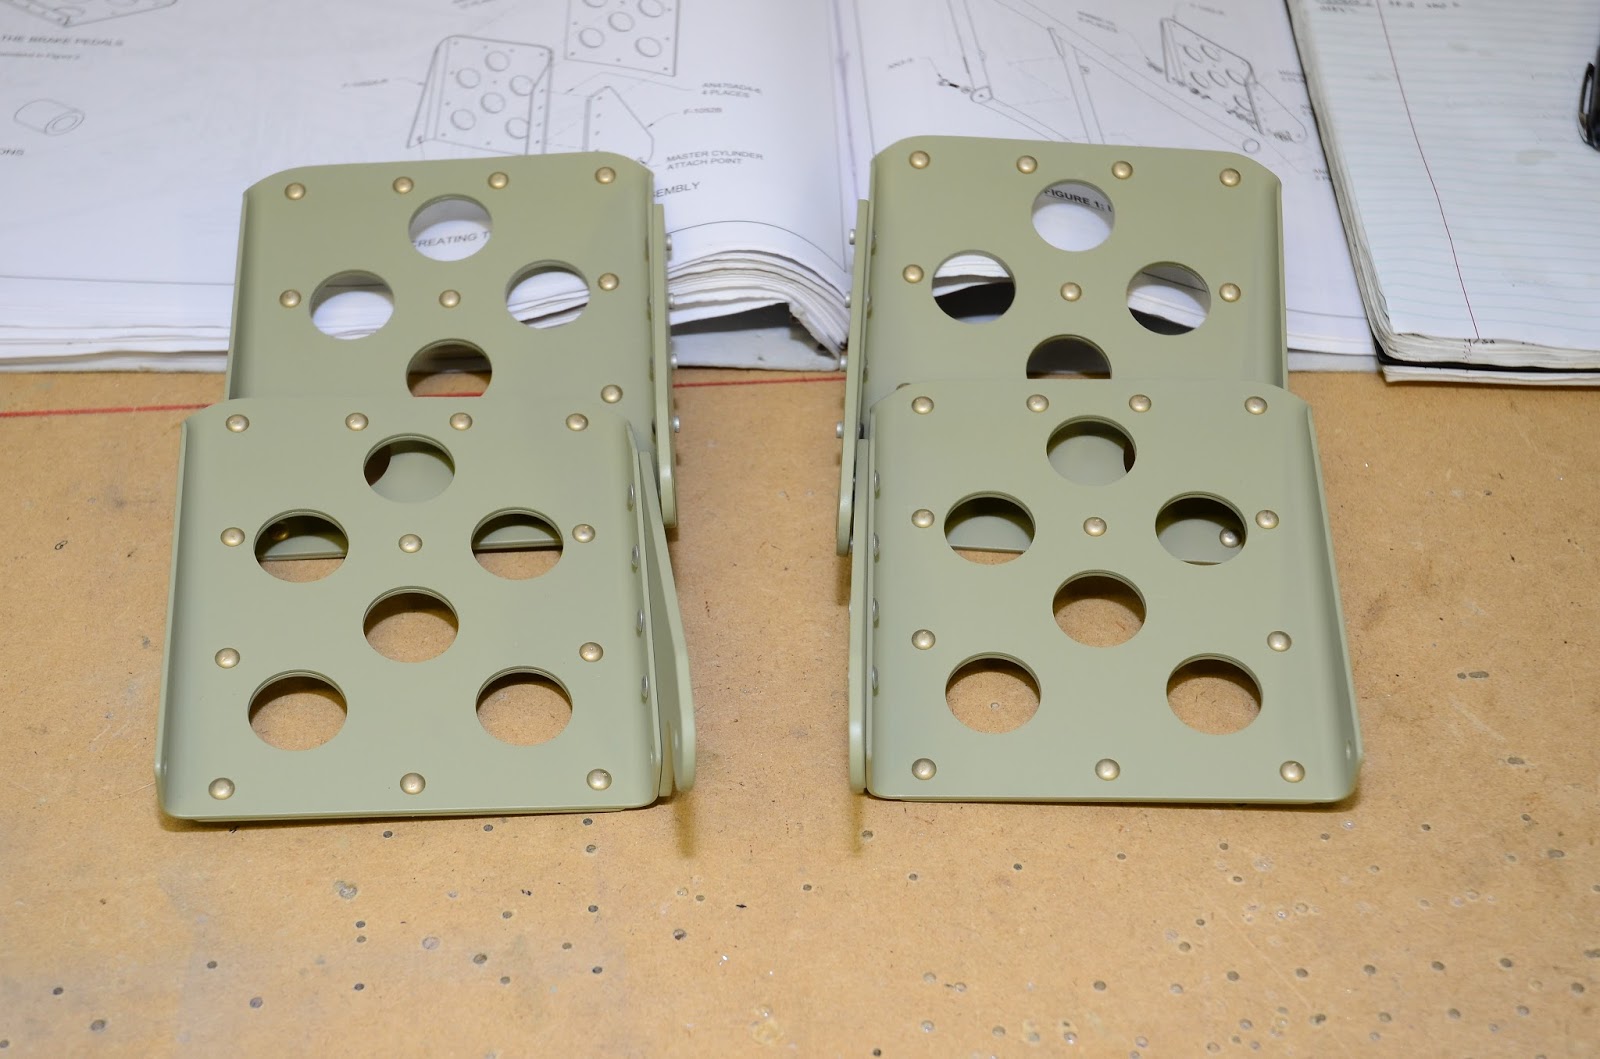
brake pedal assemblies together:


23 OCT 15: Page 33-5 steps 3-11, page 34-4 steps 3, 5: 3.75 hours
Dimpled the F-1022 baggage floors, understructure,
and stiffeners. Riveted stiffeners to
the F-1022A-L/R baggage floors:

Dimpled the baggage door parts. Unfortunately, I’ll have to do this part
over. I assume my dimpling in the frame
was insufficient. When I riveted the
frame to the door, most of the dimples cracked.
I ordered new frame pieces from Van’s.
Should be a relatively quick replacement.
27 OCT 15: Conduit / Sound proofing install in rear floors: 4 hours
Installed soundproofing under the rear floors in
prep for riveting the baggage and rear floors.
Made a couple tabs to hold the wiring conduit as it runs through the
baggage bulkhead lightening holes:

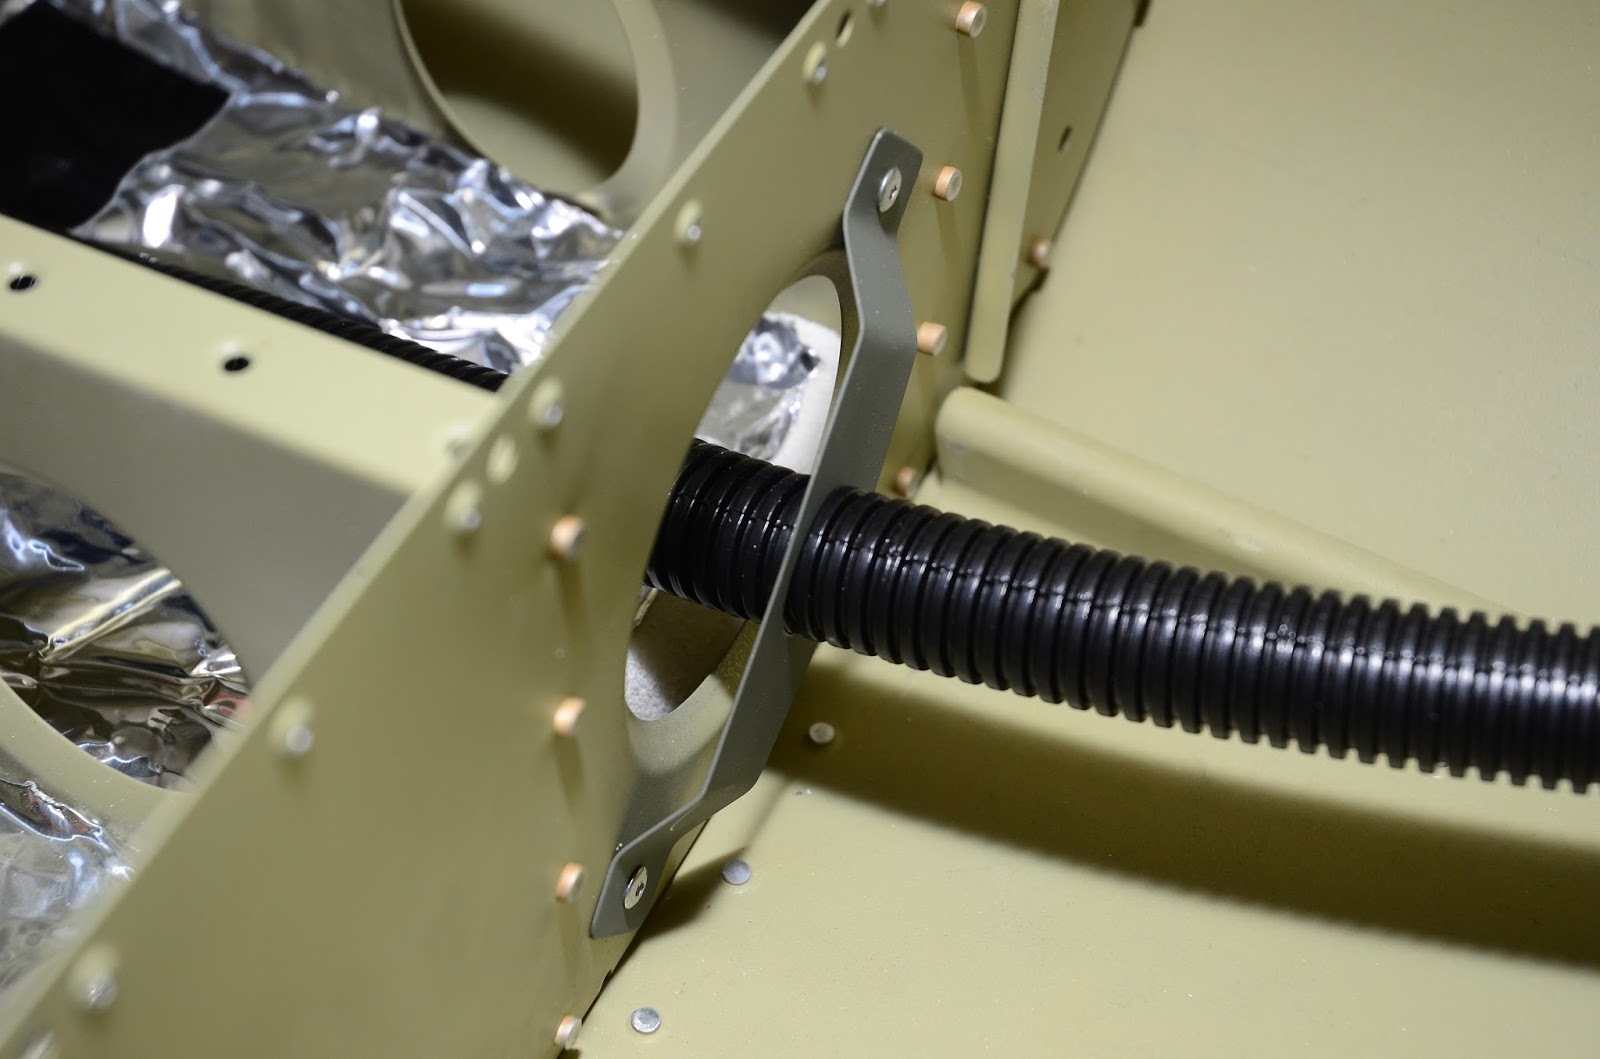
Soundproofing installed with the conduit run through
the rear seat floors:

28 OCT 15: Page 33-6 step 2, 33-7 1-4, 33-8 1-7, 33-9 1-3: 8 hours
Riveted the F-1024 seat floors and the F-1022A
baggage floors. Riveting the inboard
flange nutplates:


29 OCT 15: Page 33-9 steps 4-8, page 35-2 steps 1-2, page 35-3
step 3, 42-4 3-6: 5 hours
Match-drilled the F-1006E upper baggage bulkhead
corrugation. Final-drilled all the holes
in the F1016C-L/R floor pans. Due to the
extreme difficulty of inserting and removing the floors, and the fact that all
the floor ribs are already drilled and dimpled, I decided to just final-drill
the floor holes while uninstalled and only install the floors once when it is
time to rivet them in place.
Match-drilled the F-1034F seat back brace closeout to the F-1034B seat
back brace. Riveted the rear seat frames
together, cut and bent the seat hinge pins, and installed the seat backs. Really cool to see the fuselage taking shape!

30 OCT 15: Page 35-3 step 5-6, 35-4 1, 35-5 1-2, 5-6, 35-6 1-2,
35-7 3-4 35-10 1, Prekote, Prime: 5
hours
Final drilled all the remaining interior covers in
prep for priming. Last big batch of
priming for the entire airframe:


No comments:
Post a Comment