Sunday, September 28, 2014

21 SEP 14: Page 16-2 steps 5-6: 2 hours
Finished deburring top wing skins – no pics.
23 SEP 14: Prepping wing skins for priming: 2 hours
Used my random orbital car buffer with a maroon scotchbrite pad to prep the skins – much faster and easier than using the pads by hand – no pics.
26 SEP 14: Page 17-2 steps 2-3: 2 hours
Fabricated the W-1026 leading edge J-stiffeners for the l/r wing assemblies.  Modified two W-1009-L/R leading edge ribs for each wing assembly:
27 SEP 14: Page 17-2 steps 4-6: 7 hours
Created cradles for leading edge/tank assemblies:
Removed the W-1019-L/R splice strips from the T-1001-L/R fuel tank skins.  Deburring the splice strip:
Deburring the edges of the tank skins:
Finished deburring the leading edge ribs.

Saturday, September 20, 2014

8 SEP 14: Priming Tailcone / wing parts: 3 hours
Finished priming tailcone and began to prime some of the wing parts:

9 SEP 14: Priming wing parts: 9 hours
A long day of priming all the main spar parts.  Always seems like it will go quicker than it does, but I really like the protection the Akzo offers, so the extra time is well worth it in my opinion.  The first batch of 30 ribs:
The rear spars after Prekote prep drying:
Doesn’t look like much, but a lot of work to get all of this Prekoted and primed:
11 SEP 14: Page 13-4 step 11, page 13-5 step 1, page 14-3 steps 5-7: 5.25 hours
Riveted nutplates to the W-1020 tie-down brackets:
Attached the W-1020 tie-down brackets and aileron bellcranks to the spar assembly:

Riveted the flap hinge rib and flap hinge bracket to the inboard wing ribs; riveted the VA-146 flange bearing, W-1029A and W-1029B torque tube support brackets, W-1029C angle, W-1029D and W-1029E spacers together.  Riveted the W-1029C angle support bracket assembly to the web of the W-1010 inboard wing ribs.  Riveted the W-1025B flap hinge ribs and W-1025A flap hinge brackets to the W-1010 inboard wing ribs:
12 SEP 14: Page 14-4 step 1, page 14-5 step 1-4, page 14-6 step 1: 6.25 hours
Installed SB437-4 snap bushings in the W-1010 and W-1011 inboard wing ribs.  Clecoed the ribs to the spar assembly and final-drilled #40  the forward most hole in the forward tabs of the seven inboard most W-1011 inboard wing ribs:
Riveting the forward flange of the ribs to the main spar – stinking hot in the garage!!!
Had to get the wing rib shot that I see in everyone else’s build logs:
13 SEP 14: Page 14-6 step 1, page 15-2 steps 5-7, page 15-4 steps 3-4: 5.75 hours
Installed bolts in the upper/lower attach holes of the wing ribs.  Pressed bearing com 3-5s into all W-1013A/trimmed aileron hinge bracket spacers.  Riveted the assemblies together:
Final drilled #40 and dimpled the 26 inboard most holes that are located in the upper flange of the W-1007A rear spar web:
Riveted the rear spar parts together.  The plans have you rivet it together while clecoed to the ribs.  I chose to rivet what I could using the table vice and then rivet to the ribs.  Much easier, and this allowed me to use the squeezer on all but one rivet:

Left wing complete:
14 SEP 14: Repeated previous steps for right wing: 4.25 hours
Repeat for the right wing.  Ribs clecoed to the main spar:
15 SEP 14: Page 15-4 step 4, page 16-2 step 1: 3.5 hours
Finished riveting the right wing.  Squeezing the rear spar assembly:
Clecoed the wing skins on the left wing:
16/18 SEP 14: Page 16-2 steps 1-3: 4.25 hours
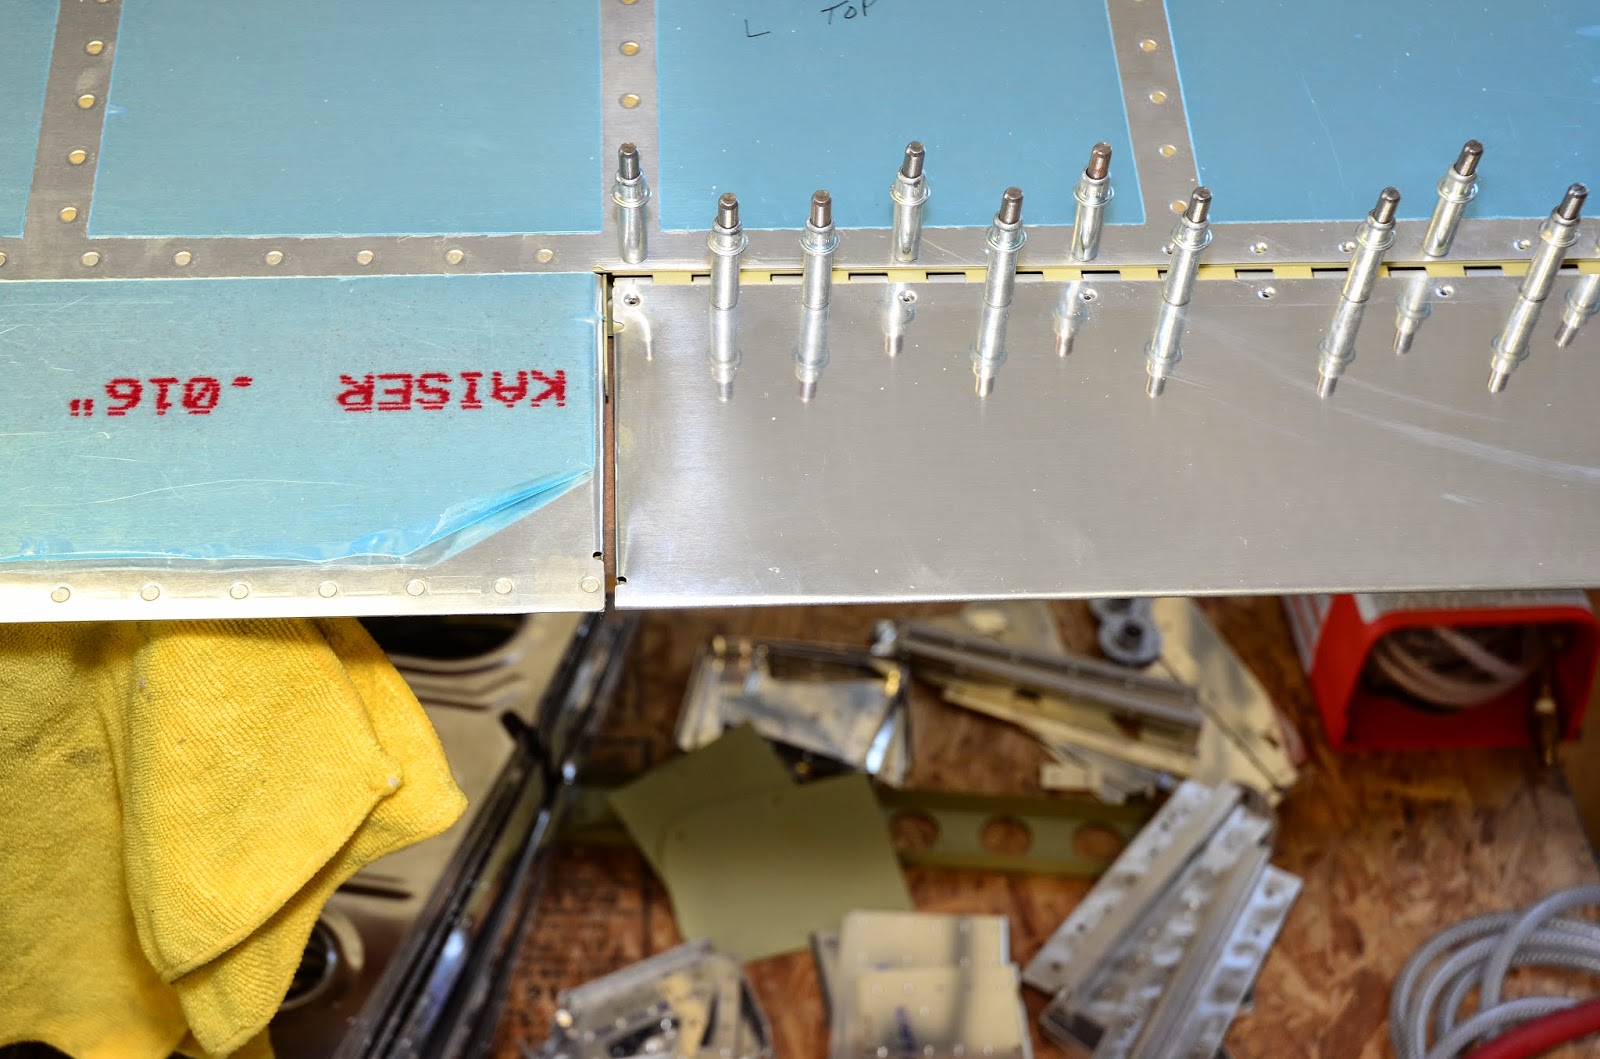
Final drilled #40 all the holes common to the top wing skins and the spars, stiffeners, doublers, and ribs.  A lot of holes!!
19/20 SEP 14: Page 16-2 steps 3-6: 8.25 hours
Machine countersunk the screw holes for a #8 flush head screw dimple: 
Machine countersunk all the rivet holes that correspond to the W-1027A and W-1027B wing walk doublers for the head of an AN426AD3 rivet:

Repeated match-drilling the right wing.  Just a few holes:

Deburred all the skins.  Have I mentioned that there are a lot of holes?!!!

Sunday, September 7, 2014

1,3,5 SEP 14: wing skin deburring: 2.75 hours
Deburred wing skin edges – no pics.
6 SEP 14: Deburred rear wing spar, prepped tailcone for priming: 5.5 hours
Deburred the rear wing spar.  Prepped the tailcone skin for priming – scotchbrite and acetone wipe:
This took quite a bit longer than I expected – a pain in the rear with the tailcone assembled.  I decided – after assembly – to prime the exterior of the skins as well.  All ready to shoot:
7 SEP 14: Prekote prep main wing spar assembly: 8 hours
Holy cow – what a pain in the rear!  Prekote prepped the main wing assembly parts to get ready to prime.  No pics.

Friday, August 29, 2014

24 AUG 14: Page 15-4 steps 1-3: 9.5 hours
Clecoed all the wing ribs, spars, doublers, and aileron bracket assemblies together:
Match-drilled #30 all the holes in common between  the rear spar parts.  Final-drilled #40 the holes common between the lower rear spar web flange and the rib lower aft tab.  Countersunk the bottom row of rivet holes on the W-1007C rear spar doubler plate:
Countersunk the holes in the upper flange of the rear spar in common with the rear spar doublers.  I took the time to test fit the wing skins to check the rib alignment.  Skins clecoed on:
Only had two spots where the ribs needed adjustment – only a few flutes required.  One row needing adjustment:
And the other:
25 AUG 14: Deburring: .75 hours
Deburred left top skin edges – no pics.
26 AUG 14: Page 15-4 steps 1-3: 1.3 hours
Repeat of the wing/rear spar assembly on the right wing:
28 AUG 14: Page 15-4 steps 1-3: 3.3 hours
Continued the right wing/rear spar assembly – final-drilling the rib lower aft tabs to the lower rear spar web flange:
29 AUG 14: Page 15-4 step 3: 1 hour
Started to deburr the wing parts – no pics.  

Saturday, August 23, 2014

I didn't get as much work done as I wanted this week because it has been so hot!!!  Some days have been over 100' - makes it just too miserable to be in the garage!
18 AUG 14: Page 15-2 steps 1-4: 2.5 hours
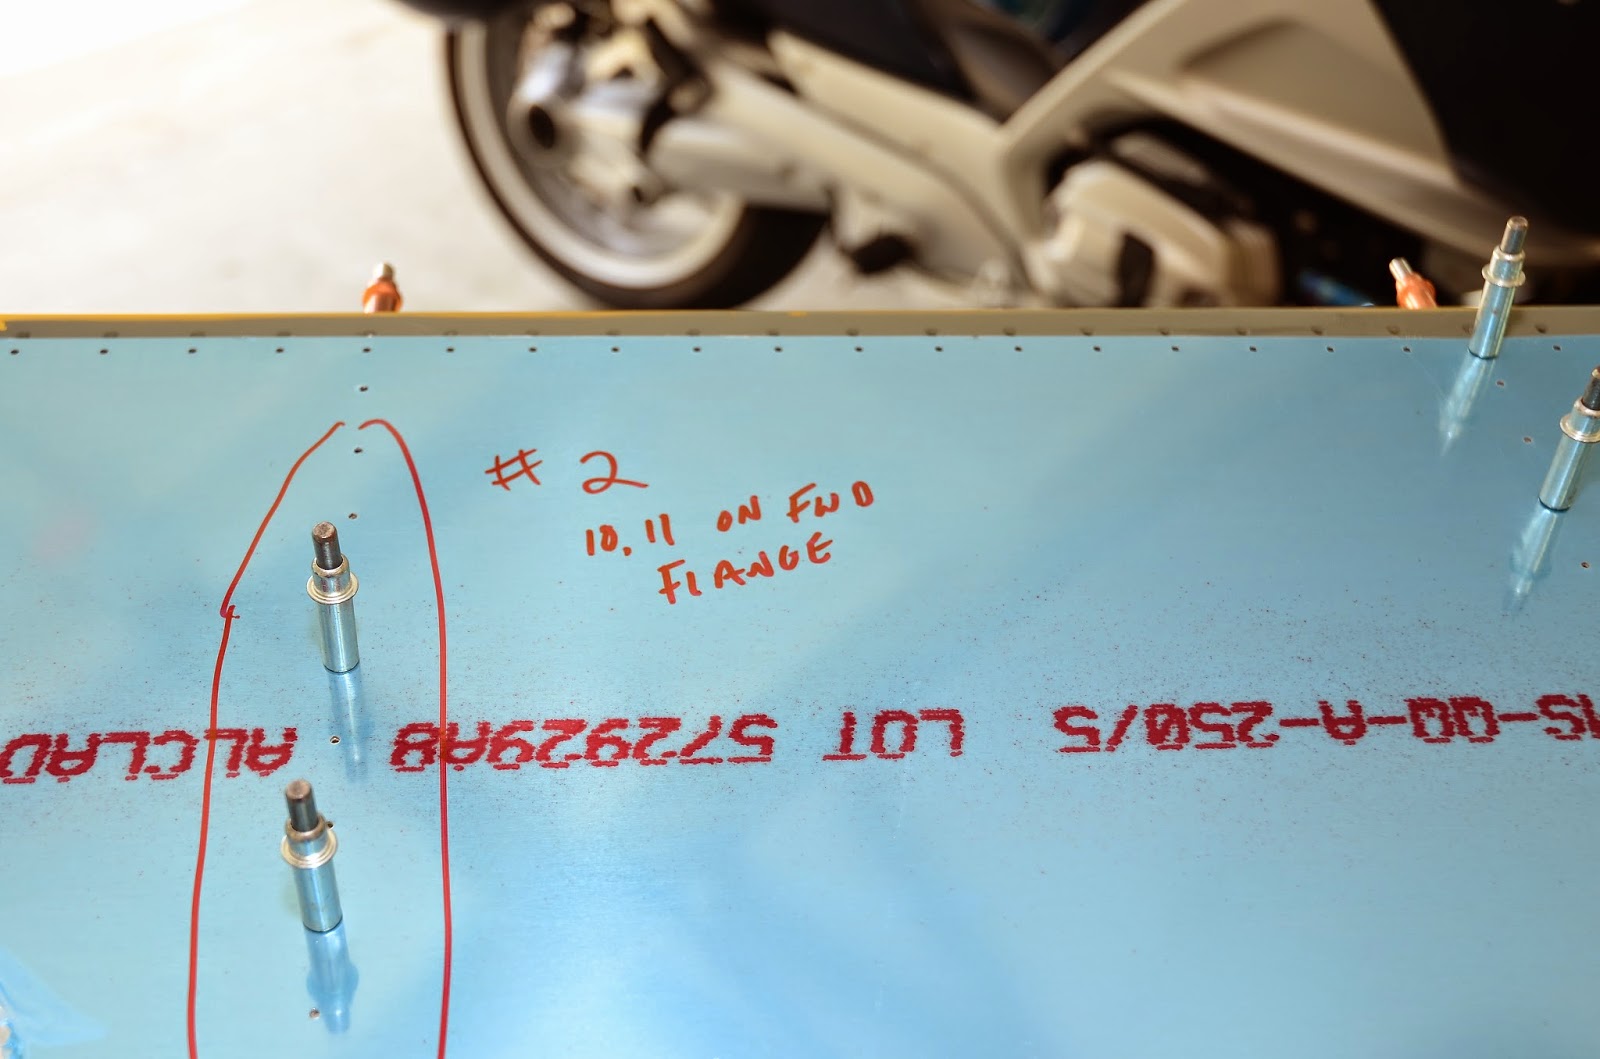
Cut off the aileron stop tab from tow of the W-1013A Aileron Hinge Bracket Spacers.  Clecoed the W-1013A Aileron Hinge Bracket Spacer, W-1013B-L and W-1013C-L together.  Final drilled #30 all common holes.  Machine countersunk the aft holes on the outboard face of the W-1013C-L.  Repeat for right inboard aileron bracket assembly.
Clecoed the W-1013A trimmed Aileron Hinge Bracket Spacer, W-1013C-LX and W-1013C-R together.  Final drilled #30 all common holes.  Machine countersunk the aft holes on the inboard face of the W-1013C-R.  Repeat for right outboard aileron bracket assembly:
20 AUG 14: Page 15-3 steps 1-4: 4 hours
Match-drilled the W-1007E and W-1007D rear spar doubler plates to the rear spars:
Pilot drilled the corner radii of the aileron pushrod holes in the W-1007D outboard rear spar doublers:
Continued deburring doublers and aileron bracket assemblies.
21 AUG 14: Page 15-2 steps 1-4: 2 hours
Finished deburring the inside edges of the aileron bracket assemblies.  I also installed a 230V, 60-gallon compressor.  Quite a difference from my little 10-gallon – was tired of hearing the little one cycle on and off constantly while building.  The 60 gallon will also be much better while shooting primer with the HVLP gun:
 AUG 23: Page 9-18 steps 4-6: 2.75 hours
Clecoed the trim tab on top of the hinge.  Adjusted the tab so it’s even with the rest of the hinge and match-drilled the holes of the trim tab into the hinge.  Marked the inboard end of the trim tab.  Removed the pin from the hinge and trimmed the hinge halves. 
Outboard:
Inboard:
Left trim tab complete; turned out pretty nice:

Sunday, August 17, 2014

12 AUG 14: Page 9-14 step 12: 1.5 hours
Riveted the right elevator trailing edge – turned out great! – no pics.
13 AUG 14: Page 9-14 step 12: 1.5 hours
Riveted the left elevator trailing edge – turned out great! – no pics.
14 AUG 14: Page 9-15 step3 1-2: 3.5 hours
Finished riveting the E-1001 skins to the flanges of the outboard tip ribs.  Riveted the E-1022 shear clip to the close out tabs in the E-1001 skins.  Began to redo an elevator trim tab,  but messed it up – glad I ordered 2 replacements!
15 AUG 14: Page 9-16 steps 4-5, page 9-17 steps 1-8: 3.5 hours
Redid the left elevator trim tab.  Took quite a while, but on my 3rd try, I was happy with this one.  I wasn’t happy with the tabs on the originals, but this one turned out pretty good.  Instead of the wedges as called out in the plans, I used my back riveting plate held in my table vise to make the bends.  Much better than the wedges with pretty good results:
16 AUG 14: Prepped right elevator trim tab skin: 1.5 hours
The right is fine, but I ordered another right skin when I ordered the 2 left skins.  The tabs came out much better on the left skin, so I figure I’ll redo the right as well.
17 AUG 14: Page 9-17 steps 9-10, page 14-4 steps 1-2: 6 hours
Applied tank sealant to the mating surfaces of each foam trim tab rib and placed clamp blocks onto the trim tab.  Riveted the bent tabs on the sides of the trim tabs.  Set aside to cure for a few days:
Moved back to working on the wings.  Enlarged the forward tooling holes to 7/16 for the SB437-4 snap bushings.  Enlarged the wire run pilot holes to 3/4 for wire conduit:
Finished the session by deburring all of the W-1025A flap hinge brackets.  I used a vixen file and finished them up with the scothbrite wheel: