I didn't get as much work done as I wanted this week because it has been so hot!!! Some days have been over 100' - makes it just too miserable to be in the garage!
18 AUG 14: Page
15-2 steps 1-4: 2.5 hours
Cut off the aileron stop tab from tow of the W-1013A Aileron
Hinge Bracket Spacers. Clecoed the W-1013A
Aileron Hinge Bracket Spacer, W-1013B-L and W-1013C-L together. Final drilled #30 all common holes. Machine countersunk the aft holes on the
outboard face of the W-1013C-L. Repeat
for right inboard aileron bracket assembly.
Clecoed the W-1013A trimmed Aileron Hinge Bracket Spacer,
W-1013C-LX and W-1013C-R together. Final
drilled #30 all common holes. Machine
countersunk the aft holes on the inboard face of the W-1013C-R. Repeat for right outboard aileron bracket
assembly:
20 AUG 14: Page
15-3 steps 1-4: 4 hours
Match-drilled the W-1007E and W-1007D rear spar doubler
plates to the rear spars:
Pilot drilled the corner radii of the aileron pushrod holes
in the W-1007D outboard rear spar doublers:
Continued deburring doublers and aileron bracket assemblies.
21 AUG 14: Page
15-2 steps 1-4: 2 hours
Finished deburring the inside edges of the aileron bracket
assemblies. I also installed a 230V,
60-gallon compressor. Quite a difference
from my little 10-gallon – was tired of hearing the little one cycle on and off
constantly while building. The 60 gallon
will also be much better while shooting primer with the HVLP gun:
AUG 23: Page 9-18 steps 4-6: 2.75 hours
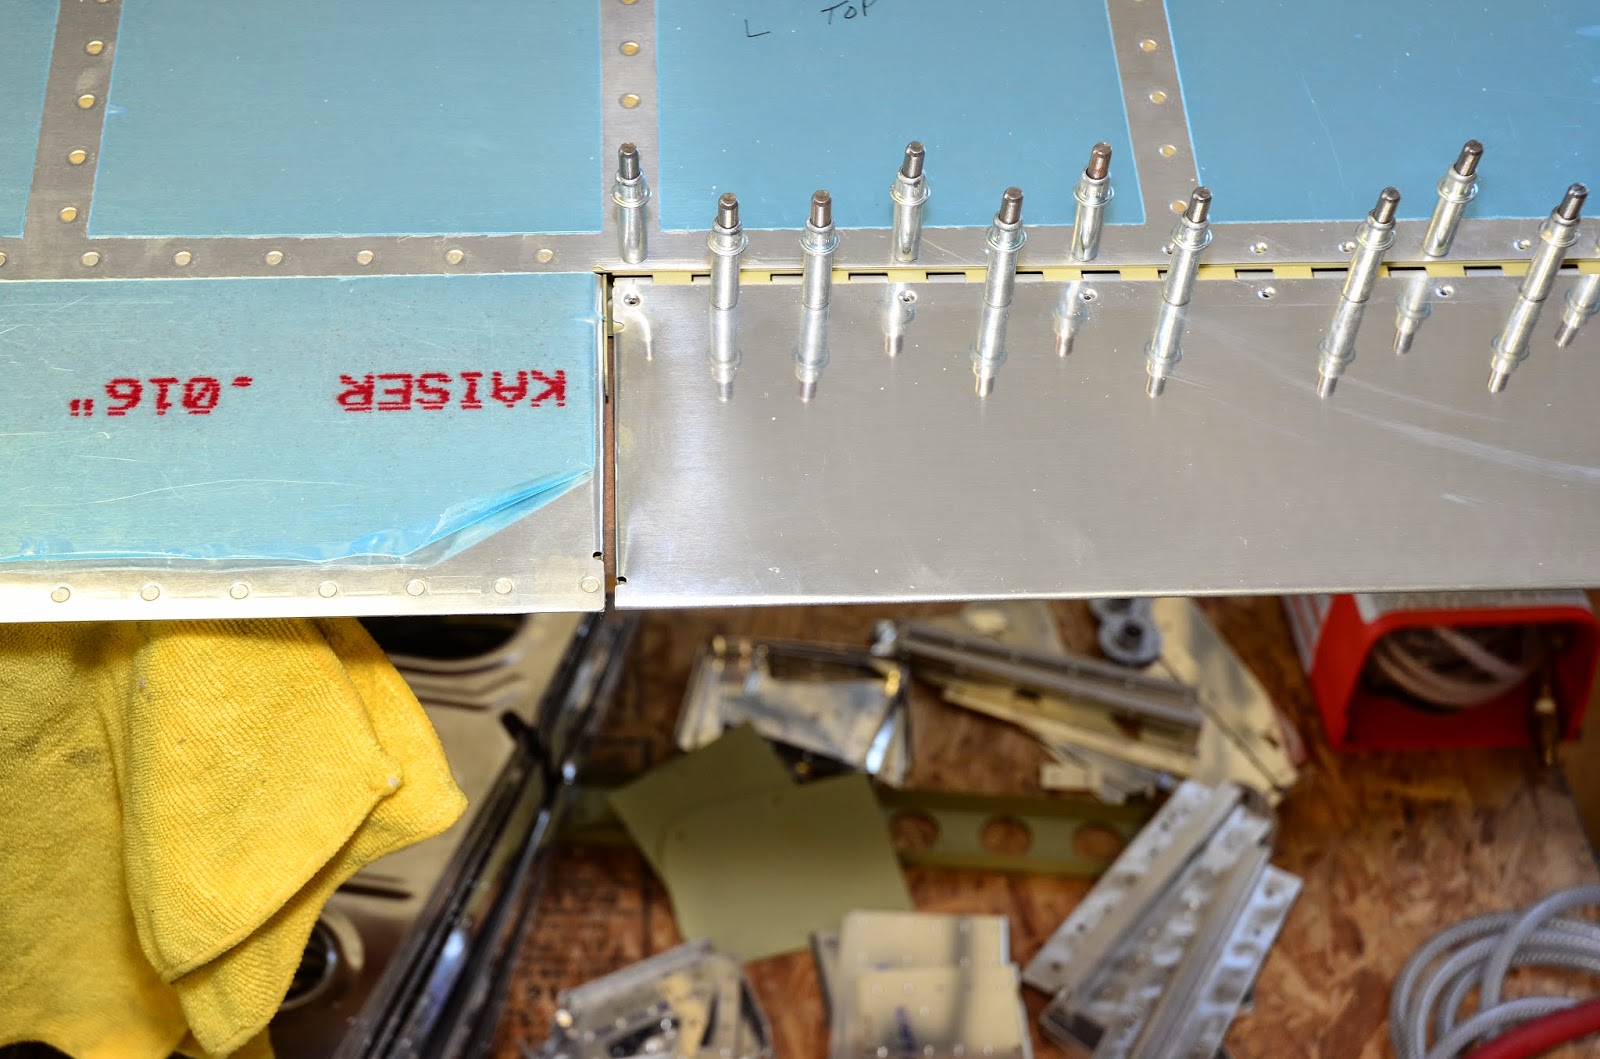
Clecoed the trim tab on top of the hinge. Adjusted the tab so it’s even with the rest
of the hinge and match-drilled the holes of the trim tab into the hinge. Marked the inboard end of the trim tab. Removed the pin from the hinge and trimmed
the hinge halves.
Outboard:
Inboard:
Left trim tab complete; turned out pretty nice:


No comments:
Post a Comment