Sunday, December 21, 2014

15 DEC 14: Page 21-04 steps 1-3 left and right: 1.5 hours
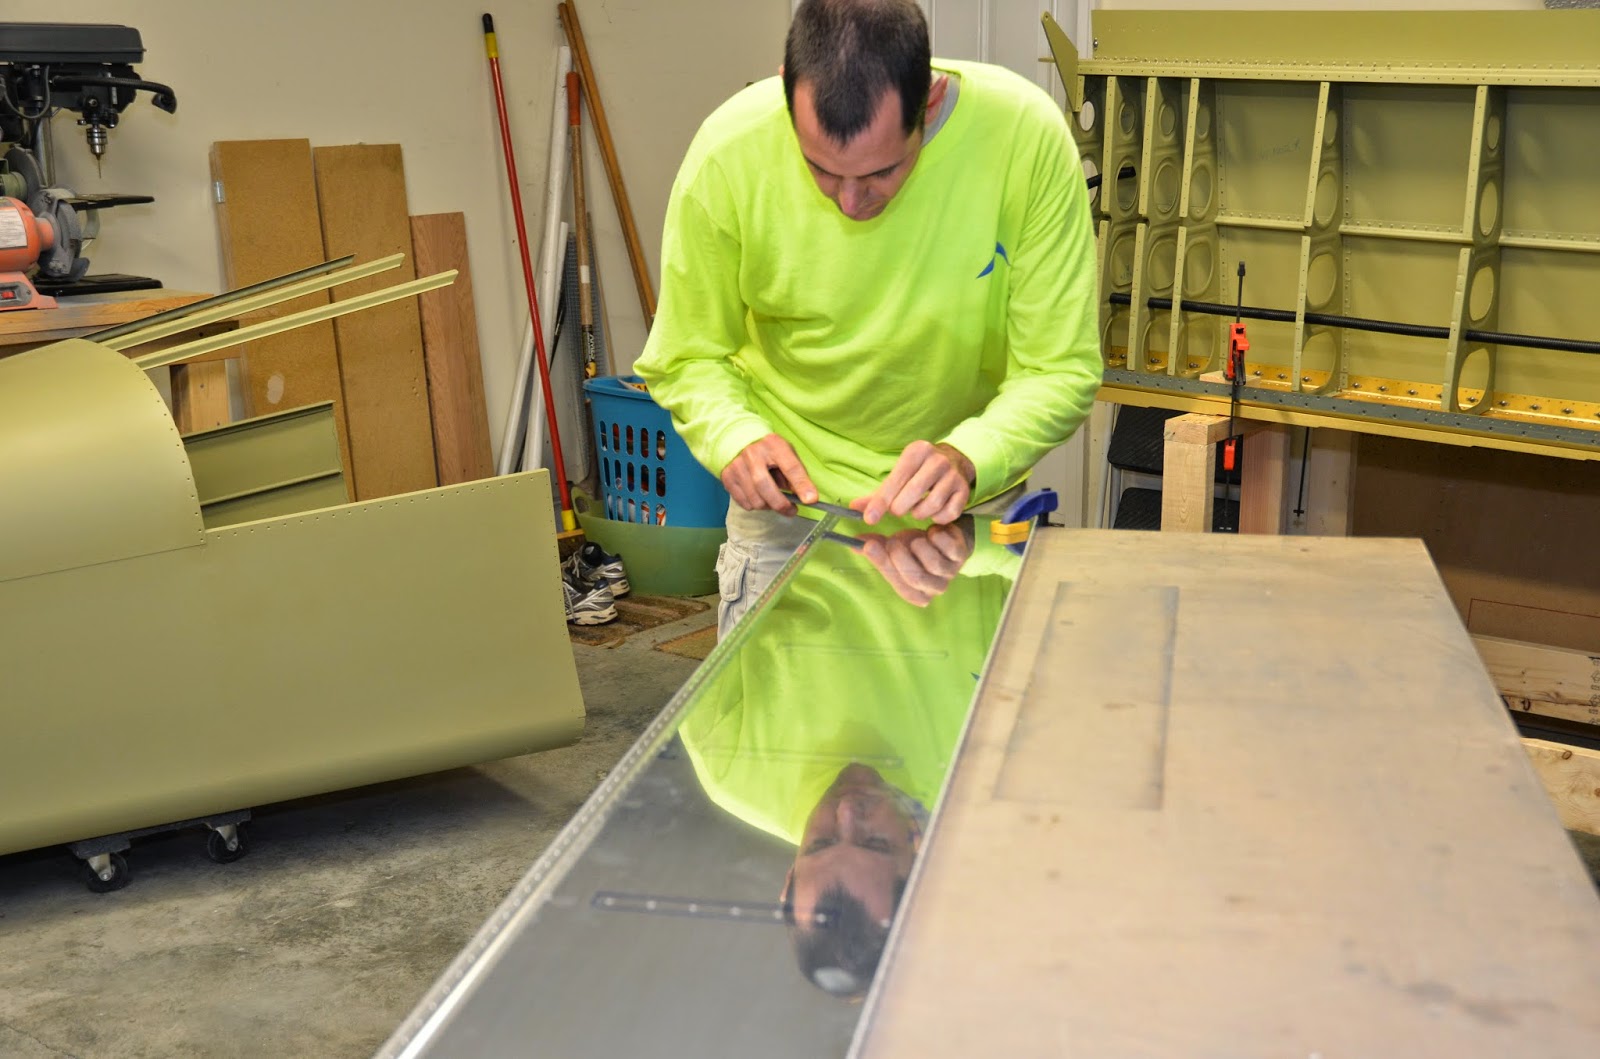
Clecoed the A-1004-1R nose ribs and the A-1015-1L inboard nose rib to the A-1003-1L spar.  Clecoed the A-1001A-1L nose skin to the lower flange of the A-1003-1L spar.  Layed the A-1009 counterbalance into the nose skin flush with the outboard edge of the skin.  Clecoed the nose skin to the nose ribs and spar:
16 DEC 14: Page 21-04 step 4 left, pg 21-05 steps 1-2, overcoated tank rivets w/ A sealant: 6.8 hours
Match-drilled the most outboard hole and most inboard hole of the nose skin into the counterbalance:
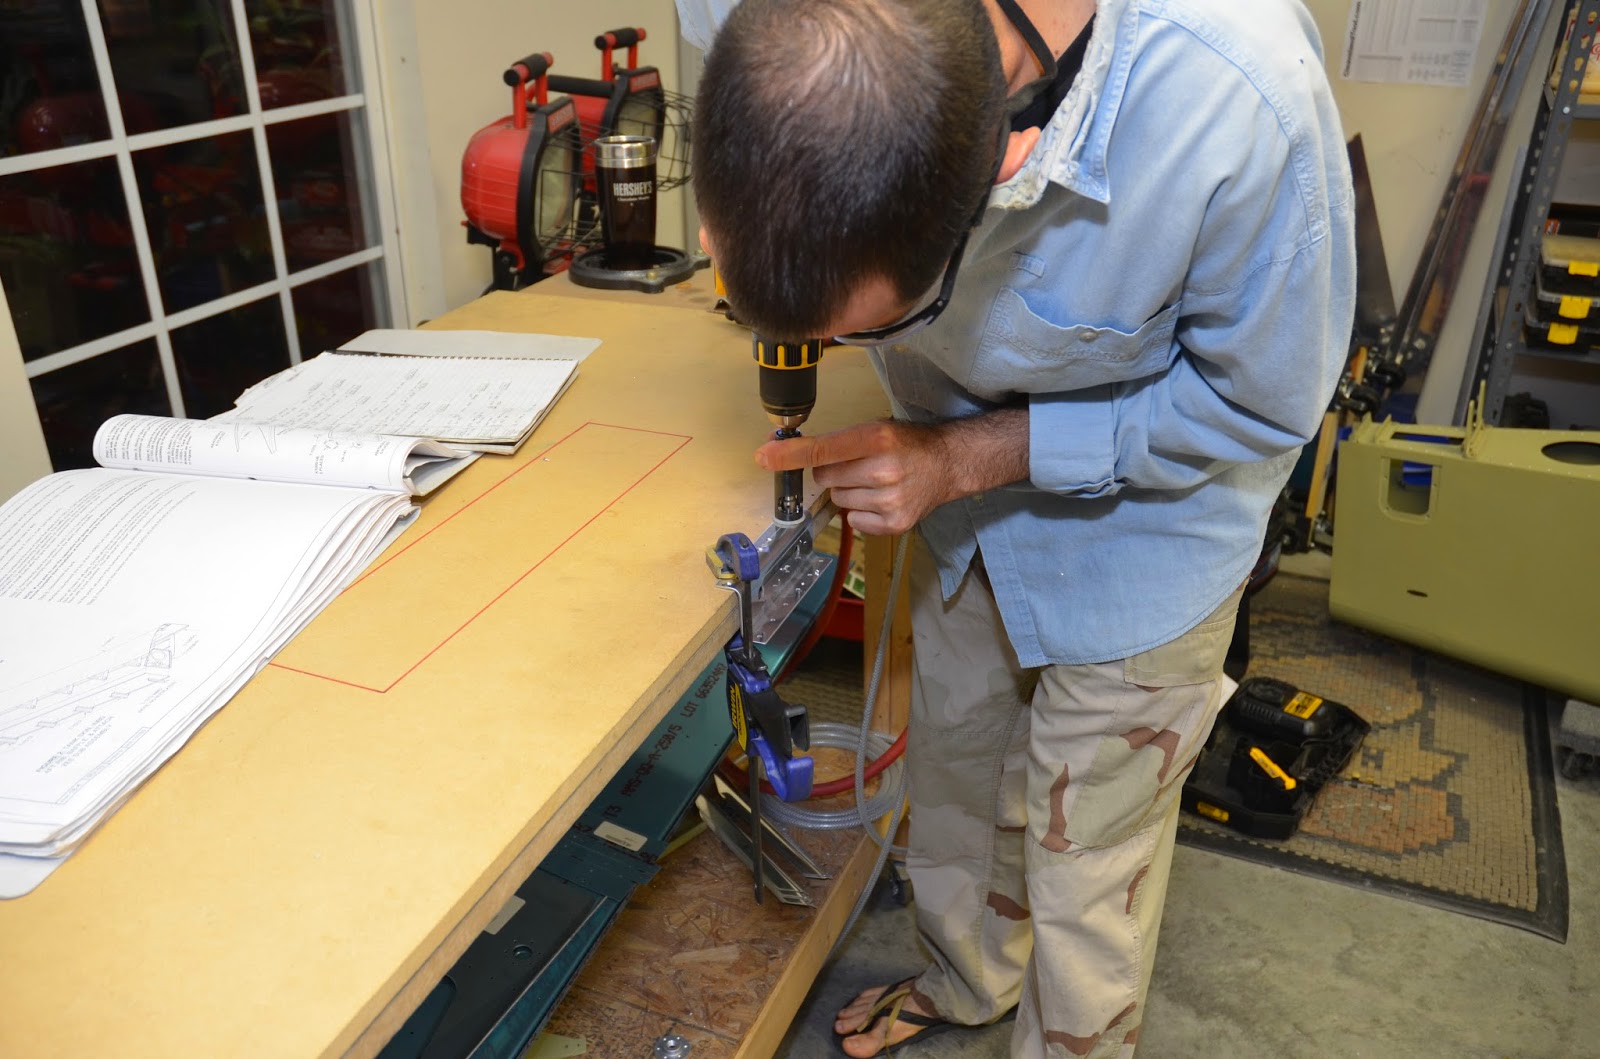
Final drilled #27 the holes in the counterbalance and nose ribs:
Spent the rest of the session overcoating the tank rivets with A-sealant, which is not as thick as the B-sealant.  It is easy to brush over the shop heads:
17 DEC 14: Page 21-04 step 4, pg 21-05 steps 1-3 right, more A-sealant: 5 hours
Match-drilled the most outboard hole and most inboard hole of the nose skin into the counterbalance. Final drilled #27 the holes in the counterbalance and nose ribs.  Attached the counterbalance to the nose ribs with the hardware called out:
Match-drilled the counterbalance along its length using the holes in the leading edge skin as drill guides:
Finished coating the tank shop heads with A-sealant.
18 DEC 14: Page 21-05 steps 3-5 left: 4 hours
Finished match-drilling the left aileron leading edge skin. Final drilled all the holes in the A-710 stiffeners:
Marked and cut all the stiffeners:
19 DEC 14: Page OP38-2 steps 1-2, pg OP38-3 step 1, pg OP38-4 steps 1-3, pg 21-05 step 5: 4 hours
Separated the aileron trim mounting brackets.  Final-drilled the seven 1/8” holes in each trim mounting bracket.  Final-drilled the sixteen 1/8” holes in the aileron trim links.   Separated the trim links.  Aligned the aileron trim actuation assembly with the wing access plate. Match-drilled the four 5/32” holes in the aileron trim actuation assembly into the wing access plate:
Continued to debur all the aileron parts.  Starting to build a collection for priming:
20 DEC 14: Page 21-05 step 5, pg 22-2 step 1-2: 4.75 hours
Finished cutting and deburring stiffeners.  Finished deburring the spar lightening holes:
Finished deburring the 4 aileron skins:
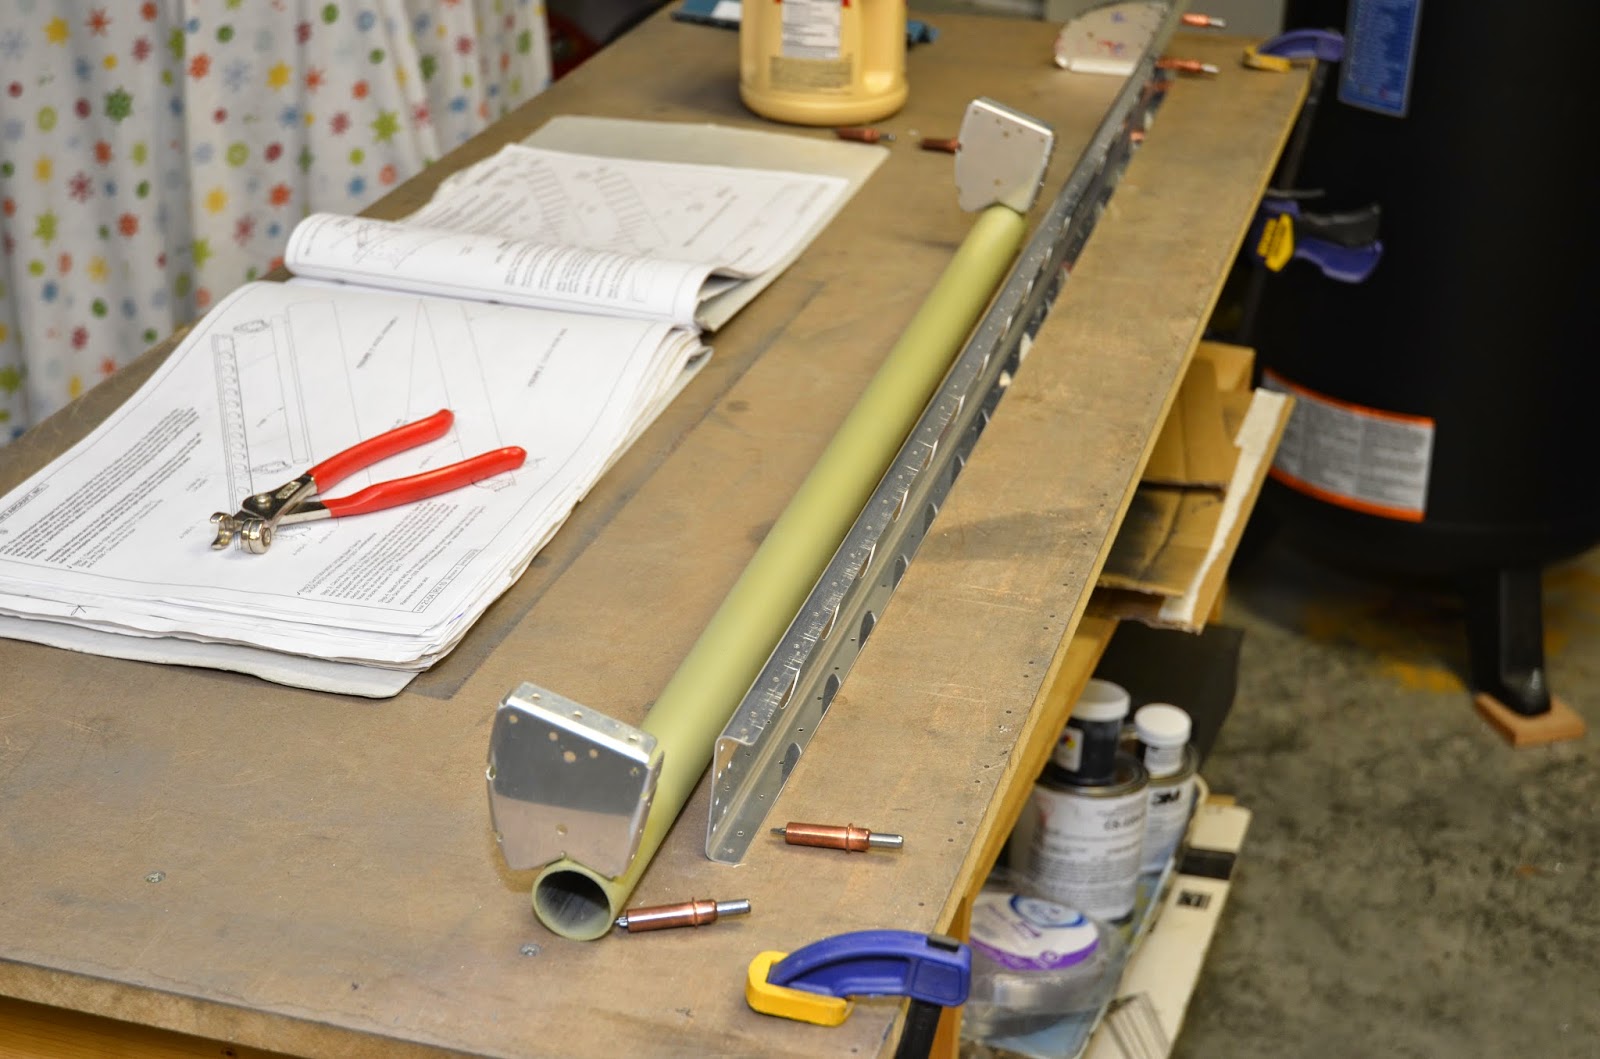
Constructed the flap cradles:
21 DEC 14: Page 20-4 steps 2-3, pg 18-5 step 7, filet sealed tank end ribs: 8 hours
Marked and cut the W-1021B flap gap stiffeners.  Clecoed the stiffeners to the flap gap fairings.  Clecoed the flap gap and aileron gap fairings to the rear spar and top wing skins.  Attached the fuel flange, anti-rotation plate and nutplates to the tank inboard ribs:
Back:
Filet sealed the end ribs of each tank.  Outside:
Inside:

Sunday, December 14, 2014

14 DEC 14: Page 18-5 steps 8-11: 11 hours
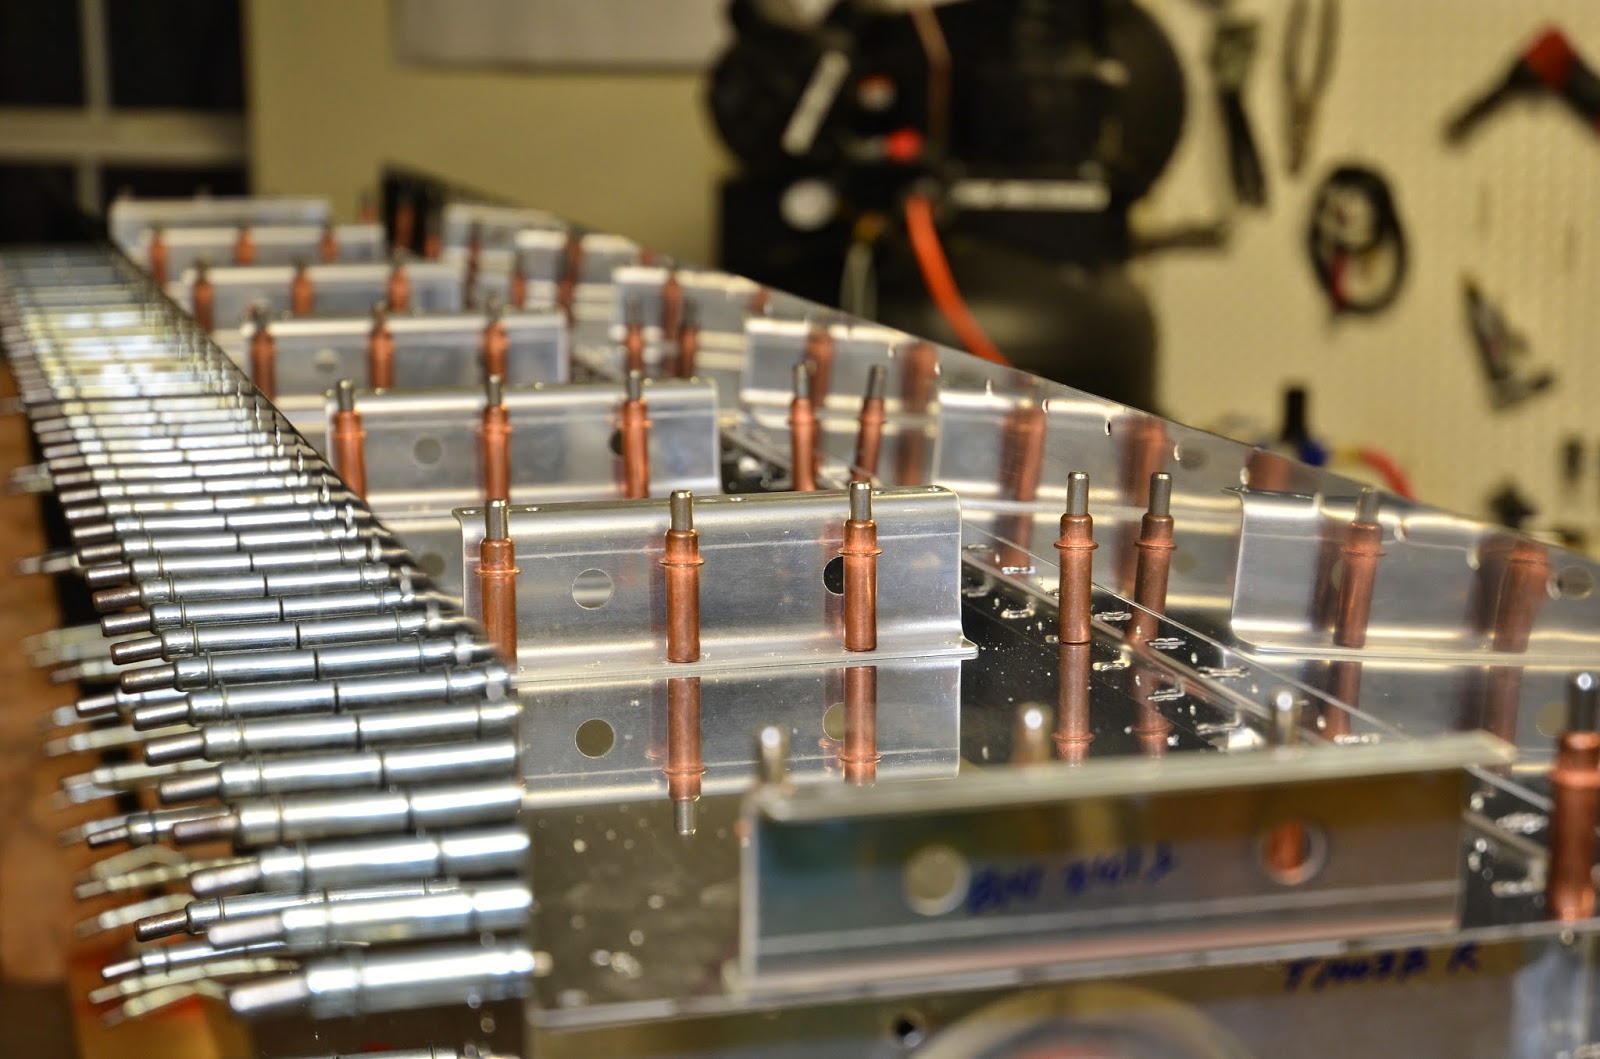
Finished riveting the stiffeners to the T-1001-R tank skins.  Riveted the fuel cap flanges and T-1008 vent clips to the T-1001-L/R tank skins:
Riveted the ribs and j-channels to both skins.  My friend and fellow RV builder, Mike came over again today and helped me cruise through both tanks – got all the ribs, stiffeners, and j-channels done.   It was nice to have his experience and help – he’s an A&P w/ Gulfstream and also building an RV-14.  With his help and guidance, the dreaded proseal/tank mess really wasn't all that bad.  Still have some proseal work remaining, but most of the difficult parts are done – in one day!
Top side:
Bottom:
The good news is that with both leading edges and tanks done, I can now say that I have two wings with pristine leading edges – not a blemish on either one! 

Saturday, December 13, 2014

08 DEC 14: Priming tank parts: 4 hours
Primed the exterior tank skins and a few of the tank parts.  All of the interior tank parts that will be exposed to fuel will remain unprimed.  The shop is getting pretty crowded!   I’ll be glad to get the tailcone and wings into the hangar:
Some of the tank parts:
09 DEC 14: Finished priming, page 18-4 step 1, page 18-5 steps 4-5, page 21-02 steps 1-2: 5 hours
Riveted the nutplates to the attach Z brackets:
Riveted the K1100-08 nutplates to the shims:
Attached the VA-146 bearings to the tank attach brackets:
Attached the K1000-08 and MS21051-L08 nutplates and T-1005B and C shims to the tank attach brackets:
I’m done with the tanks until I break out the proseal, so it’s time to move on to the ailerons.  Separated the A-1006-1 outboard hinge brackets and A-1007-1 inboard hinge brackets.  Fluted and straightened the flanges of the A-1004-1L and A-1004-1R nose ribs and A-1015-1L and A-1015-1R inboard nose ribs.
10 DEC 14: Page 21-03 steps 3-5: 2.7 hours
Machine countersunk the holes in the A-1006-1B outboard hinge brackets and A-1007-1B inboard hinge brackets.   Machine countersunk the A-1008-1 doubler – no pics.
11 DEC 14: Dimpled tank skin, page 18-4 step 8 left skin: 2.5 hours
Dimpled the left tank skin – no pics
12 DEC 14: Dimpled tank skin, page 18-4 step 8 right skin, page 18-5 step 8: 2.5 hours
Finished dimpling the tank skins.  The right skin:
Riveted two of the T-1011 stiffeners to the T-1001-L tank skin.  The proseal wasn’t too bad once I got my system down.
13 DEC 14: Page 18-5 step 8: 5 hours
Finished riveting the T-1011 stiffeners and VA-112 drain flange to the T-1001-L tank skin:

Sunday, December 7, 2014

07 DEC 14: Page 18-4 step 8, scuffed ribs, Prekoted tank skin: 7.5 hours
Scuffing stiffener flanges in preparation for proseal – the 3M roloc discs make it fairly easy:
Both tank skins exterior Prekoted in preparation for priming:
Exterior tank parts Prekoted in preparation for priming:
Dimpling stiffeners:

Saturday, December 6, 2014

30 NOV 14: Pg 18-3 steps 3-4, pg 18-4 steps 7-8 left, pg 18-2 steps 5-6, pg 18-3 steps 1-2 right: 5 hours
Fit and drilled the fuel cap flange to the T-1001-L tank skin.  Chose to use the deluxe fuel caps – VERY glad with this decision; they are much nicer than the standard Van’s caps:
Marked the inside of the tank skin prior to disassembly so I know where to scuff the alclad to prep for the proseal:
Machine countersunk the top of the fuel cap flange:
On to the right tank.  Final-drilled the stiffeners.  Clecoed and final-drilled the T-1003-L, T-1003C-R, and T-1004-L tank ribs to the tank skin.  Fit and match-drilled the T-1009 tank J-stiffener to the T-1001-L tank skin:
01 DEC 14: Page 18-3 step 4, page 18-4 steps 1-8 right tank: 5.35 hours
Fit and drilled the fuel cap flange to the T-1001-L tank skin.  Assembled, match-drilled, and disassembled right tank assembly.  Z attach brackets:
03, 04, 06 DEC 14: Page 18-4 step 8: 6.6 hours
Deburred all tank parts.  Tank attach bracket:
 Baffle:
A lot of deburring!
06 DEC 14: Page 18-5 steps 2-4, deburred and scuffed tank skin: 4.75 hours
Final drilled the holes in the T-1005B and T-1005C shims:
Deburred the tank skins:
Scuffed the tank skins in preparation for proseal.  Left skin:
Right skin:

Wednesday, November 26, 2014

23 NOV 14: Page 17-4 steps 4-5, page 18-2 step 5: 5 hours
Finished riveting the right leading edge to the main spar:
Riveted the ribs to the wing spars:
Began the left tank: clecoed the T-1011 tank stiffeners and the VA-112 drain flange to the tank skin:
 Final drilled to the tank skin:
24 NOV 14: Page 18-2 steps 5-6, page 18-3 step 1: 2 hours
Finished final-drilling the stiffeners.  Clecoed and final-drilled the T-1003-L, T-1003C-R, and T-1004-L tank ribs to the tank skin.  Fit and match-drilled the T-1009 tank J-stiffener to the T-1001-L tank skin – no pics.
25 NOV 14: Page 18-3 step 2, page 18-4 step 1: 1.4 hours
Clecoed and final-drilled the T-1005-L tank attach bracket to the T-1001-L tank skin and T-1003C-R tank inboard nose rib:
Clecoed and final-drilled nutplates to the T-1012 tank attach Zs. Countersunk the tank attach Zs for the nutplate attach rivets:
26 NOV 14: Page 18-4 steps 2-6: 3 hours
Clecoed and final-drilled the T-1003B-R tank inboard rib aft to the T-1001-L tank skin and T-1005-L attach bracket.  Clecoed and final-drilled the T-1002 tank baffle and T-1012 tank attach Zs to the tank rib aft flanges:
Clecoed and final-drilled the T-1001-L tank skin to the upper and lower flanges of the T-1002 tank baffle:
 Drilled all the screw holes in the T-1001-L tank skin to #19.  Machine countersunk the row of holes that attach the T-1001-L tank skin to the T-1002 tank baffle:

Saturday, November 22, 2014

17 NOV 14: Page 16-3 step 3 Left Wing: 1.75 hours
Continued to rivet rear spar of left wing.  Riveted my patch for my figure eighted hole – came out nice, all things considered:

18 NOV 14: Page 16-3 step 3, page 16-4 step 4 Left Wing: 4.2 hours
Finished riveting the left wing rear spar:
Riveted the outboard hinge bracket assembly to the wing assembly:

19 NOV 14: Page 16-3 step 3, page 16-4 step 4 Right Wing, page 18-2 step 4: 2.5 hours
Finished riveting the right wing rear spar. Riveted the outboard hinge bracket assembly to the wing assembly.  Both wing top skins are complete:

 20 NOV 14: Page 18-2 steps 2-4: 3.2 hours
Trimmed the T-1011 tank stiffeners and T-1008 vent line clips:

Trimmed the T-1012 tank attach Z brackets:

21 NOV 14: Page 18-2 steps 3-4: 3.25 hours
Finished cutting and deburring the T-1011 tank stiffeners, T-1008 vent line clips, T-1012 tank attach Z brackets, and T-1009 tank j-stiffeners:

 22 NOV 14: Page 17-4 step 5, built wing stand: 5.2 hours
Once again, friend and RV-14 builder Mike Hammond came over and we riveted both leading edges to the main spar assemblies.  Again, riveting goes super-fast with two people doing the job.  Both wing leading edges done:
Time to build the wing stand to get the work benches free for future work.  I decided to use this one that I found again and again online:
A couple hours later and the stand is complete.  It turned out pretty nice and it is nice to be able to easily move the wings around the shop: