30 NOV 14: Pg 18-3
steps 3-4, pg 18-4 steps 7-8 left, pg 18-2 steps 5-6, pg 18-3 steps 1-2 right:
5 hours
Fit and drilled the fuel cap flange to the T-1001-L tank
skin. Chose to use the deluxe fuel caps –
VERY glad with this decision; they are much nicer than the standard Van’s caps:
Marked the inside of the tank skin prior to disassembly so I
know where to scuff the alclad to prep for the proseal:
On to the right tank.
Final-drilled the stiffeners.
Clecoed and final-drilled the T-1003-L, T-1003C-R, and T-1004-L tank
ribs to the tank skin. Fit and
match-drilled the T-1009 tank J-stiffener to the T-1001-L tank skin:
01 DEC 14: Page
18-3 step 4, page 18-4 steps 1-8 right tank: 5.35 hours
Fit and drilled the fuel cap flange to the T-1001-L tank
skin. Assembled, match-drilled, and
disassembled right tank assembly. Z
attach brackets:
03, 04, 06 DEC 14:
Page 18-4 step 8: 6.6 hours
Deburred all tank parts.
Tank attach bracket:
A lot of deburring!
06 DEC 14: Page
18-5 steps 2-4, deburred and scuffed tank skin: 4.75 hours
Final drilled the holes in the T-1005B and T-1005C shims:
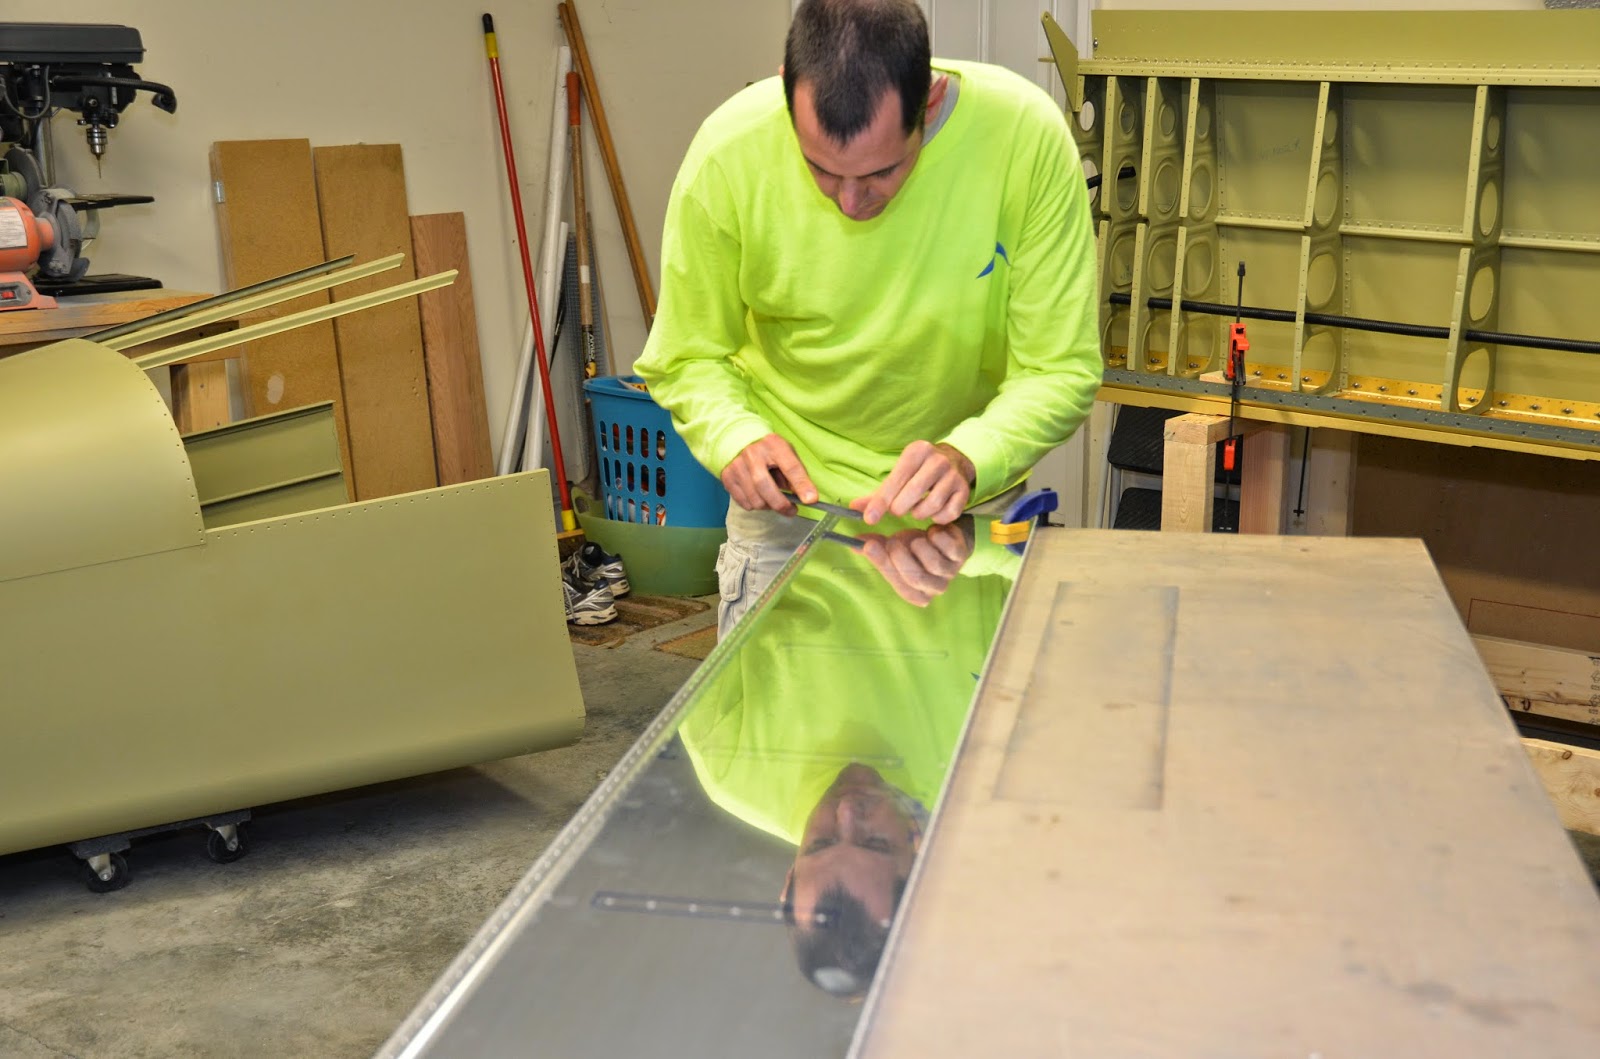
Deburred the tank skins:Scuffed the tank skins in preparation for proseal. Left skin:


Nice article!
ReplyDeletenamakkal egg suppliers
Last year was a bit crazy in the homeschool department. Too much time away from home, too many co-ops.gta 5 apk
ReplyDelete