Sunday, January 29, 2017

23 JAN 17: 45-13, step 2 (R), fit Aerosport door handle and lock: 4 hours
Finished the right door handle and fit the Aerosport flush door handle and lock.  These handles are going to look really nice when the plane is finished!

27 JAN 17: Remove tail section: 3.5 hours
Well the time has finally come to dig back into the tail section.  A LONG time ago I replaced a piece of angle (cut original too short) with a piece of angle from Lowes.  Even though the aluminum angle had the same inside radius as the Van’s angle, I was never comfortable with this after I did it.  I recently thought about this, so decided to pull things apart in order to replace it.  Well, my memory failed me.  I always thought the angle was a piece on the top of the back deck (easy fix), but it’s actually a piece under the back deck, which attached to the top of a bulkhead/reinforcement gussets.  This whole back deck must come off…
Removed:
The good news is that it’s pretty easy to remove rivets in the longerons.  I can drill the 1/8” rivets with a #40 bit and then drive them out with a punch, thus greatly lessening the change of enlarging the hole in the longeron:
Here is the offending piece of angle on the top of the bulkhead.  These rivets will be a bit more challenging to remove without enlarging the holes – especially the outboard ones.  It will be tough to get a straight shot – even with my angle drill:

29 JAN 17: Removed tail angle, trimmed door for PlaneAround latch, overhead : 4.5 hours
Finished removing the bad tail angle (no pic).  Everything is good to go; just waiting on the new parts to arrive from Van’s.  Continued working on the left door.  Cut the bottom of the door to fit the PlaneAround 180* latch.  Initial fit:
Finished the work session by fitting the Aerosport vents and eyeball lights in the overhead console:
Close up.  The silver will look nice against the carbon fiber once I clear coat and finish it:

Sunday, January 22, 2017

15 JAN 17: Left door seal, 45-5 step 10 (L), wet send/clear carbon fiber: 6.75 hours

Trimmed the left door window opening.  Just like the outer perimeter, a few places delaminated while trimming.  I believe this will be a regular occurrence while trimming the doors.  If I would have thought ahead a bit, I would have focused on ensuring a good amount of epoxy on the inboard side of the mating surfaces as you trim the outboard side away.  Continued to fit the door seal, however I’m done with that for now.  I’ll wait until I have the door latch installed to get the seal fit to 100%.  I shifted gears a bit and decided to play around with some of the carbon fiber pieces I received from the good folks at Aerosport.  I want to wet sand/clear coat the pieces as to be able to enjoy the beautiful carbon fiber look, but don’t have any experience shooting/sanding clear coat.  I decided to use the lower console side pieces – if I jacked those up, at least they wouldn’t be too visible!  I lightly scuffed, wiped with alcohol, tacked clothed, then shot.  Turned out pretty well.  Got a few dust spots, but that is expected as I’m shooting at the end of my garage and it is absolutely destroyed with dirt after years of building – especially now in the fiberglass phase!  Hard to get a good pic, but looks pretty good:

I’ll give that 24 hours, wet sand those marks and shoot another coat of clear.  I ended the evening by adding epoxy to a few spots of the door gutter that I will have to build up – where the gap is too large between the gutter/seal and door edge.  I was kind of intimidated by beginning the fiberglass work – had zero experience with it – but I’m enjoying it actually.  Yeah, it is dirty, stinky, and messy as hell at times, but it’s almost artistic in a way - creating the shape/look/final product that you desire.  The forgiving nature vs. metal work is also very nice!  Mess up here and sand/fill your mistake away, unlike metal work where you could have shot 200 perfect rivets and all it takes is one slip to mar your beautiful work.  I definitely miss shooting rivets, but this phase is a bit more care-free.  Mind-numbing for sure at times, but care-free ;)

16 JAN 17: Wet sand, polish carbon fiber: 4 hours
Well, we build EAB to learn, and we learn from mistakes, right?!  Not really a learning moment, as I already had the information - I just rushed/was complacent.  After wet sanding the dust spots out of my clear-coated pieces, I decided to shoot another coat of clear.  Here is where the rush/complacency comes in.  1) I didn’t clean the area properly – still had some (too much) fiberglass dust hanging around, and 2) The bigger issue of the two, I shot both pieces side by side on the table.  Well, I shot a tack coat on the first piece – no problem – but then shot the tack coat on the piece next to it.  This kicked up a bunch of dust onto the first piece I just shot.  Holy cow – it looked about 10x worse than the first round of clear.  Oh well…  Let it cure, wet sand 1000, 2000, then 2500.  I then polished and waxed using my DA buffer.  A lot of work for a few small pieces you will barely see, but I did it more for my learning of the techniques than anything.  Again, hard to get good pics, but the finished product is very nice:

I know some people do not like the look of the raw carbon fiber.  I love it.  Yes, you can have too much, but in moderation, I think it really sets off the interior.  I will keep all the Aerosport interior – overhead, panel, lower/center console raw carbon fiber.  Close up:

18 JAN 17: Started door handle/latch assembly: 5.75 hours
5.75 hours worked today and I really didn’t get anything done – ha!  Started on the infamous handles/latches today.  I’ve read a lot about doing this – how it’s fairly confusing, difficult, etc.  To add to the confusion, I’m adding the PlaneAround 180* latch and the Aerosport low-profile door handle, so I’m following 3 sets of instructions at the same time.  Fortunately, like all RV builders, I have many that have gone before me.  I review the sites of fellow -10 builders Ed Kranz (http://www.goodplaneliving.com) and Justin Twilbeck (http://buildingrv10.blogspot.com), and -10 builders and friends Mike and Sarah (http://mikeandsarahrv10.blogspot.com) more than the plans at this point!  This makes some of the more confusing parts/additions exponentially easier.  I especially appreciate Ed’s videos of the Aerosport products.  Half of today’s time in the shop was just sorting through all of the parts required.  Here are the Van’s, PlaneAround, and Aerosport parts all separated for each door latch:

Only got the holes rough cut.  Do not have the door locks yet - didn’t at the time, do as I’m writing this ;) – so this is where I will stop for now on the door latches.  Just like the outer perimeter delaminated, so did this door pocket (actually, I don’t think it was ever bonded when I glued the door halves together), so I squeezed some epoxy back in there and clamped together.  Hopefully I won’t have to do it again when I sand to final size, but I probably will!

21 JAN 17: 45-10, steps 1-4: 4.25 hours
Temporarily assembled and final-drilled the door handle assemblies:
Riveted the C-1006A handle plates and C-1006D handle face plates to each other:

Cut the WD-1022 handles and C-1007 pins according to the Aerosport low-profile handle instructions.  Installed nutplates inside the WD-1022 handles – a bit tricky as the nutplate is inside of the handle.  I taped the nutplate to a flat tip screwdriver.  Worked well:


22 JAN 17: 45-13, steps 1-2: 5.25 hours

Some days you feel like you accomplish a lot, some days, not so much…  Over five hours and not even 2 whole steps completed.  Part of it was my fault – installing the wrong pins in the wrong areas…SEVERAL times… – but generally it just took a lot of work to get everything in the handles to work nice and smoothly.  Got the left handle finished and the right handle close – just have to grind the locking pin channel for the larger Aerosport pin.

Sunday, January 15, 2017

4-5 JAN 17: Page 45-5 steps 11-12 (L): 7.75 hours
Trimmed the outside perimeter of the left door.  The plans have you keep the index tabs on the doors while trimming to fit, but like others before me, I chose to make my own index tabs, so the doors can sit in their final position while trimming.  Marked and cutout the tabs from some scrap:

The tabs did a good job of holding the door in position:

I lost count with how many times I had the door on and off.  Off, trim, on, mark, off, trim, on, mark, off…again and again and again!  Not going for perfection at this point as the door will certainly shift a bit as I add the hinges, install the door seal, etc.  Looking pretty good:

11-12 JAN 17: Page 45-6 steps 1-3 (L), page 45-7 1-3 (L): 6 hours
Cut the threads off of four AN3-21A bolts to make the pins for the door hinges.  I had read other build logs that mentioned the play in the hinges.  One of the logs suggested shifting the forward hinge all the way forward and the aft hinge all the way aft while drilling the hinges.  In this way, the slop in the hinges is removed.  I made a couple of shims to hold the hinge in position as I drilled:

These held the hinges very well while drilling to the doors and removed any and all slop from the hinge:

Left door attached to the cabin top:

Inside of the hinges:

14 JAN 17: Trimmed left door gutter and fit door seal: 5.5 hours
Trimmed and sanded the door channel to fit the McMaster Carr seal.  My garage will never be the same – fiberglass dust everywhere! Forward edge:

Aft edge:

Still have some work to do on it.  I have the lateral distance trimmed well – looks consistent the entire way around the door opening.  However, I still have to adjust the width of the gutter to get a consistent 1/4 inch gap the entire way around – have some tight spots at the moment.  More sanding!!

Tuesday, January 3, 2017

10 DEC 16: Page 45-4 steps 6-7: 1.5 hours
Match drilled #30 and clecod the gas strut doubler to the inner shell.  Epoxied the strut doublers to the inner door shells.  Re-drilled #30 and riveted the doublers to the door shells:

 1 JAN 17: Page 45-5 steps 1-7 (L), page 45-4 steps 1-5 (R): 4.5 hours
Masked to fuselage with a piece of drop cloth in preparation of joining the outer and inner door shells:

I also chose to use some leftover insulation to insulate the doors.  I did this only to add some mass as the doors appear really flimsy.  Not sure if this was worth the effort, or will help in any way…

Epoxied the two shells together and placed the door subassembly onto the fuselage to cure.  Like many before me, I chose to cleco the door all the way around the door frame, rather than using clamps and weights as the plans suggest:


Finished this work session by attaching and match-drilling the right door subassembly to the fuselage.  This door is now ready for sanding and bonding:

Sunday, December 4, 2016

28 NOV 16: Page 43-9 step 1: 1.5 hours
Cut and fit the C-1004-L/R windows:

1/2 DEC 16: Page 43-8 step 4-8, fit overhead console, 43-9 step 1, 45-08 steps 1-2 : 8.25 hours
Match-drilled #12 the WD-1043 center cabin brace to the F-1044A forward cabin rib and the F-1044B angle.  Trimmed and fit the C-1005 windscreen:

Trimmed and fit overhead console:

Finished trimming side/rear windows.  I’m not sure what is worse plexi or fiberglass dust!

3 DEC 16: Page 45-2 steps 3-4 (L), page 45-4 steps 1-5 (L): 5 hours
Sanded the inside mating surfaces of the C-1002A/B-L cabin door shells:

Match-drilled and clecoed the C-1002A/B-L cabin door to the cabin cover.  The  plans have you tape the door to the cabin top, but like those who have done this before me, I chose to drill into the top and secure with clecos all the way around to get a better fit for final epoxying of the inner/outer door shells:

Sunday, November 27, 2016

Well, so much for keeping my blog up to date - 90 days since the last update!!  Not a whole lot of work over the past several months, but below is what has happened.  I'd like to say I will be making more regular updates, but I'm in for another build/blog delay - just like last year.  I'll explain in a separate post.

28 AUG 16: Page 43-5 step 1, fiberglass practice: 6.5 hours
No pics

29 AUG 16: Page 43-5 steps 1-4, page 41-7 steps 2-4: 5.5 hours
No pics

30 AUG 16: Page 43-5 steps 4-5, page 43-6 steps 1-4, page 43-7 steps 1-7: 4.5 hours
No pics

31 AUG 16: Page 43-7 step 8: 1 hour
No pics

7 SEP 16: Page 43-7 step 8, page 43-8 steps 1-3, tailcone VHF doubler: 3.25hours
Countersunk all the #12 and #19 holes in the cabin top:

Made a doubler for the #2 VHF comm antenna that I will be putting on the tail cone just aft of the cabin top:

11 SEP 16: VHF doubler: 3.5hours
Finished the antenna for the #2 comm antenna.  Doubler riveted to the top skin:

Antenna as it will be placed once final installed:

19 SEP 16: Page 41-7 step 1, page 45-2 step 1: 3.5hours
Fabricated the cowl attach shims.  Marked the outside perimeter and window flanges of the C-1002A-L/R cabin door outer shells in preparation for trimming.  I’ve had this tool since I started building and never got to use it…until now…  Did a good job for this purpose:

26 SEP 16: Page 45-2 step 1: 2.5 hours
Trimmed the outside perimeter and window flange of the C-1002A-L/R cabin door outer shells.  Fiberglass fun!

27 SEP 16: Page 45-2 steps 1-2, page 43-3 steps 2-4: 4.5 hours
Finished trimming the outside perimeter and window flanges of the C-1002A-L/R outer shells and the C-1002B-L/R inner shells.  Trimmed and sanded the canopy top – so much fiberglass fun!

12 OCT 16: Redo upper fuse, page 31-2 steps 4-5, page 31-3 1-3, page 31-4 1-2: 3.5 hours
I was never happy with the quality of my upper fuse – the only metal work in the entire plane that had a few blemishes.  I decided that I didn’t want to spent (hopefully) the rest of my life walking to my plane and seeing the blemishes, so I decided to replace this:

With this:

16 OCT 16: Page 31-2 step 3, debur, page 31-4 step 4: 3 hours
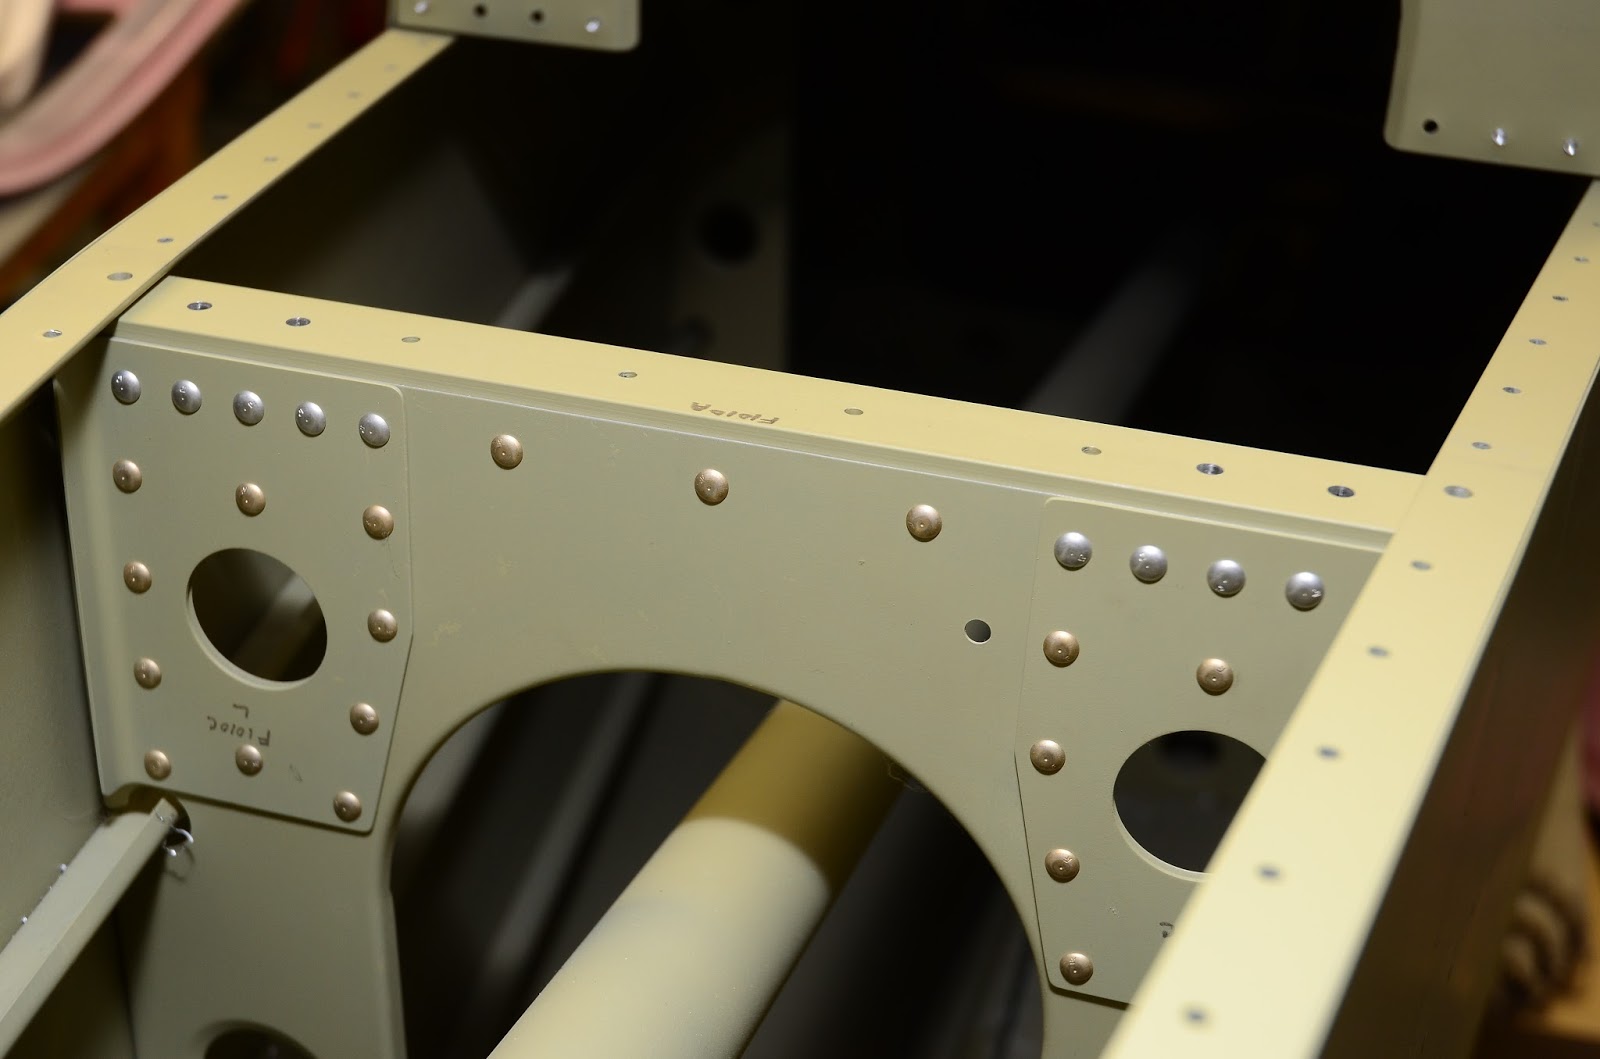
Fabricated the F-1003D/E panel attach flanges, deburred all the panel pieces, clecoed the panel structure together:

17 OCT 16: Tested repaired tank: 2.5 hours
I think I’ve probably had the tank off for a year now – very glad to get the repair behind me.  Did the balloon check and also sprayed the tank thoroughly with a leak detector - basically fancy soapy water.  I’ll take the tank back out to the hangar (where the wings are being stored and wait a bit (cooler weather) before installing the tank back on the spar:

18 OCT 16: Page 31-2 steps 1-2, page 31-5 steps 1-2: 2.5 hours
Fabricated the F-1044C spacer and the F-1044B angle:

7 NOV 16: Replace flanges on upper fuse L/R ribs: 2.25 hours
I had an odd alignment issue with the upper fuse – the left and right rib flanges didn’t line up with the holes in the firewall once everything was riveted together.  A call to Van’s had them scratching their heads – said they saw the same misalignment in pieces in the warehouse.  Their advice was to get some angle and make some new flanges, so that’s what I did:

13 NOV 16: New upper fuse: 1.5 hours
The culprit of the original outies are marked in red in the pic – the corner of the flanges.  I taped a steel ruler along the flanges to see how much shimming will be needed to get a nice curve:

18/19 NOV 16: New upper fuse: 3.75 hours
A bit tedious, but the shimming seems to be doing the job!  Hopefully the marks will not reappear once riveted:

20 NOV 16: Page 31-6 steps 1-4, page 31-7 step 1: 2.5 hours
Match drilling the new upper fuse assembly – no pics.

21 NOV 16: Prekote / prime upper fuse parts: 6 hours
Been quite a while since I messed with the Prekote / Akzo routine.  Guess what?  I didn’t miss it!!  All the new upper fuse parts – next step is to put it together; the fun part!

22 NOV 16: Page 31-3 steps 1-3, page 31-7 steps 1-5, page 31-8 steps 1-6: 5 hours
Putting together all the new upper fuse parts.  New flanges riveted on the L/R ribs:

23 NOV 16: Page 31-8 steps 7-15, page 31-9 steps 1-2: 8.5 hours
Continued riveting the upper fuse structure together.  Center section:

A little awkward to rivet on the bench – hard to keep it from moving – so a stuck a piece of PVC through the ribs and clamped it onto my work bench.  Worked really well – much easier to rivet when the work piece isn’t dancing all over the place.

26 NOV 16: New upper fuse: 1.5 hours
Continued work assembling the upper fuse structure – no pics.

27 NOV 16: Page 31-9 step 3, installed fans in glare shield, put cabin top back on: 12 hours
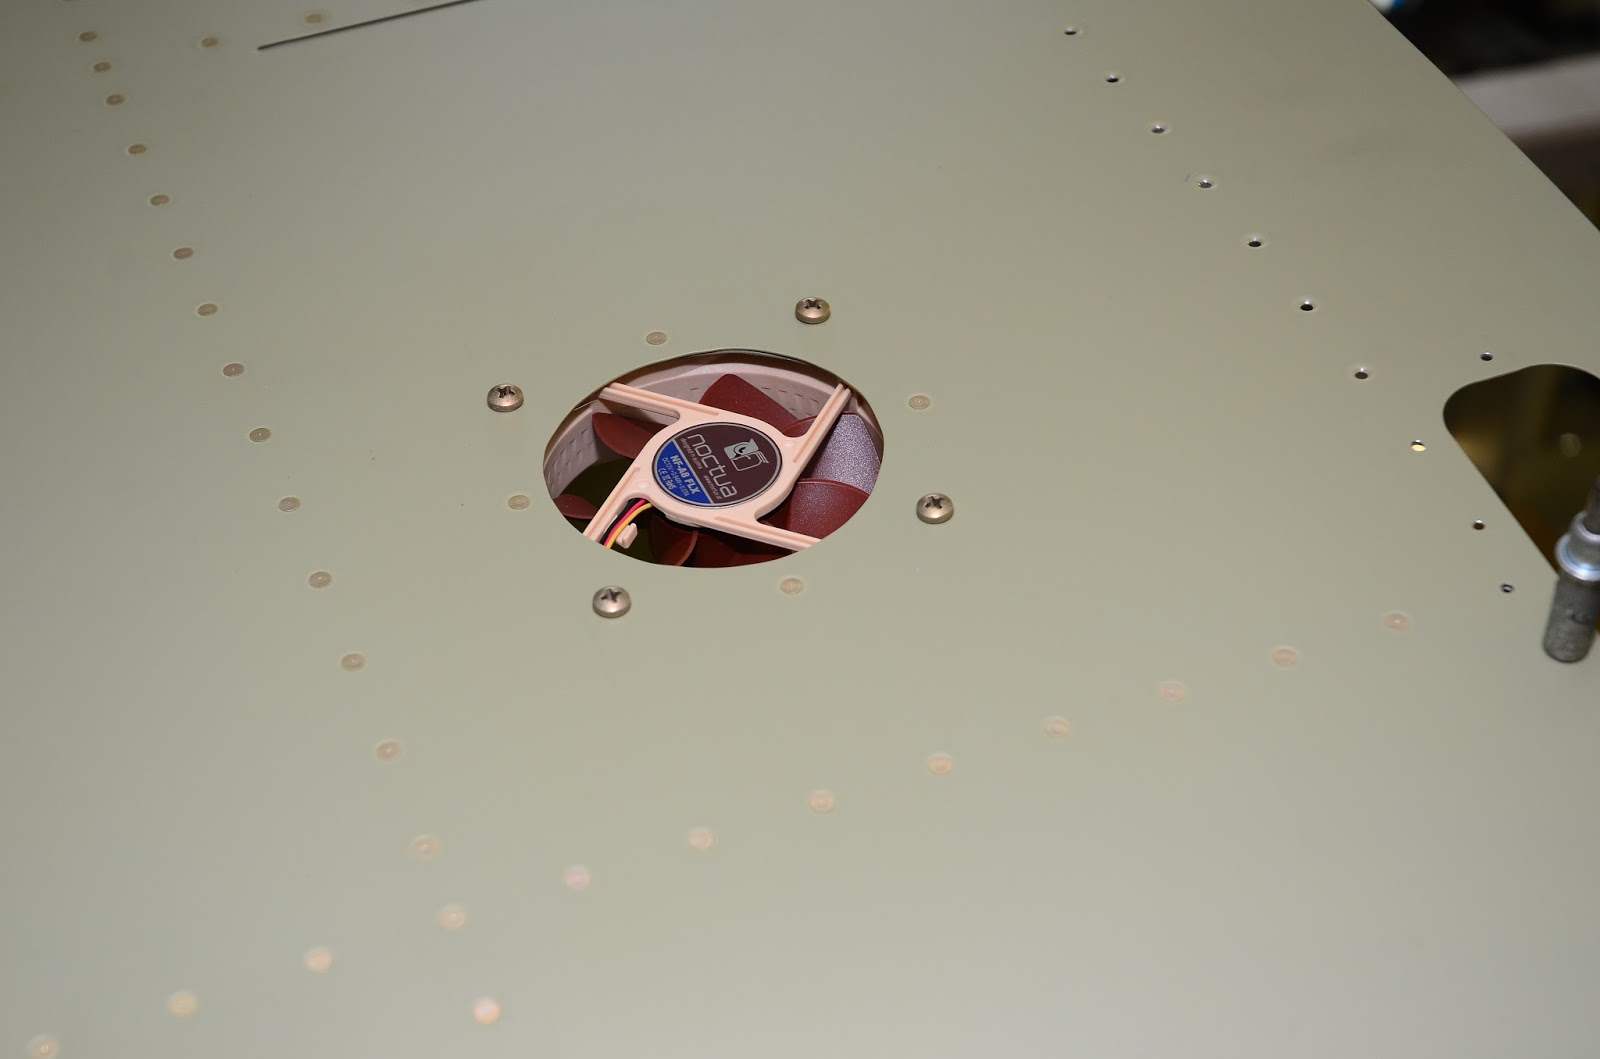
Marathon day, but got a lot done!  I riveted the upper fuse skin to the sub-structure.   I had a friend help with the last upper fuse, but shot this one by myself.  It was very slow going – lots of awkward angle to shoot and buck, but I got great results.  I then mounted two computer fans into the top skin that will serve to circulate hot air from the avionics bay and will also serve as windshield defrost – the fit was good:

I am so glad I decided to redo the upper fuse.  My results were much better this time – looks great, and now matched the very nice build quality of the rest of the airframe!

Now that the new upper fuse is complete, I can now get back to forward progress – fiberglass work!!  I ended the night by putting the cabin top back on.  Next up will be to trim the windows and window openings, fit the Aerosport overhead console, finish the inside of cabin top, and continue work on the doors: