Sunday, October 12, 2014

11 OCT 14: Saint Aviation Fly-in
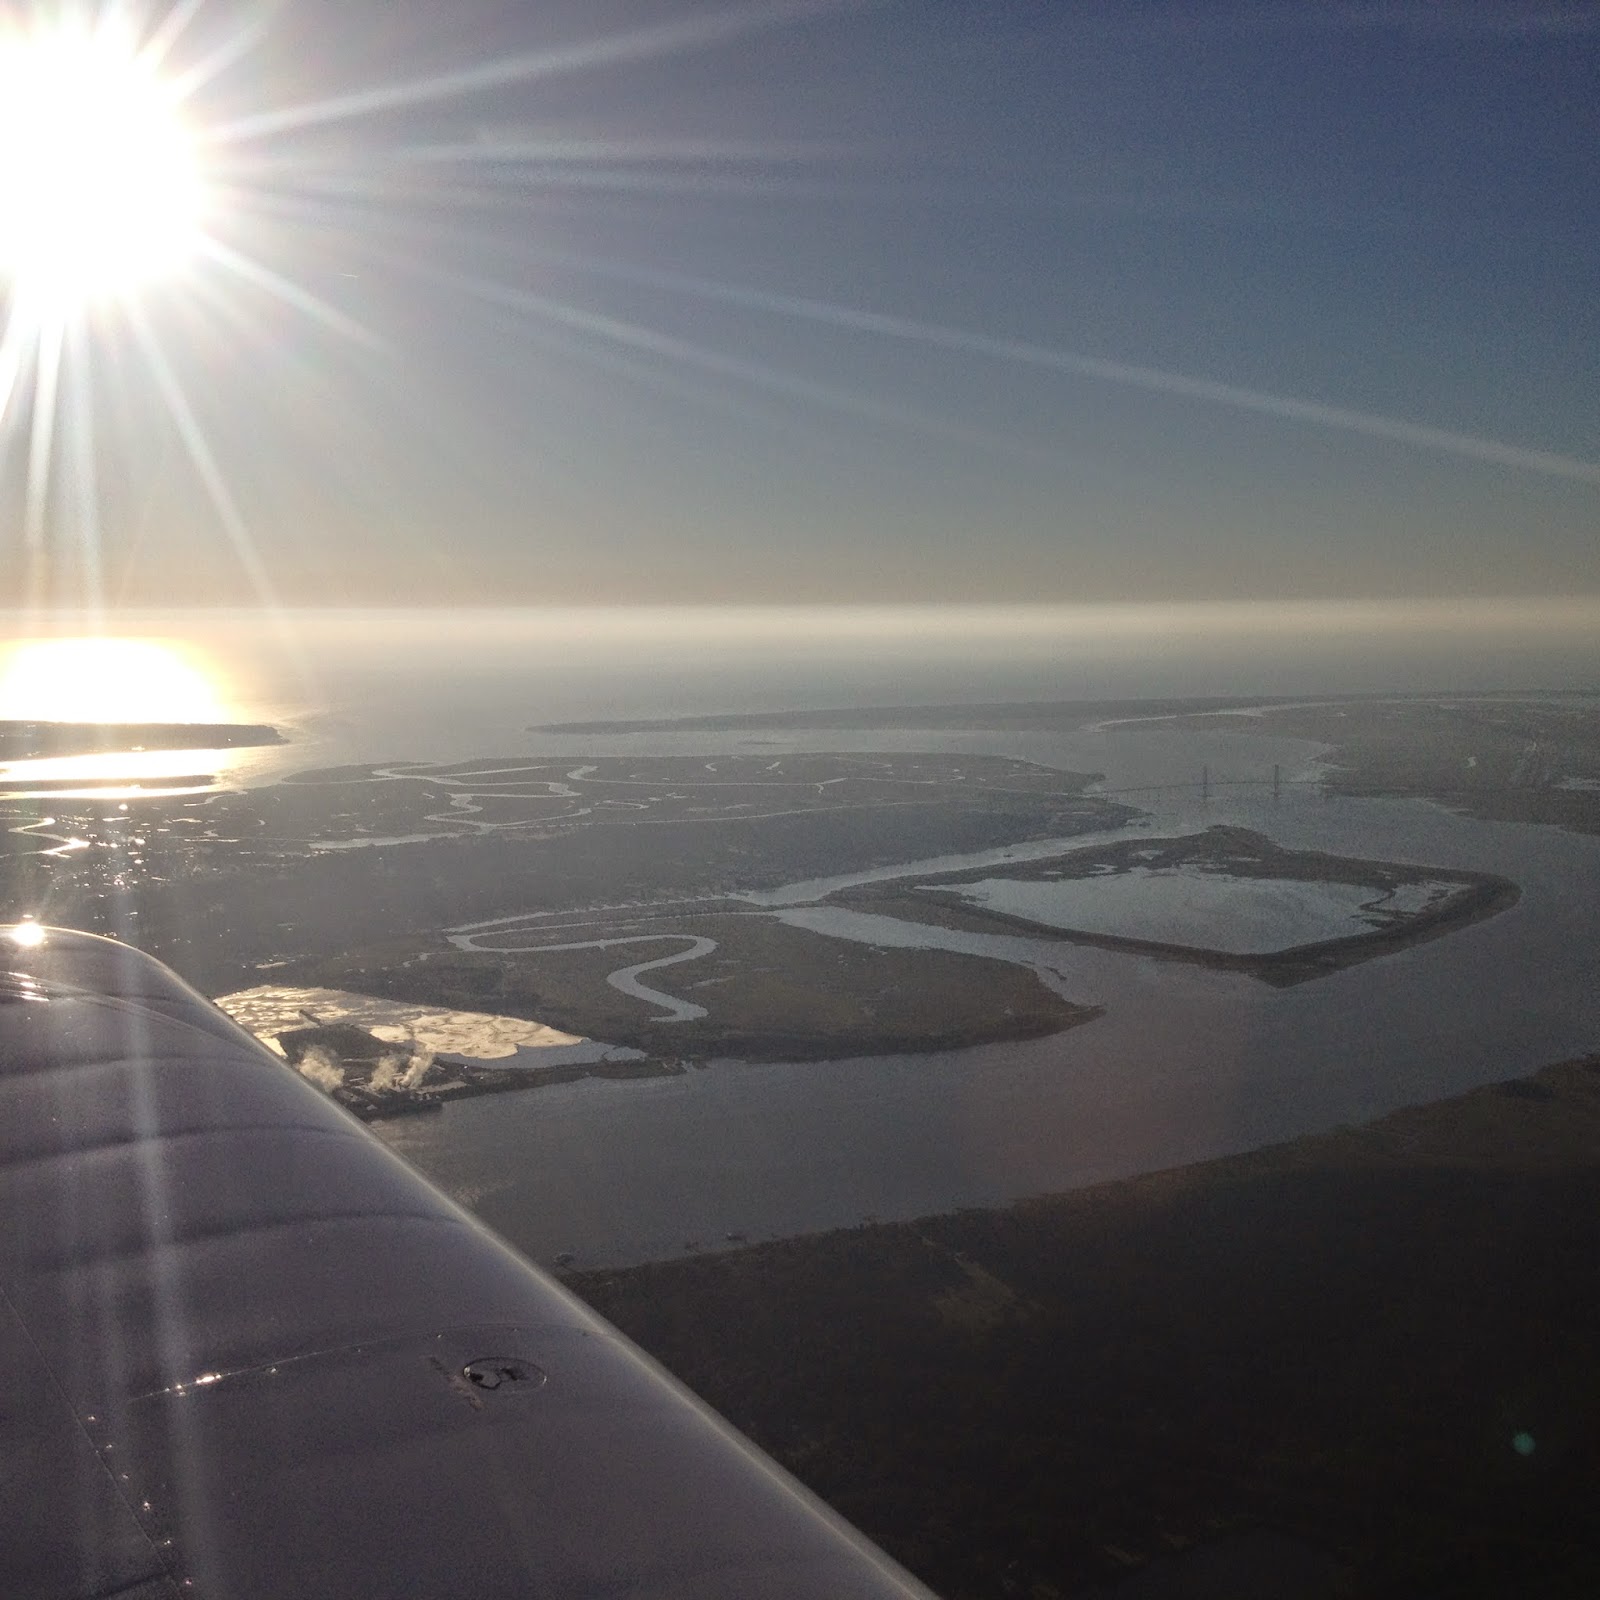
Took the day off from building to fly down to Dunnellon Florida, X35 Marion County Airport.  Jesse Saint of Saint  Aviation held an RV-10 fly-in.  I stopped in St. Mary's, Georgia, 46J, to pick up Chris - a guy I met through  the Van's Airforce Forum.  Chris is contemplating building an RV-10 and came up to visit my project a few weeks ago.  It was nice to share my experience with a potential builder and it was nice to be able to go the fly-in with him.  A beautiful morning for a flight south:
My first real burger since becoming a vegetarian over a year ago.  My gut reminded me why I'm a vegetarian that evening!
Jesse and some of the guests:
12 OCT 14: Prekoted wing parts, page 16-2 step 6: 8.25 hours
Finished Prekoting the top wing skins.  Dimpled the holes on the upper flange of the rear spar and upper flange of all but the four inboard most ribs.  Dimpling the ribs:
Well, I’m not happy it happened, but I am glad it took this long for my first time figure eighting a dimple.  Doh!
 You don’t get much more of a perfect figure eight!  I flattened the dimple with a flat set in the squeezer:
I’m going to epoxy a piece of .032 to the back of the flange, fill the hole with epoxy, then countersink for the skin dimple.  The back piece will be used to secure the shop head.  I’ll just have to use a bit longer rivet.  Both wing skeletons dimpled and ready for the top skins:
Got the  down-draft table and exhaust fans set up for tomorrow; will prime the top and leading edge skins, stiffeners, leading edge ribs, and the exterior of the elevator trim tabs:
All ready for the Akzo Nobel first thing in the morning:

Friday, October 10, 2014

05 OCT 14: Page 17-3 step 1-8: 7 hours
Repeat of previous steps for right leading edge.  All clecoed together:
Deburring, deburring, deburring…both skins done:
 Deburring the edges of the skin.  One skin down, one skin to go; then all parts will get primed:
06 OCT 14: Page 17-3 step 8, page 9-16 step 5 (right tab): 1.5 hours
Finished deburring wing parts.  Bent the tabs on the right elevator trim tab – no pics.
08 OCT 14: Page 9-17 steps 1-10 (right tab): 2.7 hours
I skipped back to finish the right elevator trim tab.  Completed the trailing edge bend of the trip tab skin.  Match-drilled the holes of the outer tabs into the inner tabs.  Made the 15’ bend in the bottom trim tab skin.  Clecoed the trim tab horns to the trim tab skin and spar; final-drilled the holes common to the horns, skins, and spar.  Dimpled all the holes in the E-919 trim tab skin and E-920 trim tab spar.  Riveted the E-917 and -918 trim tab horns and the bottom flange of the E-920 trim tab spar to the E-919 trim tab skin.  Bonded the foam trim tab ribs to the trim tab skin.  Riveted the bent tabs on the sides of the trim tabs  – no pics.
09 OCT 14: Page 9-18 steps 7-8, page 9-19 steps 1-2 (left tab): 2 hours
Riveted the hinge halves to the elevator and to the trim tab.  Attached the trim tab to the elevator by sliding the hinge pin back into the hinge halves.  Outboard side:
Inboard side:
The whole trim tab:
Bent the hinge pin:
10 OCT 14: Page 9-18 steps 4-6 (right tab), prekoted wing parts: 6.7 hours
Clecoed the trim tab on top of the hinge.  Match-drilled the holes of the trim tab into the hinge:
Marked the inboard end of the hinge so that it can be trimmed even with the elevator and trim tab.  Trimmed the hinge halves.  Spent the rest of the session doing my favorite thing – prepping for priming with Prekote.  Ugggghhhhh!!!!  Oh well, a necessary evil.  The parts drying, ready for Akzo:

Saturday, October 4, 2014

I have been sick all week, so didn't get much work done.

28 SEP 14: Page 17-2 steps 4-5: 5.25 hours
Constructed cradle for leading edges.  Removed W-1019-L/R splice strips from the T-1001-L/R fuel tank skins.  Deburred the edges of the splice strips and fuel tank skins – no pics.
29 SEP 14: Page 17-2 step 6: 2 hours
Finished deburring fuel tank skins – no pics.
01 OCT 14: Page 17-2 step 1: 1.5 hours
Fluted and straightened all rib flanges – no pics.
04 OCT 14: Page 17-3 step 1-8: 5.5 hours
Clecoed the W-1009-L/R, W-1009-1L and W-1009-2L ribs to the skin.  Inserted the W-1019-L splice strip into the inboard end of the leading edge skin then inserted the W-1008-L splice strip rib and clecoed the splice rib, strip, and skin together:
Drilling the j-stiffener to the leading edge skin: 
Final-drilled #40 all the ribs and splice strip to the skin.  Enlarged all screw holes in the splice strip to #19.  Countersunk the #40 nutplate attach holes in the splice strip for the head of a 426-3 rivet:
All of the leading edge parts deburred and ready for priming.  Begin on the right leading edge tomorrow:

Sunday, September 28, 2014

21 SEP 14: Page 16-2 steps 5-6: 2 hours
Finished deburring top wing skins – no pics.
23 SEP 14: Prepping wing skins for priming: 2 hours
Used my random orbital car buffer with a maroon scotchbrite pad to prep the skins – much faster and easier than using the pads by hand – no pics.
26 SEP 14: Page 17-2 steps 2-3: 2 hours
Fabricated the W-1026 leading edge J-stiffeners for the l/r wing assemblies.  Modified two W-1009-L/R leading edge ribs for each wing assembly:
27 SEP 14: Page 17-2 steps 4-6: 7 hours
Created cradles for leading edge/tank assemblies:
Removed the W-1019-L/R splice strips from the T-1001-L/R fuel tank skins.  Deburring the splice strip:
Deburring the edges of the tank skins:
Finished deburring the leading edge ribs.

Saturday, September 20, 2014

8 SEP 14: Priming Tailcone / wing parts: 3 hours
Finished priming tailcone and began to prime some of the wing parts:

9 SEP 14: Priming wing parts: 9 hours
A long day of priming all the main spar parts.  Always seems like it will go quicker than it does, but I really like the protection the Akzo offers, so the extra time is well worth it in my opinion.  The first batch of 30 ribs:
The rear spars after Prekote prep drying:
Doesn’t look like much, but a lot of work to get all of this Prekoted and primed:
11 SEP 14: Page 13-4 step 11, page 13-5 step 1, page 14-3 steps 5-7: 5.25 hours
Riveted nutplates to the W-1020 tie-down brackets:
Attached the W-1020 tie-down brackets and aileron bellcranks to the spar assembly:

Riveted the flap hinge rib and flap hinge bracket to the inboard wing ribs; riveted the VA-146 flange bearing, W-1029A and W-1029B torque tube support brackets, W-1029C angle, W-1029D and W-1029E spacers together.  Riveted the W-1029C angle support bracket assembly to the web of the W-1010 inboard wing ribs.  Riveted the W-1025B flap hinge ribs and W-1025A flap hinge brackets to the W-1010 inboard wing ribs:
12 SEP 14: Page 14-4 step 1, page 14-5 step 1-4, page 14-6 step 1: 6.25 hours
Installed SB437-4 snap bushings in the W-1010 and W-1011 inboard wing ribs.  Clecoed the ribs to the spar assembly and final-drilled #40  the forward most hole in the forward tabs of the seven inboard most W-1011 inboard wing ribs:
Riveting the forward flange of the ribs to the main spar – stinking hot in the garage!!!
Had to get the wing rib shot that I see in everyone else’s build logs:
13 SEP 14: Page 14-6 step 1, page 15-2 steps 5-7, page 15-4 steps 3-4: 5.75 hours
Installed bolts in the upper/lower attach holes of the wing ribs.  Pressed bearing com 3-5s into all W-1013A/trimmed aileron hinge bracket spacers.  Riveted the assemblies together:
Final drilled #40 and dimpled the 26 inboard most holes that are located in the upper flange of the W-1007A rear spar web:
Riveted the rear spar parts together.  The plans have you rivet it together while clecoed to the ribs.  I chose to rivet what I could using the table vice and then rivet to the ribs.  Much easier, and this allowed me to use the squeezer on all but one rivet:

Left wing complete:
14 SEP 14: Repeated previous steps for right wing: 4.25 hours
Repeat for the right wing.  Ribs clecoed to the main spar:
15 SEP 14: Page 15-4 step 4, page 16-2 step 1: 3.5 hours
Finished riveting the right wing.  Squeezing the rear spar assembly:
Clecoed the wing skins on the left wing:
16/18 SEP 14: Page 16-2 steps 1-3: 4.25 hours
Final drilled #40 all the holes common to the top wing skins and the spars, stiffeners, doublers, and ribs.  A lot of holes!!
19/20 SEP 14: Page 16-2 steps 3-6: 8.25 hours
Machine countersunk the screw holes for a #8 flush head screw dimple: 
Machine countersunk all the rivet holes that correspond to the W-1027A and W-1027B wing walk doublers for the head of an AN426AD3 rivet:

Repeated match-drilling the right wing.  Just a few holes:

Deburred all the skins.  Have I mentioned that there are a lot of holes?!!!

Sunday, September 7, 2014

1,3,5 SEP 14: wing skin deburring: 2.75 hours
Deburred wing skin edges – no pics.
6 SEP 14: Deburred rear wing spar, prepped tailcone for priming: 5.5 hours
Deburred the rear wing spar.  Prepped the tailcone skin for priming – scotchbrite and acetone wipe:
This took quite a bit longer than I expected – a pain in the rear with the tailcone assembled.  I decided – after assembly – to prime the exterior of the skins as well.  All ready to shoot:
7 SEP 14: Prekote prep main wing spar assembly: 8 hours
Holy cow – what a pain in the rear!  Prekote prepped the main wing assembly parts to get ready to prime.  No pics.