Sunday, August 3, 2014

It’s been quite a while since I posted an update.  I spent the last week at Oshkosh Airventure, so not a lot of progress has been made on the wings.  But, as usual, Oshkosh was awesome, so it was well worth it.  I’ll post a separate Oshkosh trip report.

21 JUL 14: Page 13-2 steps 8: 2 hours
Finished match drilling the W-1028A wing box j-stiffeners and W-1028 wing box j-stiffeners to the flanges of the spar assemblies – no pics.
22 JUL 14: Page 13-3 step 1: 2.75 hours
Drilled #40 through all the 3/32 holes in the flanges of the spar assemblies – no pics.
23-24 JUL 14: Page 13-3 steps 2-3: 3 hours
Countersunk the nut plate attach rivet holes in the flanges of the spar assemblies.  Machine countersunk the skin and rib attach rivet holes in the flanges of the spar assemblies - no pics.
02 AUG 14: Page 13-3 steps 4-5: 6.5 hours
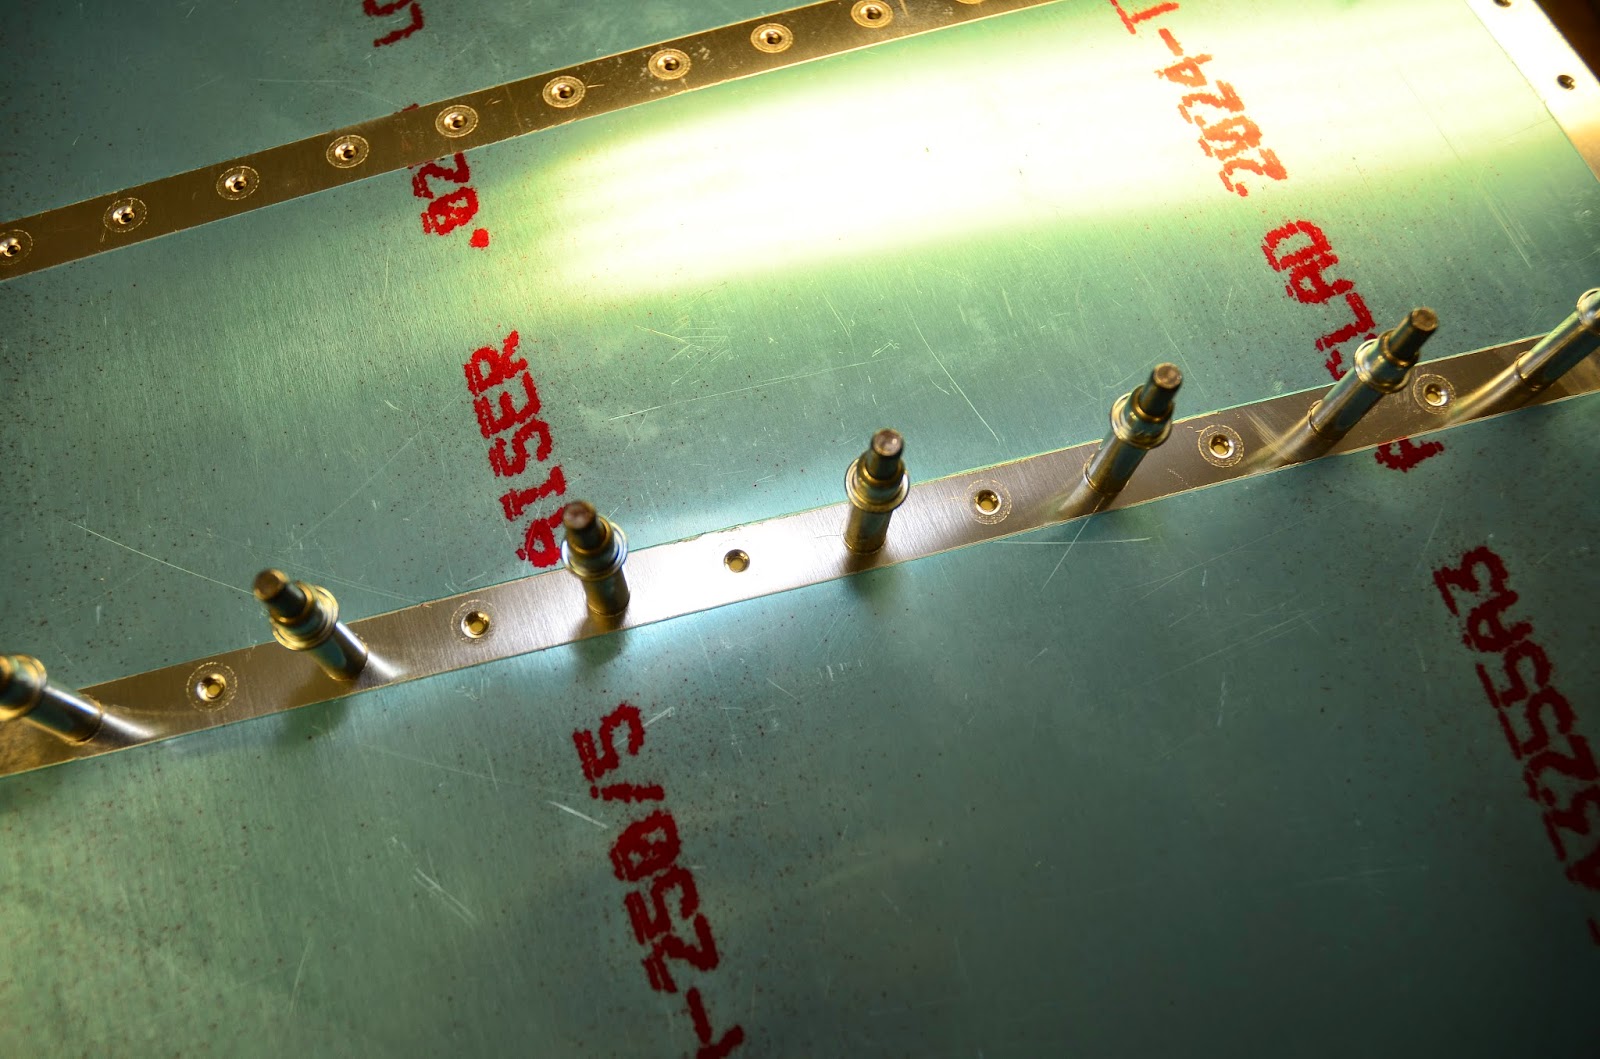
Riveted the fuel tank skin attach nut plates to the spar assemblies:
Outside of the flange:


Machine countersunk the fuel tank attach screw holes.  This process is taking quite a long time – the countersinks are quite deep, so I have to sneak up on the hole, incrementally increasing the counter sink size.  I probably had to go over each hole 5 or 6 times until the final size was reached.  Trying to go too deep at once, causes the countersink to wobble and create an oblong hole.
03 AUG 14: Page 13-3 steps 5-9: 6.5 hours
Continued to machine countersink the fuel tank attach screw holes.  So many holes!
A pretty tedious process, but taking my time resulted in pretty nice countersinks:

Riveted the wing access plate attach nut plates to the spar assemblies:
Finally for the session, primed the areas where the anodize finish was removed during countersinking:

Saturday, July 19, 2014

09 JUL 14: Wing Kit Arrives!!!
I haven’t posted in a while, but the wing kit arrived!
I probably won’t get much done the rest of this month.  I’m finishing odds and ends with some of the empennage pieces, plus I’ve been messing with the RV-7A getting ready for Oshkosh!!  I can’t wait to go.  Last year was my first year and it was awesome!!  I’m leaving Friday the 25th and staying until the following Friday.  Like last year, I’ll be camping in the Homebuilt Camping Area – mostly all other RVers.  Hope to have a good blog post when I return.  I’ve had a pretty good build pace – been averaging 80ish hours/month.  July will be much lower, but it is worth it for a week of decompression at Oshkosh.
12 JUL 14: Page 10-23 step 2: 2 hours
My friend Larry came over this morning and helped me finish up the tail cone riveting.  Larry is a local RV-10 builder.  He is a few years ahead of me.  It’s great to have his knowledge and experience to lean on as I progress through this journey.  No pics.
14 JUL 14: Page 13-2 steps 1-2: 2.5 hours
Clecoed the W-1006E-L main spar web extension to the W-SPAR ASSY-L spar assembly using four W-1006F spar splice plates.  Final drilled the spar splice plates to the spar assembly and web extension using a #30 drill:
Marked the splice plates so as to note their orientation:
15 JUL 14: Page 9-16 step 3: 1.25 hours
Decided to redo my elevator trim tabs – one is good, the other not so good.  I’m going to redo both to see how they turn out.  Marked the inside for pro-sealing the foam ribs and final drilled the holes – no pics.
17 JUL 14: Page 9-16 step 3: 1.25 hours
Deburred all the holes and edges of the elevator trim tabs – no pics.
18 JUL 14: Page 13-2 step 3: 1.25 hours
Deburred and primed the W-1006F spar splice plates and the W-1006E-L/R main spar web extensions – no pics.
19 JUL 14: Page 10-23 steps 3-5: 1.75 hours
Attached the F-635 elevator bellcrank to the two F-1037A bellcrank angles.  Bolted the two F-1037A bellcrank angles to the F-1035 battery/bellcrank mount:

Attached the F-1035 battery/bellcrank mount to the F-1037B & C bellcrank rib angles:

Saturday, July 5, 2014

30 JUN 14: Page 10-21 steps 1-3: 5.8 hours
Riveted the nutplates to the bellcrank rib angles:

Riveted the bellcrank rib angles to the bellcrank ribs:

 Finished the evening by dimpling the F-1075 aft top skin:
04 JUL 14: Page 10-23 steps 2, page 10-21 steps 4-5, page 10-22 steps 2-3: 7.5 hours
Back riveted the j-channels to the F-1075 aft top skin.  Accidentally riveted two holes that were supposed to be left open to accept a nut plate for the empennage fairing.  I already had the skin (with j-channels riveted) attached to the tailcone and didn’t want to take it all apart.  I carefully drilled off the heads, then drilled through the entire rivet.  This has to be done with extreme care, and a very small bit, to stay in the rivet and not drill into the hole.  If done correctly, this is the result:

Then, using a punch, it is very easy to remove the shop head by hand and not affect the thin metal of the j-channel – as opposed to trying to hammer it out:

Spent the rest of the session riveting the aft part of the tail cone / aft deck.  I was able to squeeze a lot of the rivets, but had to buck a few as well.  All in all it went fairly smoothly – no rivets to drill out:
05 JUL 14: Finished up tail cone: 1.75 hours

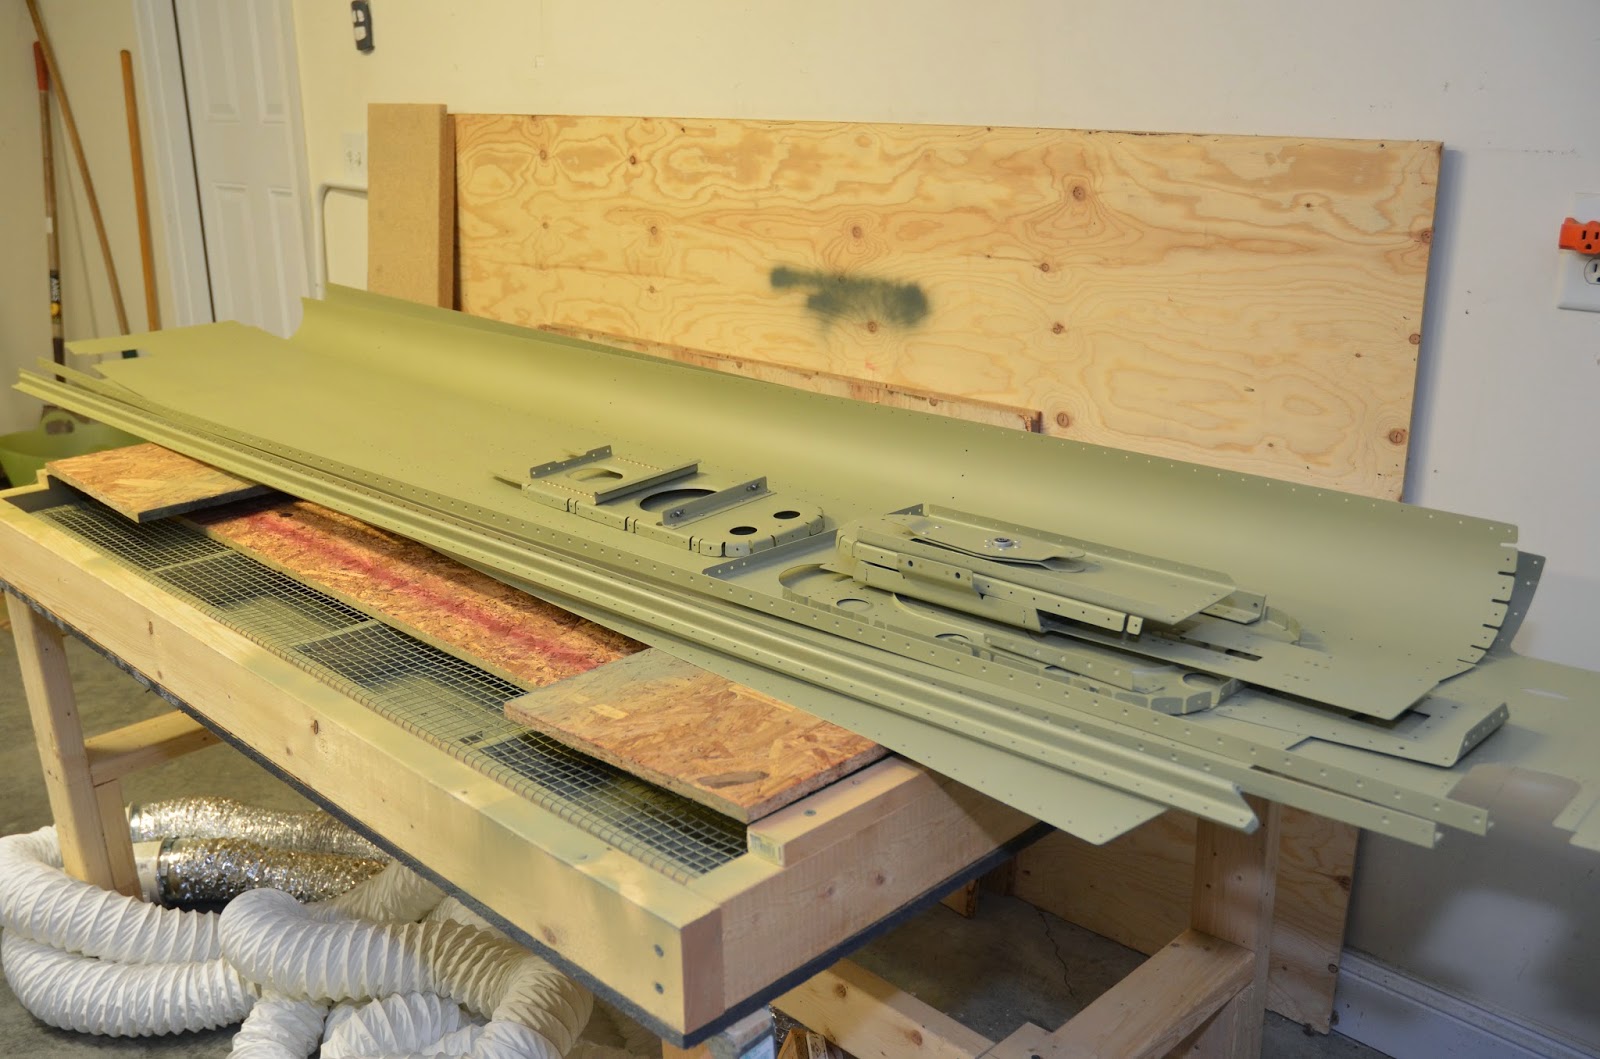
Finished up what could be done solo on the tail cone.  The rest will require a partner to help buck.  Next weekend a fellow RV-10 builder will stop by and help me finish up the riveting.  My wings are due on Wednesday, so this is pretty good timing.  With the tail pretty much done, it was time to clean and organize the shop to make room for the wings!

Sunday, June 29, 2014

22 JUN 14: Page 10-20 step 1: 2 hours
Clecoed together the tailcone.  I’ve decided to try to back rivet as much as possible:

24 JUN 14: Page 10-20 step 2: 1 hour
Began riveting the tail cone stiffeners.
25 JUN 14: Page 10-20 step 2: 2 hours
Continued riveting the tailcone.  Noticed my back rivet set had a nub in the middle and was also convex in the center.  I was having fits getting nice shop heads in the tail cone stiffeners.  The faulty back rivet set:

The results:

The replacement:

Much nicer:
26 JUN 14: Page 10-20 step 2: 2 hours
Continued riveting the tail cone – no pics 
27 JUN 14: Page 10-20 step 2: 7.75 hours
Continued to rivet the tail cone.  Finished up the first side.  I was able to back rivet all rivets except the ones right next to the j-channel (too close to fit the back rivet set).  I had to get a little creative to back rivet the curved part of the skins/bulk heads.  Propped the tail cone at the proper angle:
 

Centered the back rivet plate:

 Shop head side looks good:
Manufactured side looks good, too:

 Back riveting really makes for nice rivets!
This rivet was too close to the j-channel to fit the back rivet set and a bucking bar:

 I used a tight fit dimpling bar and a back rivet set – worked great:
Right side complete!

I was worried about damage the skins on the curved part of the aft skin where I had to buck and shoot solo, but I am very happy with the results:
 28 JUN 14: Page 10-20 step 2: 4.4 hours
Finished the left side riveting.  Primed the edges that the right side skin will overlap:

Clecoed the right side skin to the frame:

29 JUN 14: Page 10-20 steps 2-7: 9.5 hours
Had to get creative back riveting the curved pieces with the second skin on – used the blanket as a counter-weight to balance the tailcone:

 Worked pretty well:
Took all day to get all the rivets shot, but at the end of the day, I didn’t have any clecos in the tailcone!


Saturday, June 21, 2014

15 JUN 14: Prepping tailcone parts for priming: 5 hours
Prepped all tailcone parts for priming with Prekote and a scotchbrite pad.  Always a lot more work than it looks initially.  Still have to do the skins.  Will do scotchbrite and an acetone wipe down on the skins:

17 JUN 14: Priming tailcone parts: 4.5 hours
Started priming the tailcone parts – mixed up one batch of Akzo.  The HF gun shoots the primer really well.  Finishes the parts of very nicely:

18 JUN 14: Priming tailcone parts: 3 hours
Continued priming the tailcone parts – no pics.
19 JUN 14: Page 10-17 steps 4-6, page 10-18 steps 1-3: 5.5 hours
Riveted the F-635 elevator bellcrank assembly:
 Riveted the nutplates to the battery mount, riveting the F-1036B battery channels to the F-1035 battery/bellcrank mount:

Riveted the F-1012A & B bulkheads, the F-1056 rudder stop brace, and the F-1012E tie down bar:

Riveted the F-1011 bulkhead, the F-1011A stiffener, the F-1011C HS attachment bars, and the F-1011E rudder cable angle:
Finished priming all the tailcone parts:

20 JUN 14: Page 10-15 step 5, page 1016 steps 2, 4 page 10-19 steps 2, 3, 5: 4 hours
Dimpled the F-1006 bulkhead, the F824B cover plates, and all #40 holes in the flanges of all frames and bulkheads.  Riveted the F-1010A HS attachment angle and the F-1010C L/R bulkhead doublers to the F-1010 bulkhead:
Riveted the F-1008 and F-1007 frames:

21 JUN 14: Page 10-16 step 3, page 10-19 steps 1, 4, and 6: 6.5 hours
Dimpled all the #40 holes in the skins:
So many holes….


Finished up this work session by riveting the nutplates to both F-1073 side skins: