Sunday, October 19, 2014

15 OCT 14: Priming wing skins: 2 hours
Finished priming wing skins – no pics.
17 OCT 14: Page 16-2 step 6: 2 hours
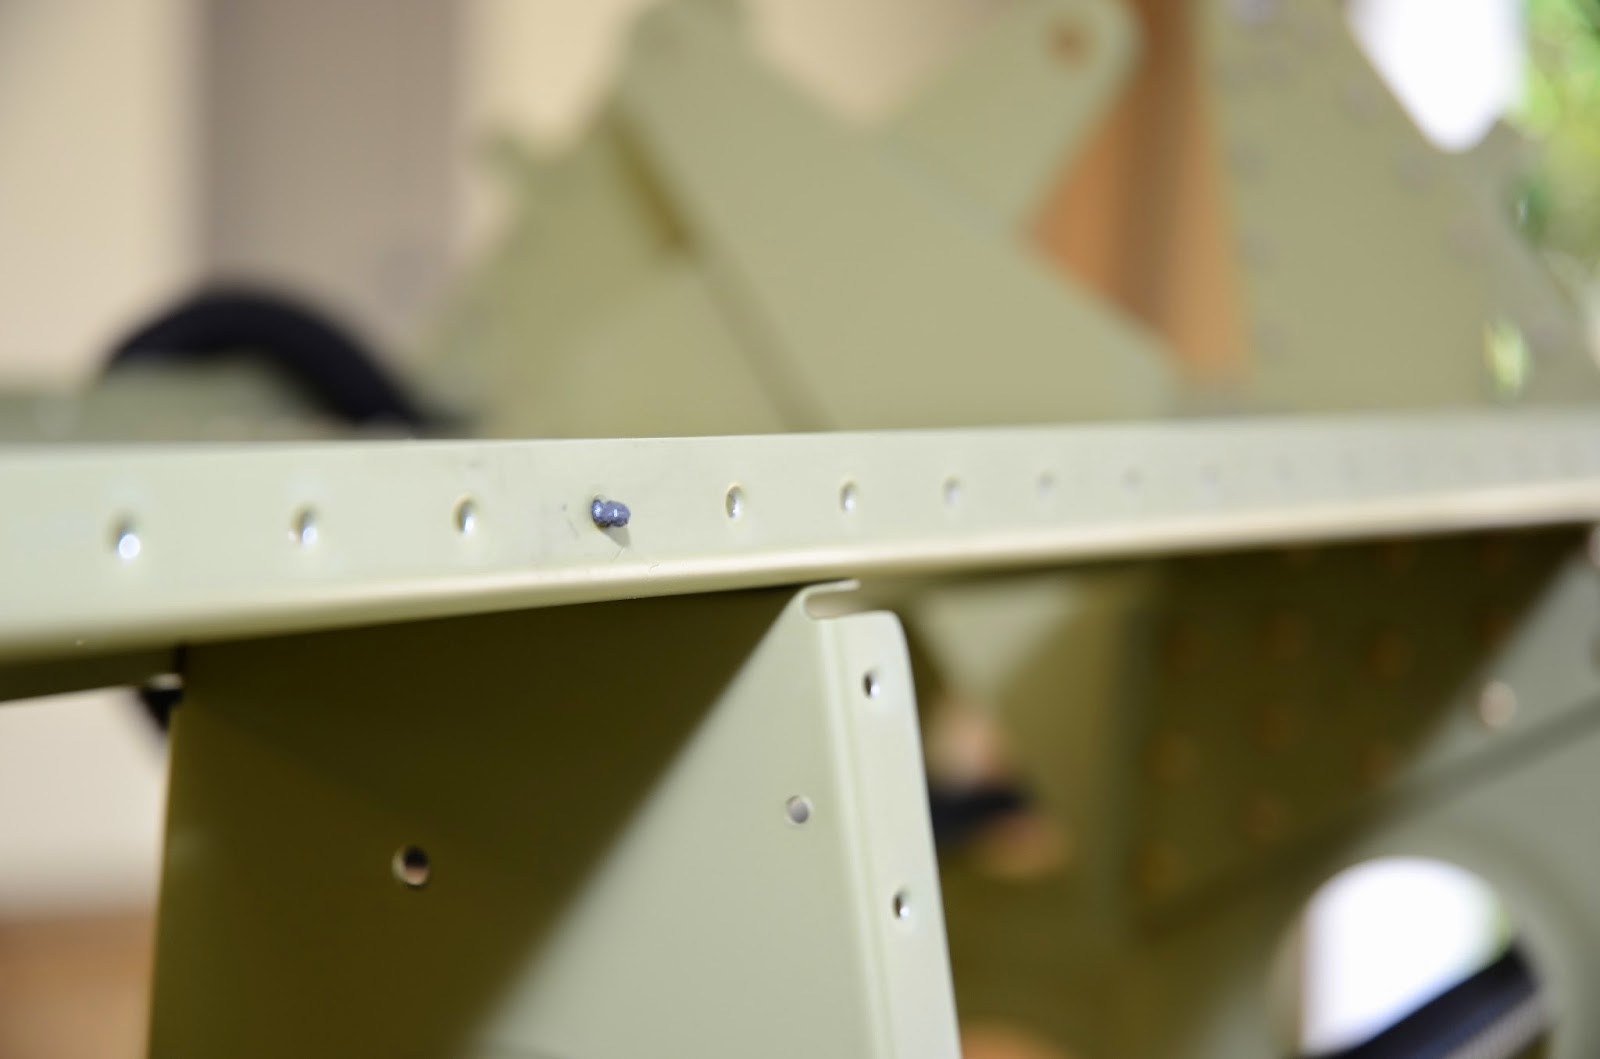
Dimpled the W-1002 and W-1003 top wing skins and the W-1028A and W-1028B wing box j-stiffeners:
18 OCT 14: Page 16-2 step 6, pg 9-18 step 7, pg 9-19 steps 1-2, pg 16-3 steps 1-3: 7 hours
Finished dimpling the left wing skins – start to go crazy after a while:
Finished the right elevator trim tab.  Riveted the hinge half to the right elevator.  Gap looks pretty good:
Bent the hinge pin to be secured by safety wire:
Finished product:
Started to rivet the left wing inboard top skin – had to drill out a few rivets due to not countersinking far enough.  Went over all the holes with the countersink bit to deepen them about .001-.002.
19 OCT 14: Page 16-3 step 3: 6.25 hours
Finished drilling out several proud rivets due to not countersinking the skin far enough.  Didn't want to deform the rib flange so I drilled all the way through the rivet.  I begin with removing the head the conventional way, but then drill through the tail with the smallest drill bit I have.  I go very slow, being very careful to drill straight through.  If done carefully, this is what you end up with:
 Squeezed the end rib/nut plate rivets:
Back riveted the rest.  It is extremely slow going, but produces excellent results.  Between flipping the frame back and forth, being extremely careful positioning the back rivet plate, and ensuring the skin is flat against the plate, this method takes quite some time.  The results are definitely worth it.  Hard to get good pics, but the skin is glassy smooth:
I couldn't reach the end rivets, I’ll have to order an offset 12” back rivet set.  Got almost all of them set though:
Got the inboard skin finished.  Now that I have my system down, the outboard should go quite a bit faster:

Monday, October 13, 2014

13 OCT 14: Primed wing parts, page 9-18 step 7 (right tab): 7.5 hours
First batch of Akzo – waiting for the :30 mix time before shooting:
Patched my figure 8 dimple while waiting.  The patch epoxied to the flange:
 The epoxy oozing through the figure 8:
Wrapped a piece of .032 in packing tape so it won’t stick to the epoxy:
Clamped together until it sets.  Front:
Back:
First batch of parts drying:
Had to rivet the hinge on the second elevator trim tab, so I could finish priming it:
Last batch for the night.  Always takes longer than I think it will due to having to wait for parts to dry, mixing more batches of primer, etc.  Have ½ of a leading edge skin and an outboard wing skin remaining.  Primed both elevator trim tabs, all leading edge ribs, wing walk doublers, splice strips, all wing/leading edge stiffeners, 1.5 leading edge skins, and all but 1 of the top wing skins:

Sunday, October 12, 2014

11 OCT 14: Saint Aviation Fly-in
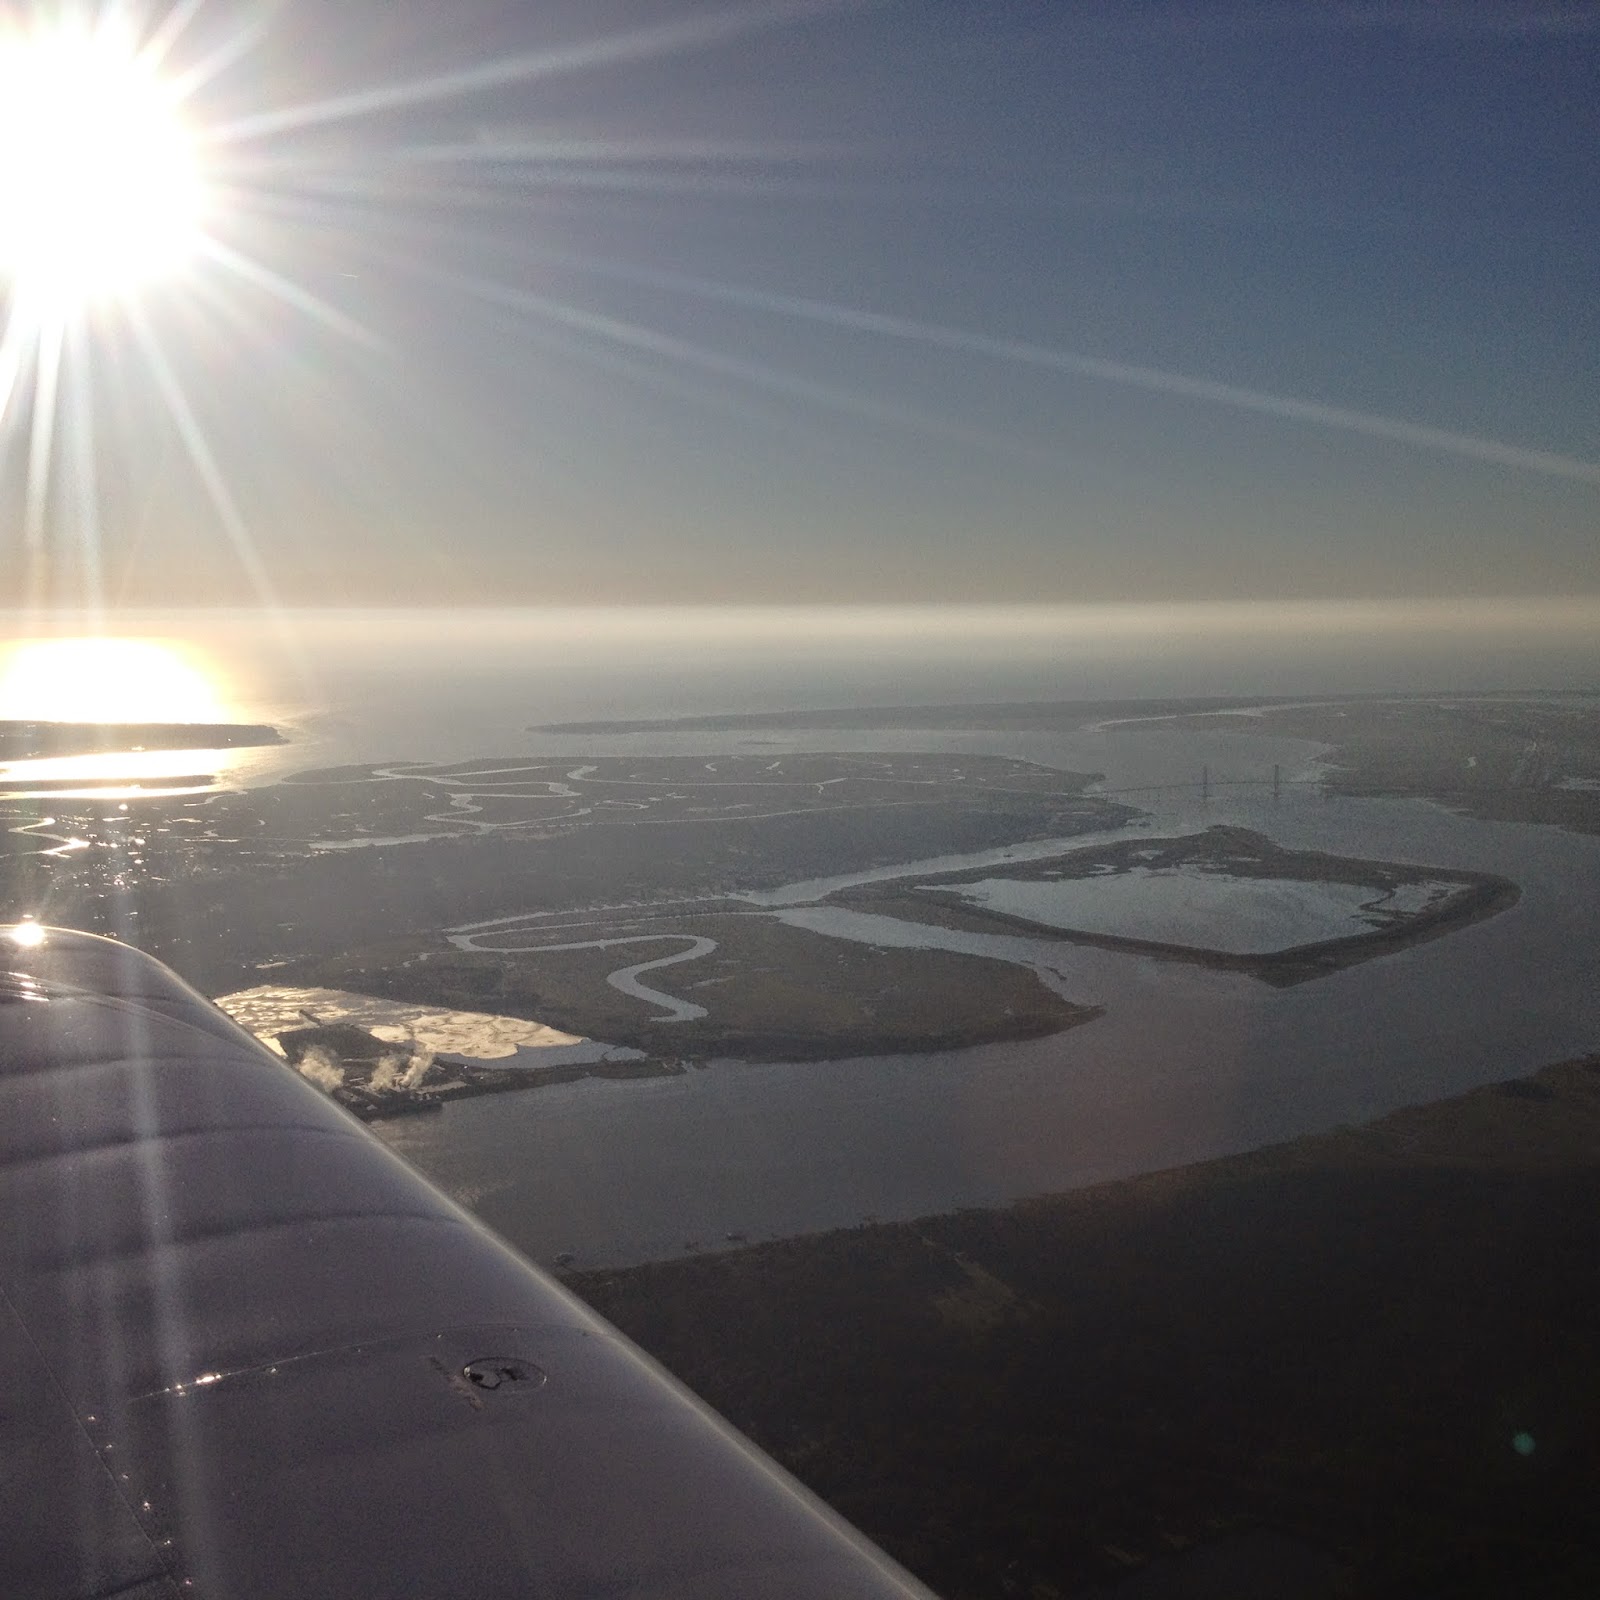
Took the day off from building to fly down to Dunnellon Florida, X35 Marion County Airport.  Jesse Saint of Saint  Aviation held an RV-10 fly-in.  I stopped in St. Mary's, Georgia, 46J, to pick up Chris - a guy I met through  the Van's Airforce Forum.  Chris is contemplating building an RV-10 and came up to visit my project a few weeks ago.  It was nice to share my experience with a potential builder and it was nice to be able to go the fly-in with him.  A beautiful morning for a flight south:
My first real burger since becoming a vegetarian over a year ago.  My gut reminded me why I'm a vegetarian that evening!
Jesse and some of the guests:
12 OCT 14: Prekoted wing parts, page 16-2 step 6: 8.25 hours
Finished Prekoting the top wing skins.  Dimpled the holes on the upper flange of the rear spar and upper flange of all but the four inboard most ribs.  Dimpling the ribs:
Well, I’m not happy it happened, but I am glad it took this long for my first time figure eighting a dimple.  Doh!
 You don’t get much more of a perfect figure eight!  I flattened the dimple with a flat set in the squeezer:
I’m going to epoxy a piece of .032 to the back of the flange, fill the hole with epoxy, then countersink for the skin dimple.  The back piece will be used to secure the shop head.  I’ll just have to use a bit longer rivet.  Both wing skeletons dimpled and ready for the top skins:
Got the  down-draft table and exhaust fans set up for tomorrow; will prime the top and leading edge skins, stiffeners, leading edge ribs, and the exterior of the elevator trim tabs:
All ready for the Akzo Nobel first thing in the morning:

Friday, October 10, 2014

05 OCT 14: Page 17-3 step 1-8: 7 hours
Repeat of previous steps for right leading edge.  All clecoed together:
Deburring, deburring, deburring…both skins done:
 Deburring the edges of the skin.  One skin down, one skin to go; then all parts will get primed:
06 OCT 14: Page 17-3 step 8, page 9-16 step 5 (right tab): 1.5 hours
Finished deburring wing parts.  Bent the tabs on the right elevator trim tab – no pics.
08 OCT 14: Page 9-17 steps 1-10 (right tab): 2.7 hours
I skipped back to finish the right elevator trim tab.  Completed the trailing edge bend of the trip tab skin.  Match-drilled the holes of the outer tabs into the inner tabs.  Made the 15’ bend in the bottom trim tab skin.  Clecoed the trim tab horns to the trim tab skin and spar; final-drilled the holes common to the horns, skins, and spar.  Dimpled all the holes in the E-919 trim tab skin and E-920 trim tab spar.  Riveted the E-917 and -918 trim tab horns and the bottom flange of the E-920 trim tab spar to the E-919 trim tab skin.  Bonded the foam trim tab ribs to the trim tab skin.  Riveted the bent tabs on the sides of the trim tabs  – no pics.
09 OCT 14: Page 9-18 steps 7-8, page 9-19 steps 1-2 (left tab): 2 hours
Riveted the hinge halves to the elevator and to the trim tab.  Attached the trim tab to the elevator by sliding the hinge pin back into the hinge halves.  Outboard side:
Inboard side:
The whole trim tab:
Bent the hinge pin:
10 OCT 14: Page 9-18 steps 4-6 (right tab), prekoted wing parts: 6.7 hours
Clecoed the trim tab on top of the hinge.  Match-drilled the holes of the trim tab into the hinge:
Marked the inboard end of the hinge so that it can be trimmed even with the elevator and trim tab.  Trimmed the hinge halves.  Spent the rest of the session doing my favorite thing – prepping for priming with Prekote.  Ugggghhhhh!!!!  Oh well, a necessary evil.  The parts drying, ready for Akzo:

Saturday, October 4, 2014

I have been sick all week, so didn't get much work done.

28 SEP 14: Page 17-2 steps 4-5: 5.25 hours
Constructed cradle for leading edges.  Removed W-1019-L/R splice strips from the T-1001-L/R fuel tank skins.  Deburred the edges of the splice strips and fuel tank skins – no pics.
29 SEP 14: Page 17-2 step 6: 2 hours
Finished deburring fuel tank skins – no pics.
01 OCT 14: Page 17-2 step 1: 1.5 hours
Fluted and straightened all rib flanges – no pics.
04 OCT 14: Page 17-3 step 1-8: 5.5 hours
Clecoed the W-1009-L/R, W-1009-1L and W-1009-2L ribs to the skin.  Inserted the W-1019-L splice strip into the inboard end of the leading edge skin then inserted the W-1008-L splice strip rib and clecoed the splice rib, strip, and skin together:
Drilling the j-stiffener to the leading edge skin: 
Final-drilled #40 all the ribs and splice strip to the skin.  Enlarged all screw holes in the splice strip to #19.  Countersunk the #40 nutplate attach holes in the splice strip for the head of a 426-3 rivet:
All of the leading edge parts deburred and ready for priming.  Begin on the right leading edge tomorrow: