Thursday, June 29, 2017

29 JUN 17: Move to PA complete.  Removed interior panels: 2.5 hours

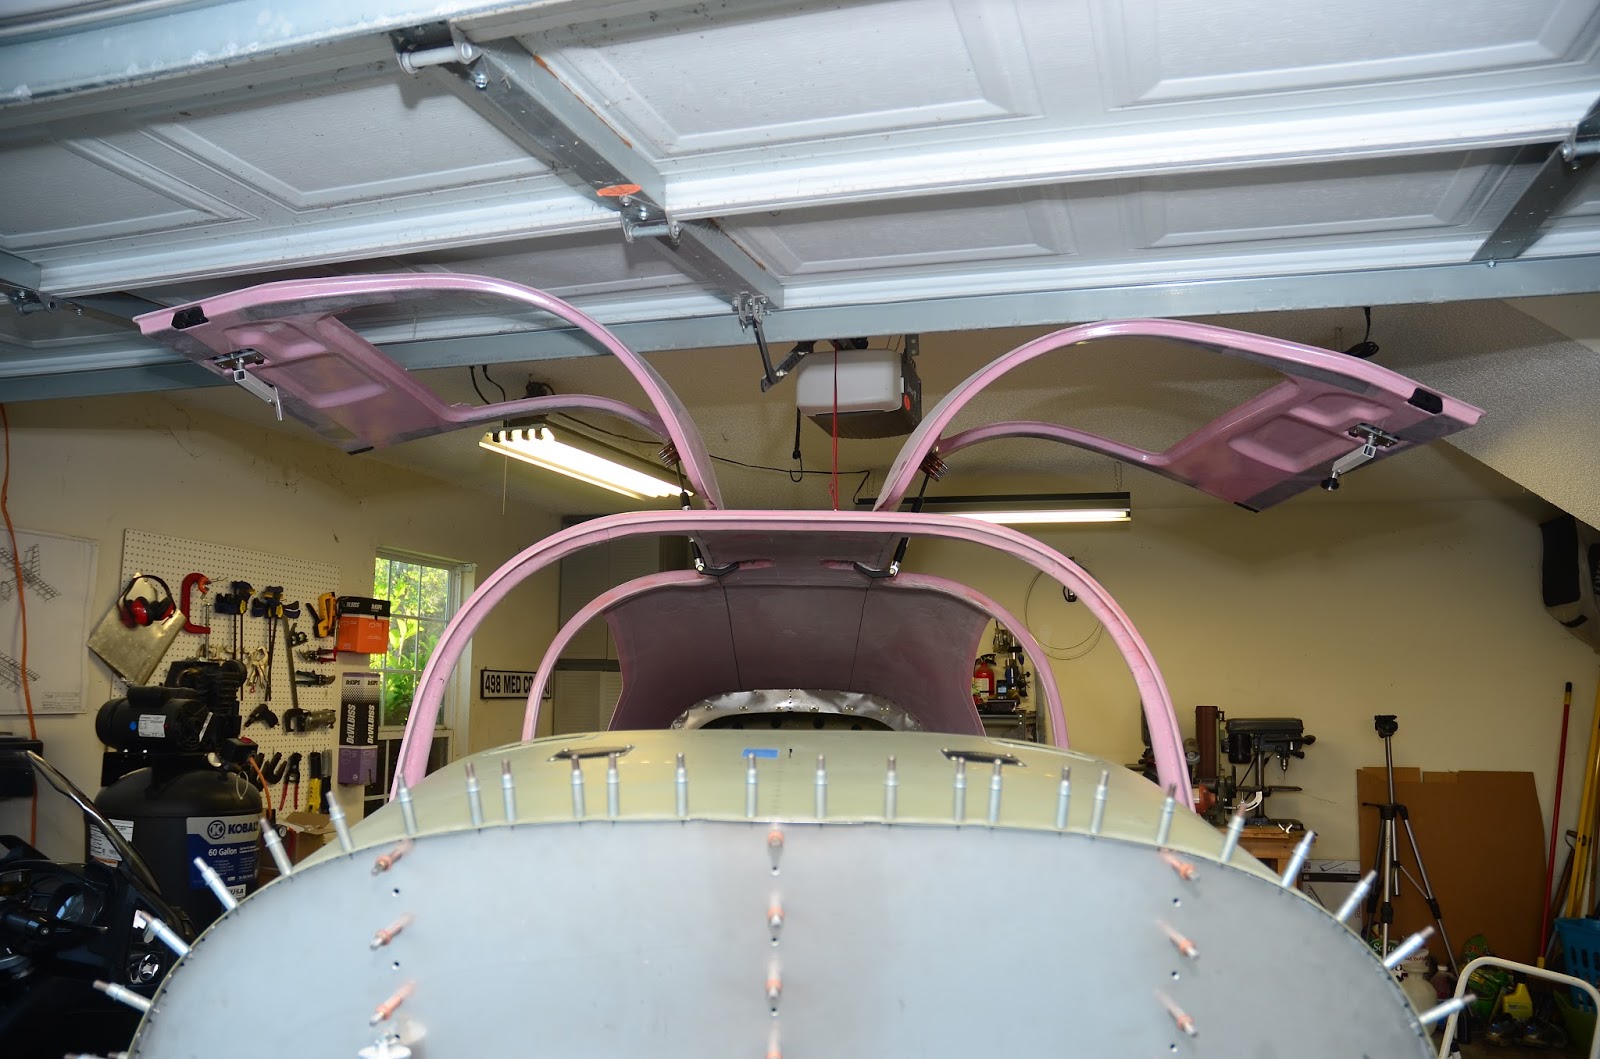
After a two month delay, I finally had the first day of work on the plane today!  The last two months were very hectic – moving the plane and moving homes, I started flying for a new airline, and my wife started a new job.  All I did was remove all the interior panels that I had installed for the move.  Not much work, but it felt great to put my hands back on the project.  Back to the skeleton:
I’m much happier in the new workshop – more room than before.  Eventually we will be renovating the house that we just moved into, but I don’t believe that will add much delay to the build.  There is a small house already on the property that we will move into during the renovation and then we will demo it once the renovation is complete.  The garage will be renovated at a later date, so I should be able to finish the plane up until it is time to move to a hangar with no issues.  The back end opened back up awaiting pitot-static plumbing and wiring:

Sunday, April 23, 2017

10 APR 17: FF 1-2, steps 4-5: 2 hours
Riveted together the oil cooler:

22 APR 17: Installed interior panels for move to PA: 5 hours
Came home from a few weeks of simulator training for my airline and am getting ready to move the project up to PA.  Not really looking forward to the move, but after 20 years of moving around with the military, I’m excited that this will be the last move, and that I can finally put down roots.  I’m moving the project myself in a 26’ Uhaul, so I decided to put all the interior panels in the plane to transport them.  I figured it would offer some rigidity to the fuselage and also lessen the chance of damaging the parts by transporting them loosely.  No pics.

23 APR 17: 46-2 step 1 (initial), getting ready for move to PA: 5 hours
I wanted to get the engine mount installed, so I could use it to secure the fuselage to the inside of the U-haul during the move.  I read some horror stories about drilling the engine mount, but it was easier than I expected.  Go slow, use plenty of cutting fluid, and it is one of the easier tasks. Reaming one of the holes:

This will have to come off when I get started on the project again, but wanted it installed for the move:
I expect to have a delay of a few months during our move.  We are moving from Georgia to Pennsylvania, where my wife and I are originally from.  It will be a pretty large undertaking moving everything up there, but I’m excited to get moved and get back into the project.  After a career in the military, and moving every few years for 20 years, I’m excited that this will be our last move, and that I can really ‘move in’ to my new workspace knowing that I can set up for good and it won’t be temporary like all the moves before this one.  It’s pretty cool seeing all the panels installed, but just like the engine mount, these will all come back out once the move is complete for finishing, wiring, etc.:
Ready for the move!

Sunday, April 9, 2017

20 MAR 17: Sanding cabin top – no pics: 2 hours

21 MAR 17: Cabin top: 7 hours
Began by making some clips that I will epoxy to the cabin top inside of the overhead console in order to attach adel clamps for wire runs.  I’ll attach 3 on each side of the overhead console:
I then fit some left over parabeam into the b-pillars.  There is a joggle in the pillar that I want to fill in and smooth over with micro:

Next was fitting the conduit in the a-pillars for wire runs – took a while to sand the pillars so the conduit would sit in the pillars.  It still sits proud in a few areas, but it is much better than when I first fit the conduit.  I then used some 5-minute epoxy to secure the conduit and used some expanding foam to fill in the dead space.  Once the foam is cured, I will shave it down and glass in the conduit:
Doesn’t seem like that should have taken 7 hours, but I spent a lot of time thinking about how I wanted to do certain things and less time actually doing them!

22 MAR 17: Cabin top: 6 hours
This is what the parabeam looks like epoxied to the top with some micro around the edges to hold it down.  Pretty rough!

I then began to glass in the conduits into the a-pillars.  All glassed in with peal ply attached:
At the end of the work session, I removed the peal ply.  Looking fairly good.  It will take quite a bit of filling/sanding to make the two sides symmetrical, but I believe the final, finished look will be well worth the work:
Finally, I epoxied parabeam to the other b-pillar, and sanded and spread a thick coat of micro to the pillar that had already cured.  Once this is cured, I will sand to a nice even shape.  Just like frosting a cake!

23 MAR 17: Drilled instrument panel: 5 hours
Began by drilling the panel inserts for the Aerosport panel.  I will then install nutplates into the panel flanges allowing the inserts to be screwed to the panel:
I installed the cabin top back on the fuselage one more time to double check my gap between the gutter and the doors for the McMaster-Carr seals.  I wanted to ensure this gap was consistent before I continued finishing the interior of the top and attached the overhead console.  While it was installed, I test fit one of the Rosen visors to ensure I would have no interference with the way I am planning on closing out the pillars:
A shot from the inside.  It’s pretty awesome seeing these little things come together.  I can begin to see little snapshots of the plane that it will become – pretty exciting!
I have to go away for a couple weeks to do simulator training for my airline, so this is how she will remain.  Beginning to come together!

9 APR 17: Prekote / Prime: 3 hours

Made it home for a few days – have to go back for another couple weeks of simulator training – and had such a nice afternoon, I decided to finish up some priming.  This is really the last of the metal in the airplane.  Primed the panel inserts, oil cooler mount, tail light adapter, door strut brackets, and some brackets that I made for wire runs throughout the fuselage:

Sunday, March 19, 2017

17 MAR 17: FF 1-2 step 1 and deburring: 1 hour
I spent the past two weeks up in Charlotte doing some training for the airline I fly for, so I had a bit of a gap in building.  Today was a short session – cut, final-drilled, and deburred the oiler cooler mount – no pics.

18 MAR 17: Sanded cabin door frames, added flox: 3.5 hours
With the doors pretty much complete, it is time to start all the finish work – sanding, filling, sanding, and filling…  Started by ensuring I had a consistent 1/4” gap between the gutter and the inside door shell for the McMaster-Carr door seals.  Had to sand in a few places and add flox to build up the gutter in others – no pics.

19 MAR 17: Removed doors/cabin top and began sanding inside of cabin top: 5.75 hours
As depressing as it is to rip everything apart, it is part of the forward progress.  Time to begin finishing the inside of the cabin top.  Back to where I was months ago – ha ha:
I took the time while the cabin top was off to make a template of the glare shield.  I’m going to make a fiberglass lay up to overlay on top of the glare shield – will probably cover it with ultra-suede.  The reason I’m making a cover is so I can remove it to clean out all the dirt and bugs that will eventually find its way into the far reaches of the glare shield/windshield junction.  This way I’ll be able to remove it and vacuum it off.  Sheet of plastic to make a template:

Finished template:
Sanding the inside of the cover flat, so the seal lays flat:
Looking pretty good.  I’m not making it perfect, just level enough for the inside portion of the seal to lay flat.  I’ll then fill in the portion between the overhead console flange and the seal.  This will leave a flush edge on the cabin top for the seal to butt up against – should look nice.  I’m also going to lay up a few layers of fiberglass over the strut hinges to make small covers to cover up the cutouts in the overhead console.

Sunday, March 5, 2017

20-21 FEB 17: 45-5 (R) 10-12: 6.75 hours
Trimmed the right door to a pretty good rough fit – off, on, off, on….

 23 FEB 17: Installed repaired fuel tank, more sanding of right door: 5 hours
Well, I’ve been dreading reinstalling the fuel tank that I had to remove to repair the damage from it falling off the cradle while taking it out to my hangar.  My motivation to do it was 1) I had the day off, and 2) hot weather will be here before long.  I was pretty sweaty as it was – can’t imagine doing this in the hangar in the middle of summer!  Wasn’t as bad as I was expecting, but still sucks to spend a couple hours like this:
In the end, I was very glad to have it back on, and it really wasn’t too terrible bad.  Definitely easier to do it in the cradle vs. if it was mounted on the plane.  Nice for the wing to be back together!

Went home and spent a couple more hours sanding the right door. 
Top:

24 FEB 17: Sanding door, 45-6 (R) step 3, 45-7 1-5: 3.5 hours
Did some more sanding of the right door and fit the hinges onto the cabin top and door.  Installing the hinges on the cabin top:
Nice to have the second door attached!

25 FEB 17: Riveted corner nutplates onto overhead console: 1 hour – no pics

28 FEB 17: Drilled/cut holes for door handle, epoxied door: 2 hours


1 MAR 17: Fit PlaneAround latch into door: 3.25 hours
You know, even though this went WAY quicker the second time around, it is still a PIA to get everything in place and working correctly.  Bottom slot cut into door for gear assembly:

2 MAR 17: 45-12 (R) 1-5: 6.5 hours
Cut and fit the PlaneAround door pin blocks for their angled pin guides.  Neat to see both doors on the plane!

3 MAR 17: 45-15 (R) 1-3: 6.5 hours
Drilled the holes for and mounted the cabin pin blocks.  Last thing for the night was to mix up a bit of flox to bed in the hinge bracket, so it has a nice mounting surface against the cabin top.  Fun, fun!

4 MAR 17: 45-16 (R) 1-4: 3.25 hours
Fit the strut to the right door.  Locating bar attached to the strut bracket in order to get the correct location for mounting the door attach brackets:
I still have TONS of work to do on the doors – fine tuning of the McMaster-Carr seal, final edge/gap constructions, final sanding painting, etc. – but the rough work is done!  I read so many horror stories about the doors, and, even up to this point, it was A LOT of work, so it feels really good to see both doors on the plane – if only temporarily!

5 MAR 17: Firewall planning: 1 hour

Temporarily hung the engine mount (with a bungee cord!) to get an idea where to place firewall pass throughs.  I have 4, 3/4” pass throughs, but doubt I’ll use all 4.  I am going to try to separate engine sensor wires from power wires, so perhaps I may use all 4…

Saturday, February 18, 2017

1 FEB 17: Countersunk screws/installed PlaneAround gear box: 1 hour
Completed the install of the PlaneAround gear box and countersunk screws.  This took me a seriously long time to get to this point!  It was a bit confusing following 3 sets of instructions at the same time – the second door will go together much quicker!  My countersink job is a little shoddy 😯 and my cut for the gearbox cam isn’t exactly centered, but I’m going to glass over everything and then cover the door eventually, so I’m not too worried about it.

2 FEB 17: Page 45-12 steps 1-4, installed PlaneAround pin blocks: 4 hours
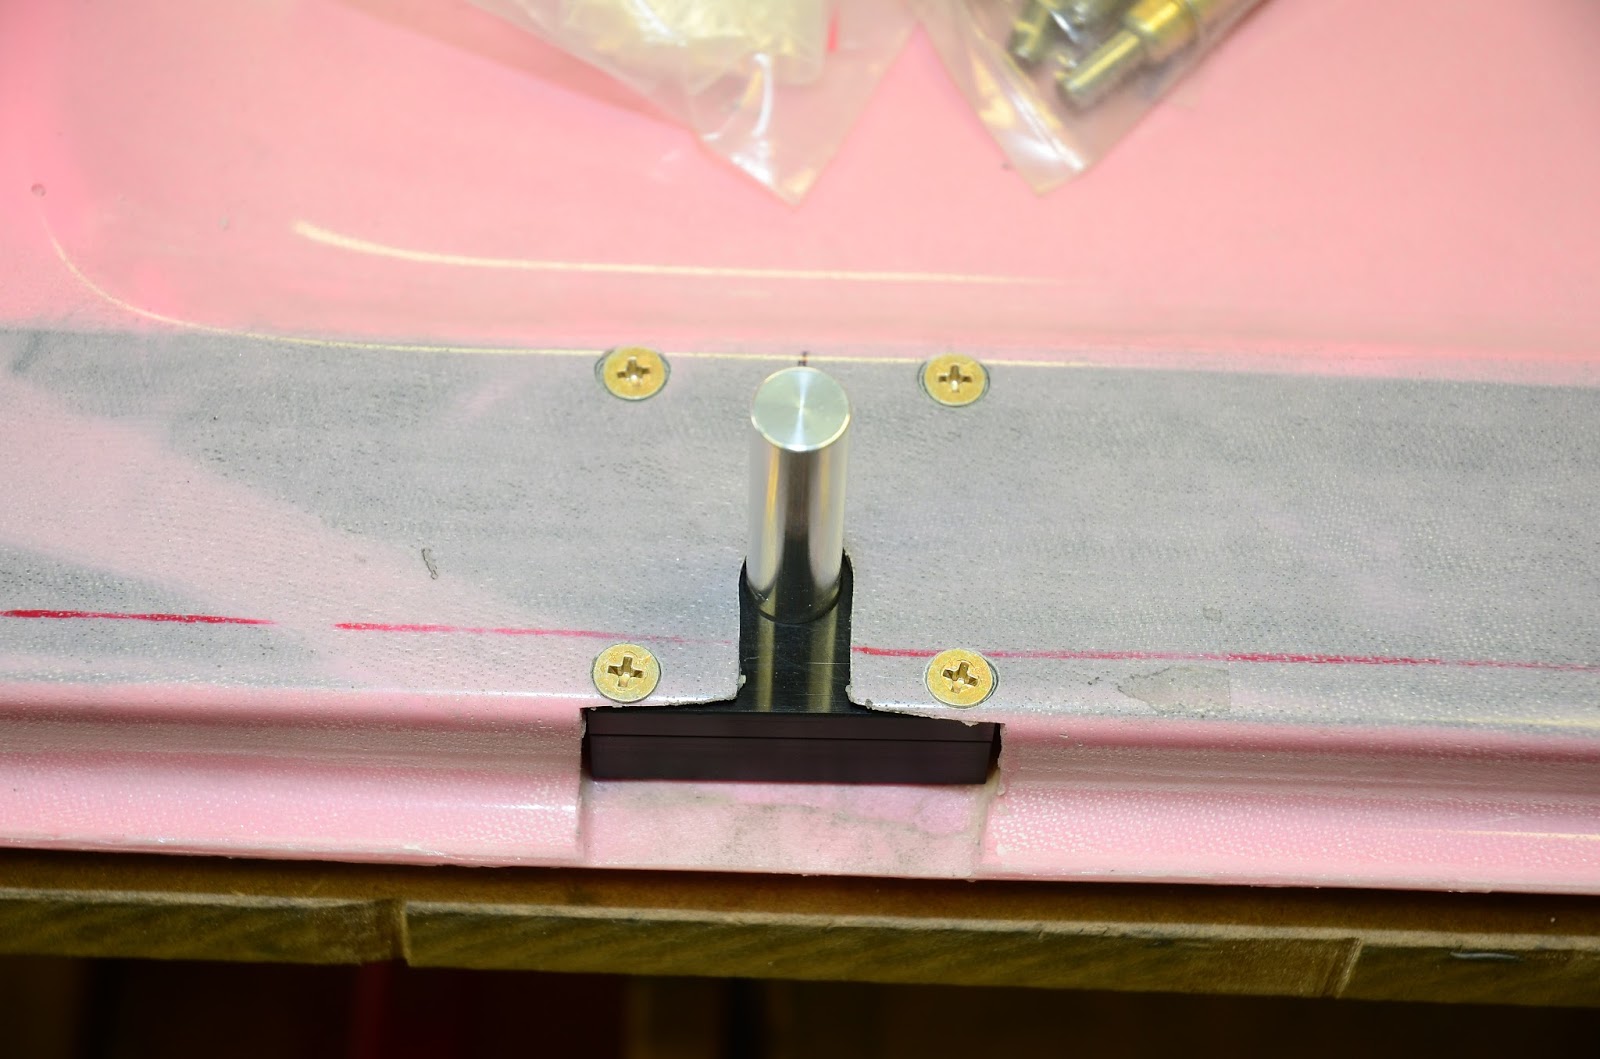
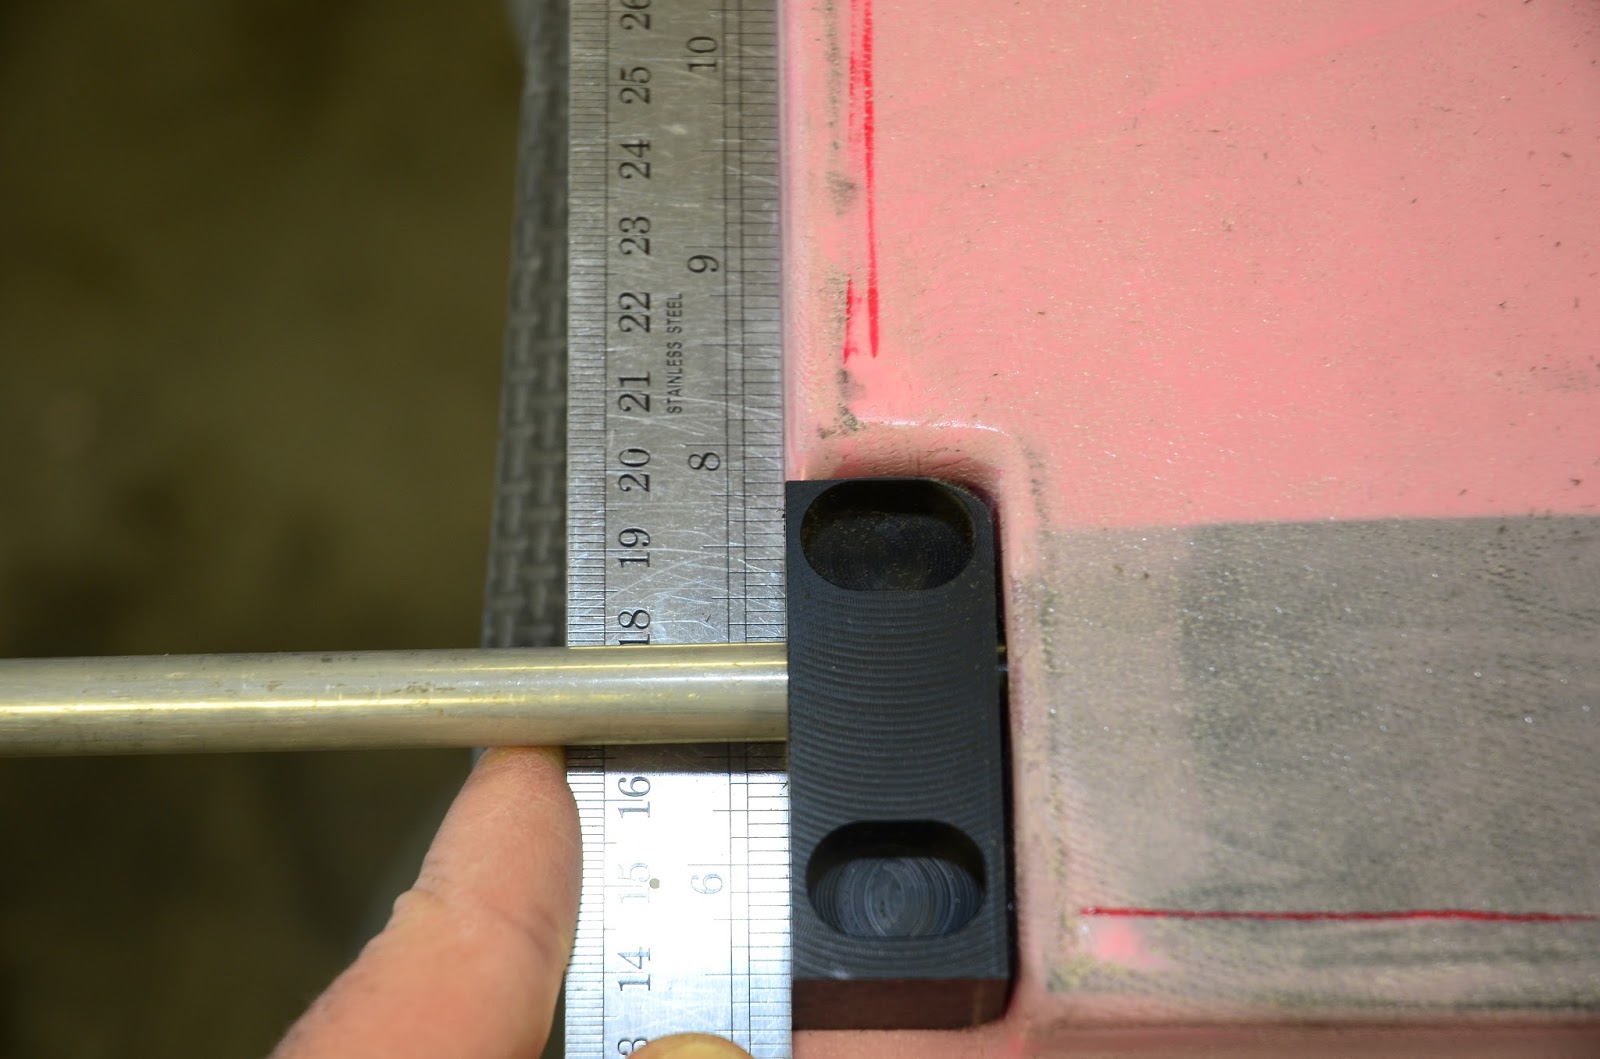
Installed the van’s pin blocks to get the correct screw hole placement and then fit the PlaneAround pin blocks.  You have to install the Van’s blocks first because the PlaneAround are oversized.  They use the same bolt holes, so once you have the Van’s installed, it is just a matter of sanding the PlaneAround blocks to fit the space in the door:

6 FEB 17: Finish initial install of PlaneAround latch/pins: 1.5 hours
I’ll say it again, this took WAY longer than I had imagined!!

8 FEB 17: Cut and tapped rod ends, installed PlaneAround angled pins: 2.5 hours
Cut the door rods to size to accommodate the extra length of the PlaneAround angled pins and then tapped the rods for the threaded inserts to attach the pins.  Will have to Loctite the inserts into the rods, but won’t do that until final fitting when I know everything is in its final position.  I’ll also have to epoxy the magnets inside the pins for the Van’s door latch switches:

11 FEB 17: Match drilled new deck angle, primed parts and installed O/H console nut plates: 5 hours
I received the new angle stock from Van’s and set about match drilling it.  This was a bit nerve-wracking as there are a lot of holes on each face and they all have to line up perfectly for me to reinstall the angle and, more importantly, the horizontal stabilizer, which I already drilled to the deck.  I cut the old angle in half, sanded it flat, and used it as a drill template for the new angle.  Luckily, everything fit like a glove.  The old top half of angle and the new unprimed angle installed – the AN bolts fit just like originally through the longerons:
Aft deck clecoed in place.  Very happy everything fit nicely like originally:

I then installed nutplates in the overhead console for the cover plates.  I have to order some single-sided for the corners as I didn’t have any on-hand:

I then primed the console cover plates and new aft deck angle.  Cover plates temporarily installed.  I plane to keep the overhead raw carbon fiber – will eventually clearcoat it – and paint the cover plates beige to match the interior.  I have ordered black screws as they will look nicer when the plate is eventually painted:
The new deck angle primed and ready for install.  A lot of holes on each face, and a lot of opportunities for misalignment.  I was extremely happy that everything fit back together very nicely!

12 FEB 17: Page 45-14 step 2, page 45-15 steps 1-3: 6.75 hours
Installed the cabin pin blocks in the door jamb.  In this pic of the aft block, you can see where I trimmed the cabin top back a bit too much.  No worries, as I will eventually fill that entire area with epoxy/flox and final sand to shape:
I’m very pleased with the initial fit of the door:
I will eventually do finishing epoxy work to make sure the door and cabin frame is level and to ensure a uniform door gap, but I’m quite pleased even with the initial fit:

13 FEB 17: Epoxy door strut bracket, begin to rivet back deck back together: 4 hours
I’m using the PlaneAround strut brackets and wasn’t please with my initial fitment.  For starters the angle of the holes wasn’t quite right, which made the screws difficult to get started.  Secondly, I installed it too far inboard, which didn’t leave enough room for the door seal.  So I epoxied the holes and decided to start over.  Part of the difficulty is that the bracket is angles, but the cabin top is rounded, so I decided to set the bracket in a bed of flox to create a flat mounting surface.  First covered the bracket in packing tape:
I then mixed up some flox and bedded in the bracket – this time with a piece of door seal installed to get the proper spacing:

While that was setting up, I began to rivet the aft deck back together.  The angle that I replaced riveted back to the bulkhead:

Front side:
I then began to rivet the top of the deck back into place – got about half way done and decided to call it a night:
With the flox cured, I removed the strut bracket.  This will provide a much nicer (flat) surface to redrill the bracket to the cabin top:

16/17 FEB 17: Redrill strut bracket, install PlaneAround cam, C/S door screws: 5.75 hrs
Much easier to install the bracket this time around with the flat mounting surface:

18 FEB 17: Finished left door rough fit, finished aft deck reassembly: 5 hours
I wasn’t happy with my initial placement of the strut brackets on the door.  It was slightly misaligned, so when the door would was almost closed, it shifted slightly aft making it difficult to shut the door.  So, more flox…  I feel like I do everything twice with the doors.  Second time around:
Second time around and the fit was right on.  Still have to do the final fitting of the McMaster-Carr door seal, and eventually do the final epoxy work on the door/cabin joint, but I’m really pleased with how it is fitting with everything together.  Bottom edge:

Forward edge:
Aft edge:
Nice to see the door all together and installed:
Finished todays work session by completing the reassembly of the back deck.  I dreaded pulling it apart, but I knew I had to replace that angle at some point.  Glad to have it repaired and back together!